00196956-02_IM_OIS_SIS 10.1_DE EN.pdf - 第19页
OIS 10.1 / Installation Manual Ausgabe 11/2012 Edition The following dialog box is open ed. Figure 3-21: Entering number of days for storing production data The production data is only saved in the databa se for a certai…
OIS 10.1 / Installation Manual Ausgabe 11/2012 Edition
The following dialog box is opened.
Figure 3-19: Checking database instance
Information is gathered on the selected database instance (takes appr. 15-30 seconds). Thereafter
the following dialog box is opened.
Figure 3-20: Entering database size
► Click Browse... if you want to select another installation directory for the database.
The Database\OIS and Database\SIS sub directories are created.
► Enter the starting file size for the database files.
The default values are generally acceptable, and the files are allowed to grow as your database
expands.
► Click Next >.
18
OIS 10.1 / Installation Manual Ausgabe 11/2012 Edition
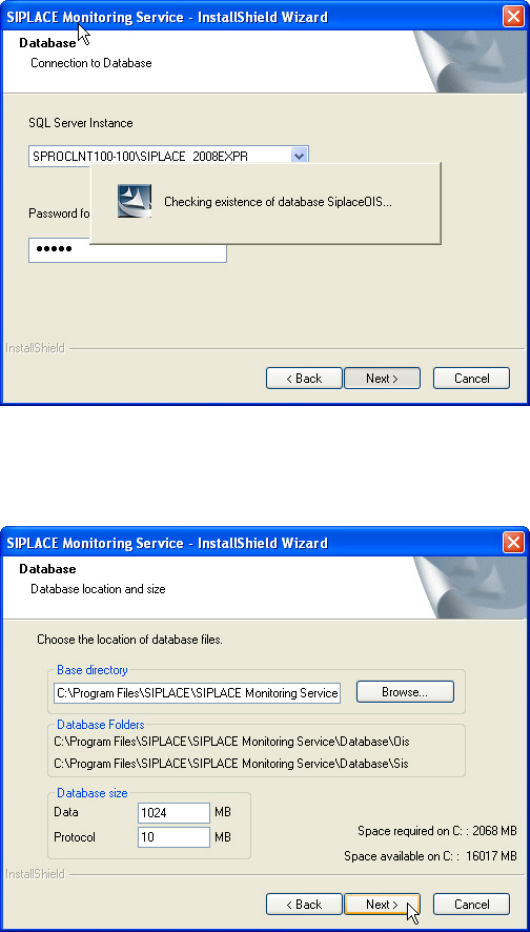
The following dialog box is opened.
Figure 3-21: Entering number of days for storing production data
The production data is only saved in the database for a certain period.
► Specify the time for which the production data is to be retained in the database.
Values between 40 and 400 days are permitted.
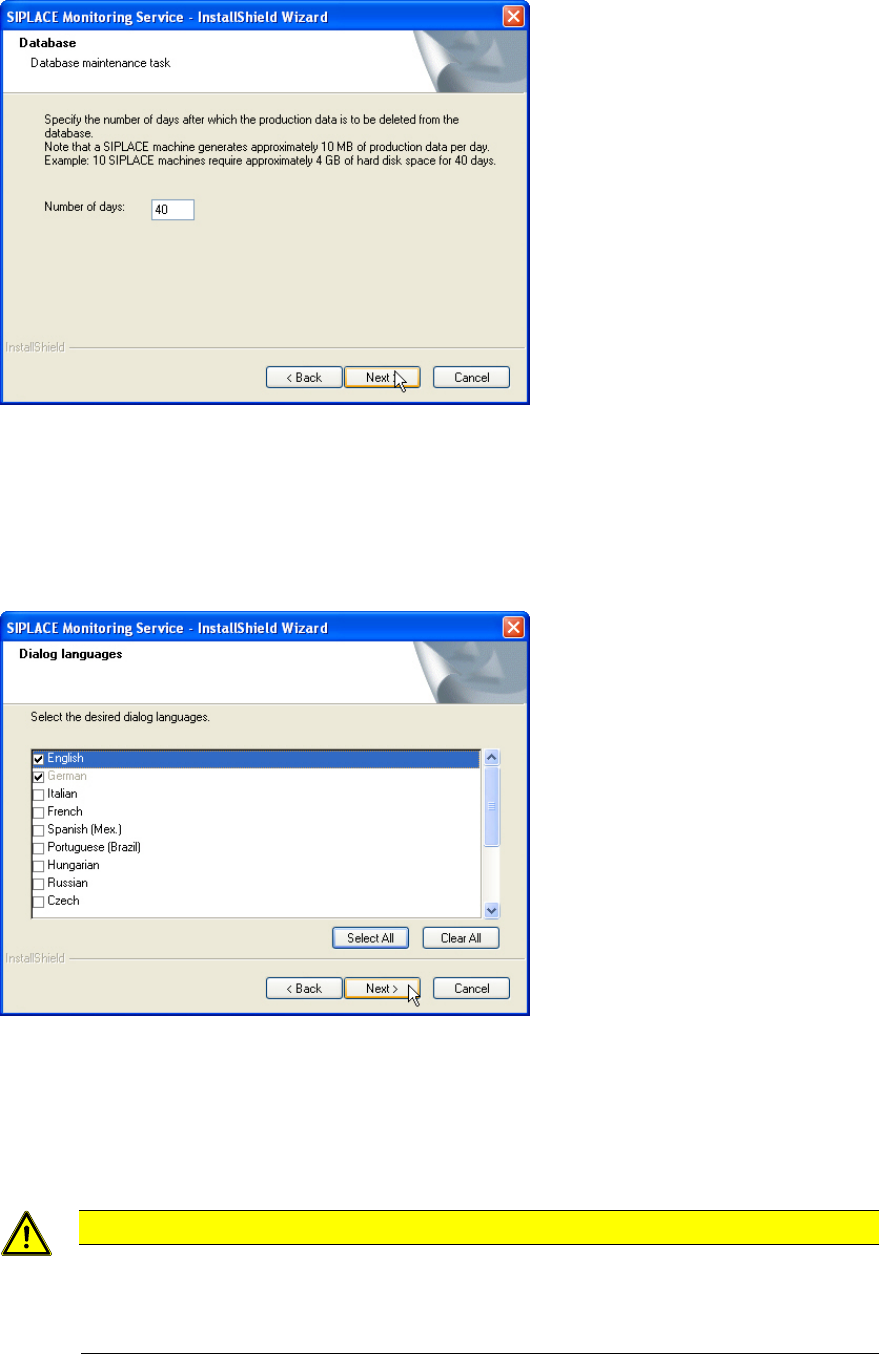
The following dialog box is opened.
Figure 3-22: Selecting dialog languages
► Select the desired languages.
German and English are always installed.
► Click Next >.
CAUTION
When installing some languages a warning is displayed that a reboot is required to install
the language. In this case you will have to reboot the computer after installation, logging
in under the same account you are currently using in order to finish the installation
successfully.
19
OIS 10.1 / Installation Manual Ausgabe 11/2012 Edition
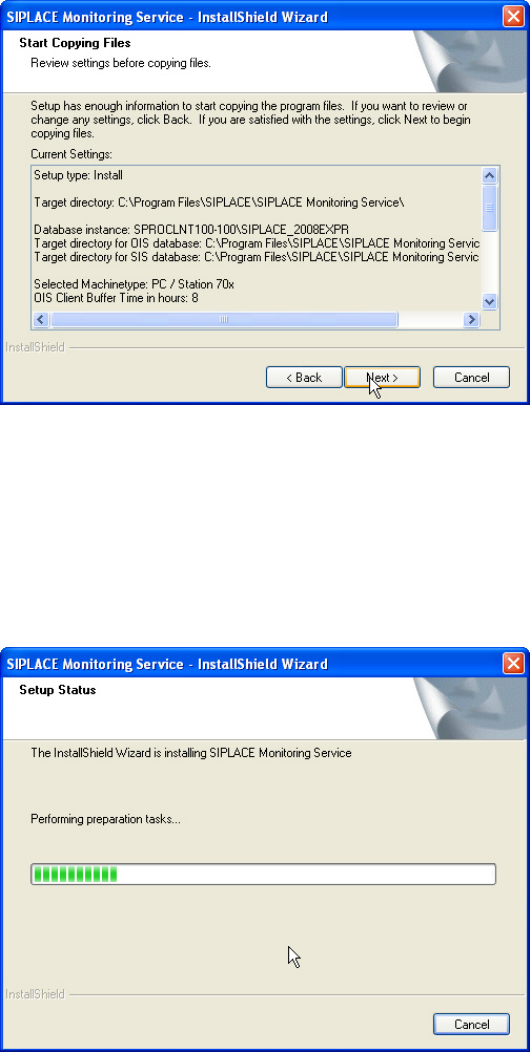
The following dialog box is opened.
Figure 3-23: Reviewing settings
This shows a summary of the settings and entries you have made so far.
► Check the settings.
► If you wish to change your entries, click < Back to return to the appropriate dialog.
► Click Next> to start the actual installation process.
The software is then installed.
Figure 3-24: Installation
20