00196956-02_IM_OIS_SIS 10.1_DE EN.pdf - 第25页
OIS 10.1 / Installation Manual Ausgabe 11/2012 Edition The following dialog box is open ed. Figure 3-29: Connection to database ► Select the database instance. ► Enter the system administrator password. ► Click Next >…
OIS 10.1 / Installation Manual Ausgabe 11/2012 Edition
3.4 Repairing the installation
This Repair option is used to repair an existing installation. The program is restored using the
specifications and entries originally specified.
► Click the Windows Start button and select Settings and then Control Panel.
► Start the Add/Remove Programs dialog, by double-clicking on Add/Remove Programs.
► Select the program from the list (SIPLACE OIS / SIPLACE Monitoring Service) and click on
Change/Remove.
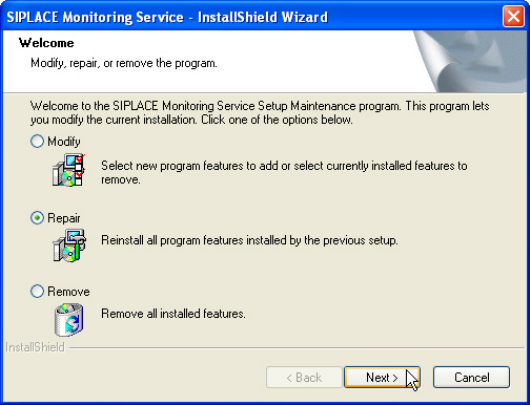
The setup program will start and display the following dialog box.
Figure 3-28: Repairing program
► Selec Repair.
► Click Next >.
24
OIS 10.1 / Installation Manual Ausgabe 11/2012 Edition
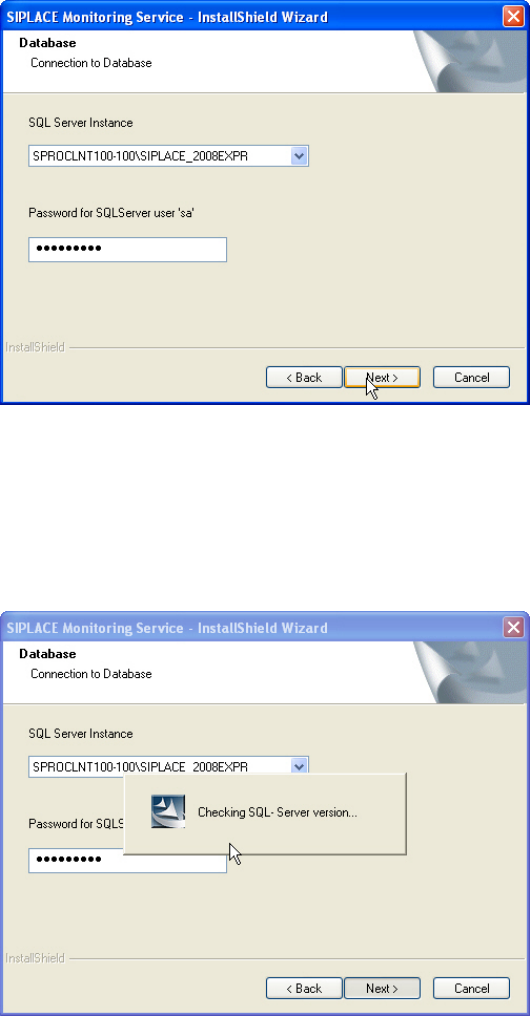
The following dialog box is opened.
Figure 3-29: Connection to database
► Select the database instance.
► Enter the system administrator password.
► Click Next >.
The following dialog is opened.
Figure 3-30: Checking database instance
Information on the selected database instance is gathered.
25
OIS 10.1 / Installation Manual Ausgabe 11/2012 Edition
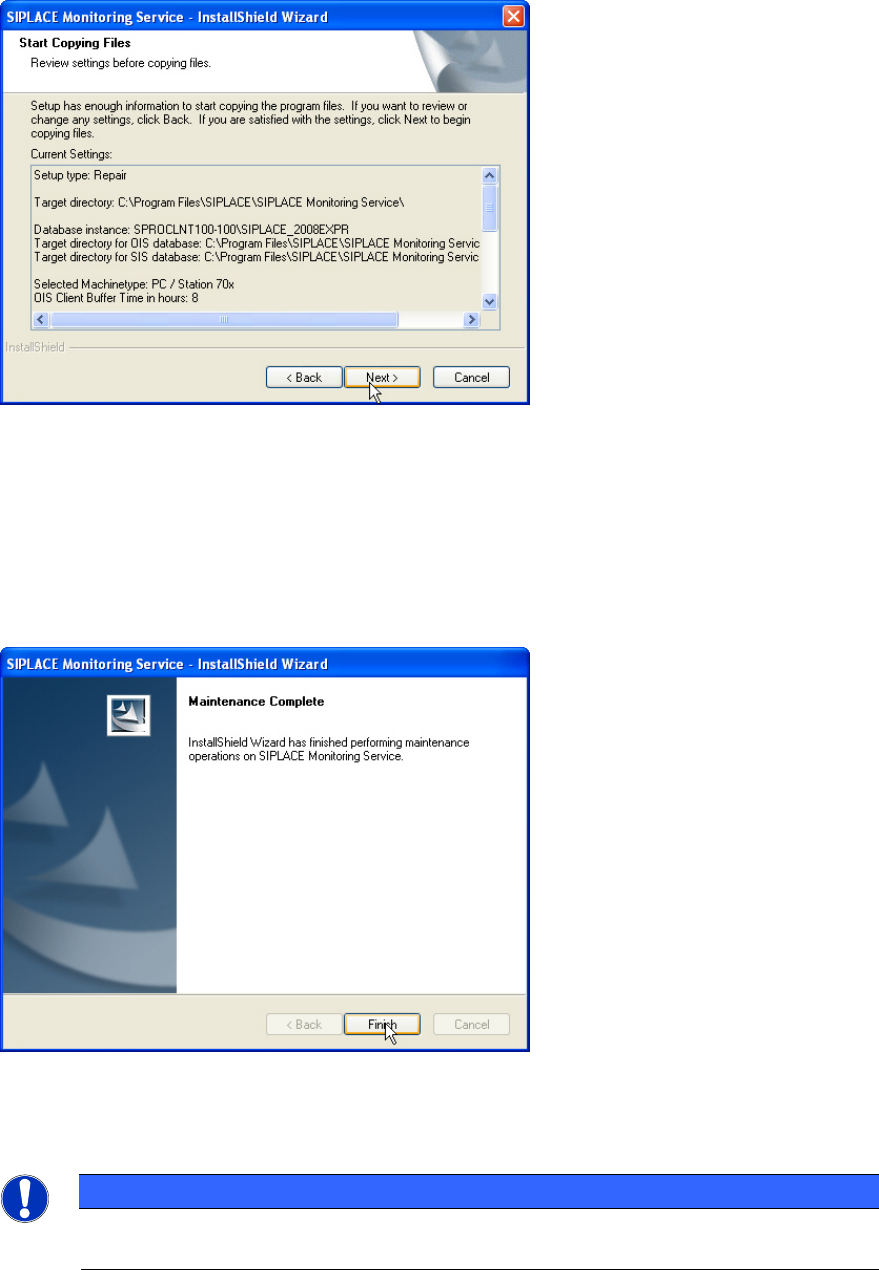
Thereafter the following dialog box is opened.
Figure 3-31: Reviewing settings
This shows a summary of the settings and entries you have made so far.
► Check the settings.
► If you wish to change your entries, click < Back to return to the appropriate dialog.
► Click Next > to start the repairing process.
Once the repairing process has been completed, the following dialog box appears.
Figure 3-32: Finishing repairing
► Click Finish to complete the repairing process.
NOTICE
If this dialog box suggests rebooting the computer, you should do so, as the repairing is
only completed after a reboot.
26