00198611-01_IM_712.0_R18-2_EN.pdf - 第29页
Station Software Ver sion 712.0 (R18 - 2) / Installation Manual 11/2018 Edition 29 The Packages and F eatures dialog box is displayed. Figure 5-8: Selecting packages and features All software compon ents are enabled by d…
Station Software Version 712.0 (R18-2) / Installation Manual 11/2018 Edition
28
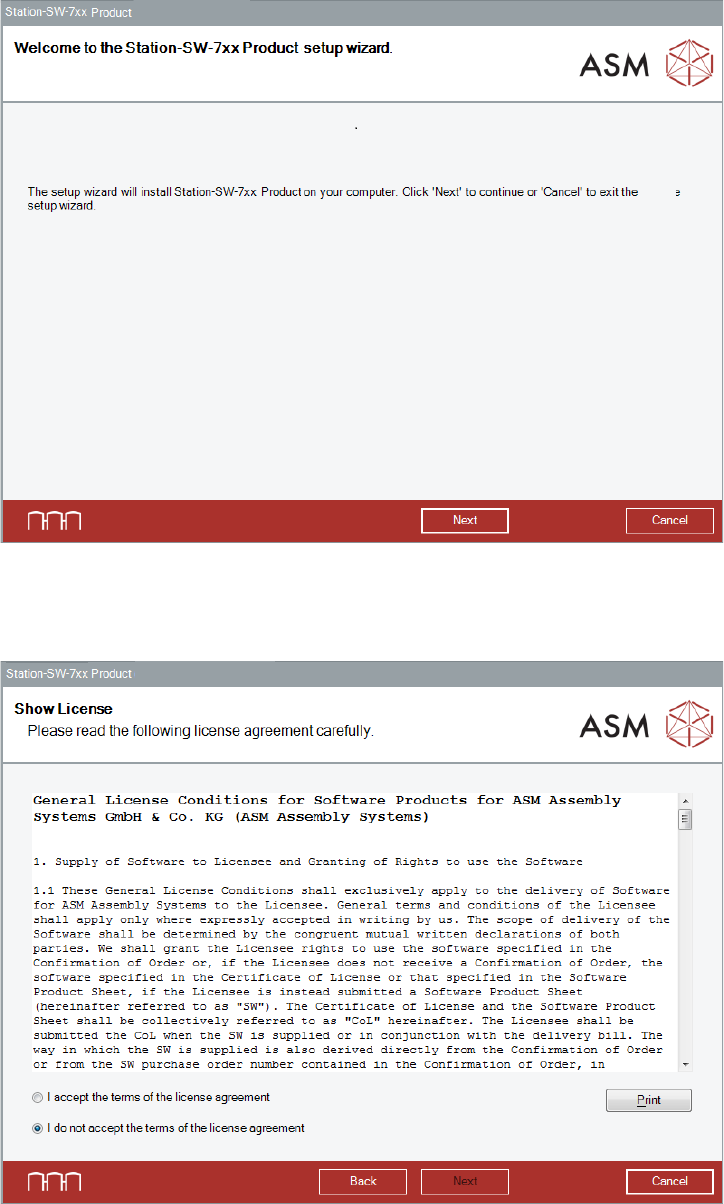
The Welcome dialog box of the station software setup wizard is displayed.
Figure 5-6: Welcome dialog box
► Click the Next button.
The Show License dialog box is displayed.
Figure 5-7: Accepting license
► Select I accept the terms of the license agreement to accept the license conditions.
► Click the Next button.
Station Software Version 712.0 (R18-2) / Installation Manual 11/2018 Edition
29
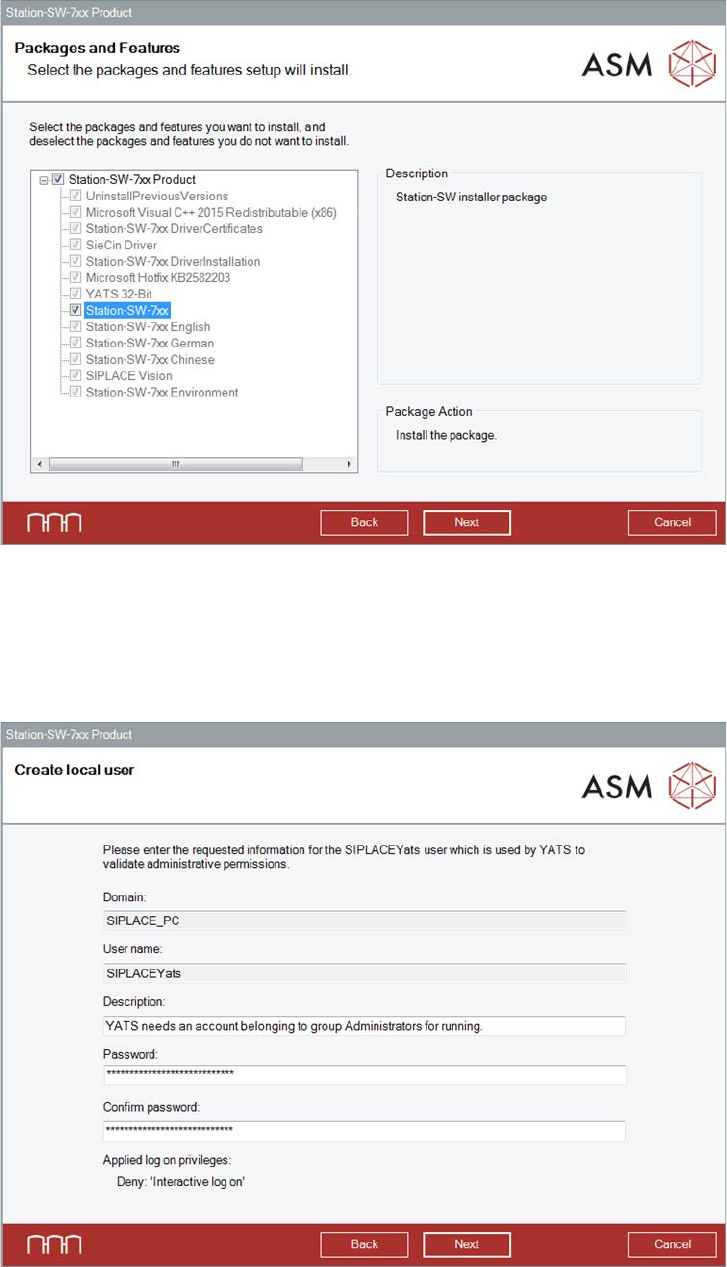
The Packages and Features dialog box is displayed.
Figure 5-8: Selecting packages and features
All software components are enabled by default. However, according to the dependency, individual
packages may be deselected.
► Click the Next button.
The Create local user dialog box is displayed.
Figure 5-9: Changing password for SIPLACEYats account
► You may change the password for the SIPLACEYats account here.
Station Software Version 712.0 (R18-2) / Installation Manual 11/2018 Edition
30
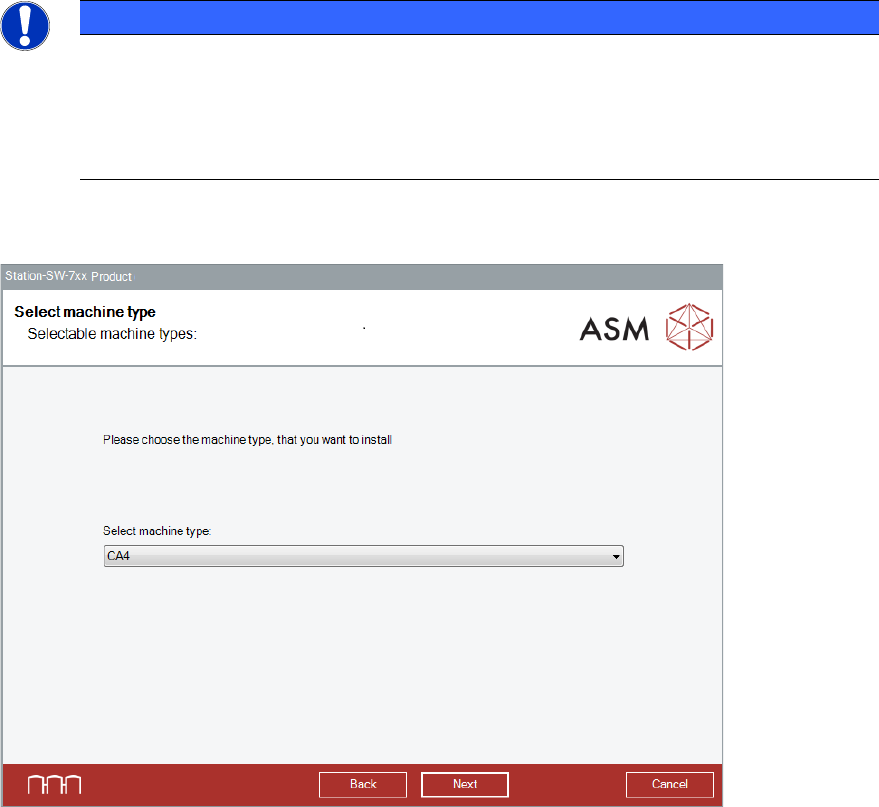
NOTICE
► If you want to change the password for the SIPLACEYats account and an older
station software version is already installed, you must uninstall the old station
software version manually first.
► If problems occur during installation of the SIPLACEYats account after that, you must
delete the account manually and install it again.
► Click the Next button.
The Select machine type dialog box is displayed.
Figure 5-10: Selecting the machine type
► Select the machine type for which the software shall be configured.
This entry field will be empty in the following cases:
– At initial installation.
– If a previous station software version < 710.x has been automatically uninstalled by the setup
wizard before installation.
– If a previous station software version 710.x (or higher) has been manually uninstalled before
installation. In this case, an initial installation will be performed.
► Click the Next button.