00198611-01_IM_712.0_R18-2_EN.pdf - 第30页
Station Software Ver sion 712.0 (R18 - 2) / Installation Manual 11/2018 Edition 30 NOTICE ► If you want to change t he password for the SIPLACEYats account and an older station software v ersion is already install ed, yo…
Station Software Version 712.0 (R18-2) / Installation Manual 11/2018 Edition
29
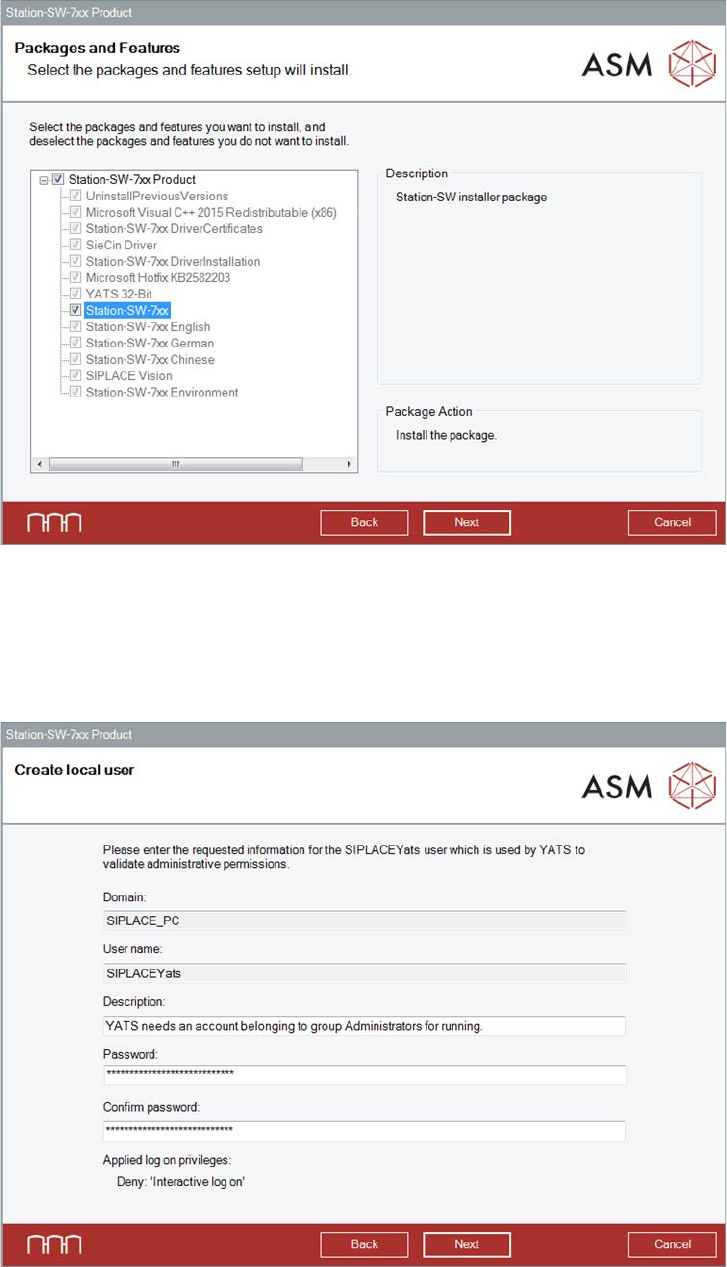
The Packages and Features dialog box is displayed.
Figure 5-8: Selecting packages and features
All software components are enabled by default. However, according to the dependency, individual
packages may be deselected.
► Click the Next button.
The Create local user dialog box is displayed.
Figure 5-9: Changing password for SIPLACEYats account
► You may change the password for the SIPLACEYats account here.
Station Software Version 712.0 (R18-2) / Installation Manual 11/2018 Edition
30
NOTICE
► If you want to change the password for the SIPLACEYats account and an older
station software version is already installed, you must uninstall the old station
software version manually first.
► If problems occur during installation of the SIPLACEYats account after that, you must
delete the account manually and install it again.
► Click the Next button.
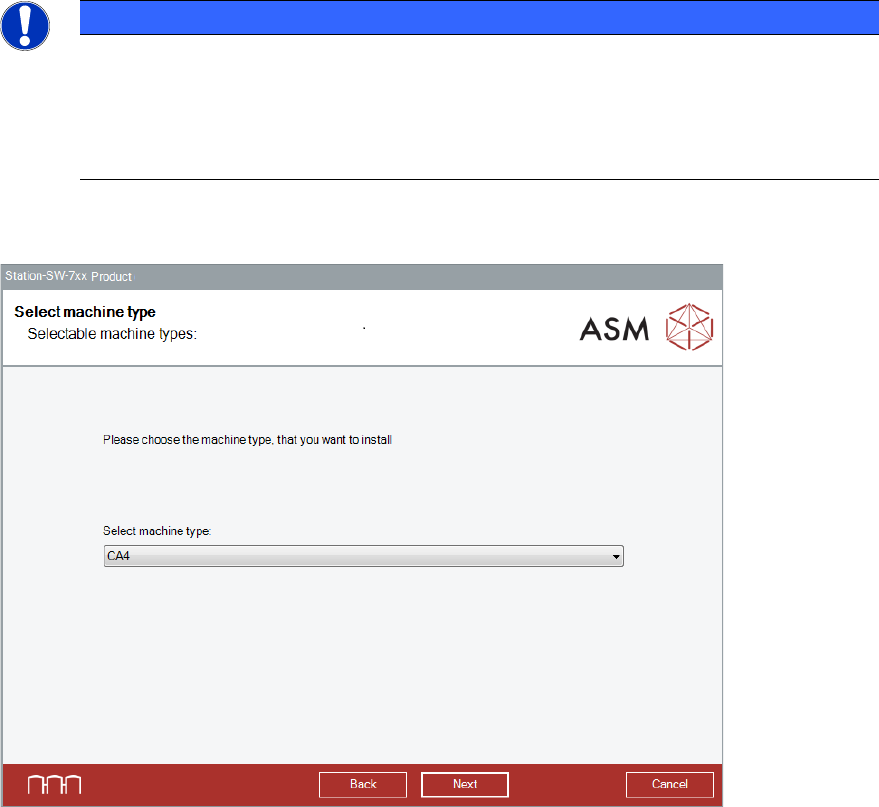
The Select machine type dialog box is displayed.
Figure 5-10: Selecting the machine type
► Select the machine type for which the software shall be configured.
This entry field will be empty in the following cases:
– At initial installation.
– If a previous station software version < 710.x has been automatically uninstalled by the setup
wizard before installation.
– If a previous station software version 710.x (or higher) has been manually uninstalled before
installation. In this case, an initial installation will be performed.
► Click the Next button.
Station Software Version 712.0 (R18-2) / Installation Manual 11/2018 Edition
31
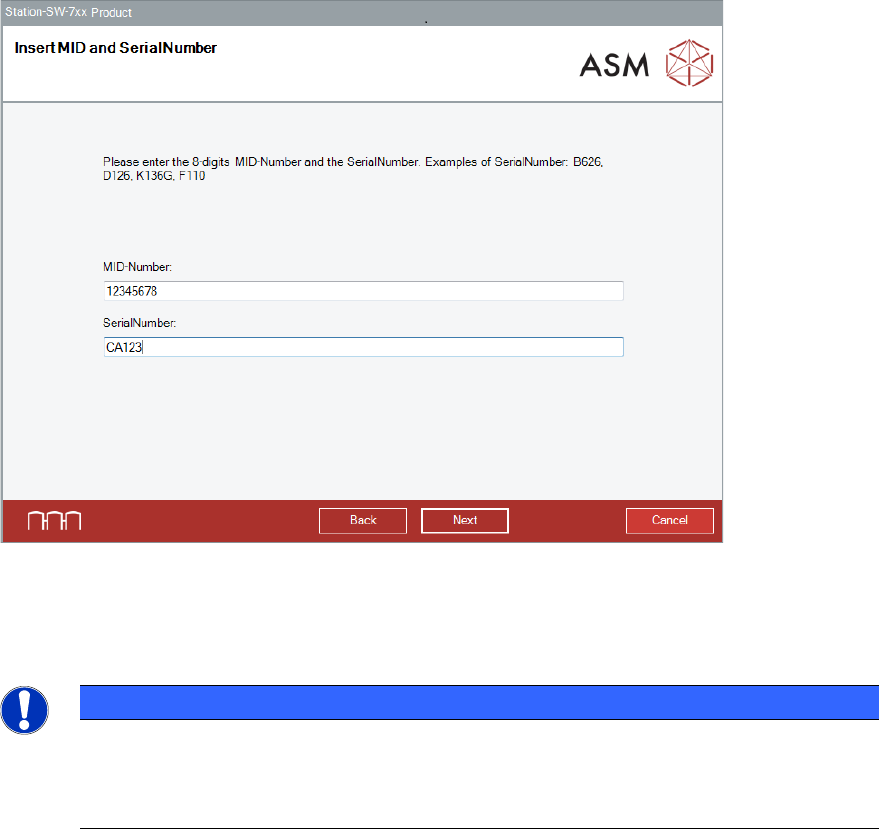
The Insert MID and SerialNumber dialog box is displayed.
Figure 5-11: Inserting Machine Identification Number (MID) and serial number
► Enter the 8-digit machine identification number in the MID-Number entry field.
► Enter the serial number in the SerialNumber entry field.
NOTICE
You will find the MID and the serial number on an adhesive label on the side of the
protective covers directly below the label for the number of the relevant location. The
number following the dash after the MID specifies the location and is not entered here
(e.g. 00000001-2 stands for location 2).
► Click the Next button.