00198351-01_AI_Location 2 Upgrade Kit_E by SIPLACE_en.pdf - 第24页
2 Installation of Location 2 Upgrade Kit 2.3 Recommended Installation Steps Assembly Instructions E by SIPLACE Location 2 Upgrade Kit 04/2017 24 ► Mount the side panel covers back in place onto the machine frame. ► Insta…
Assembly Instructions E by SIPLACE
Location 2 Upgrade Kit 04/2017
2 Installation of Location 2 Upgrade Kit
2.3 Recommended Installation Steps
23
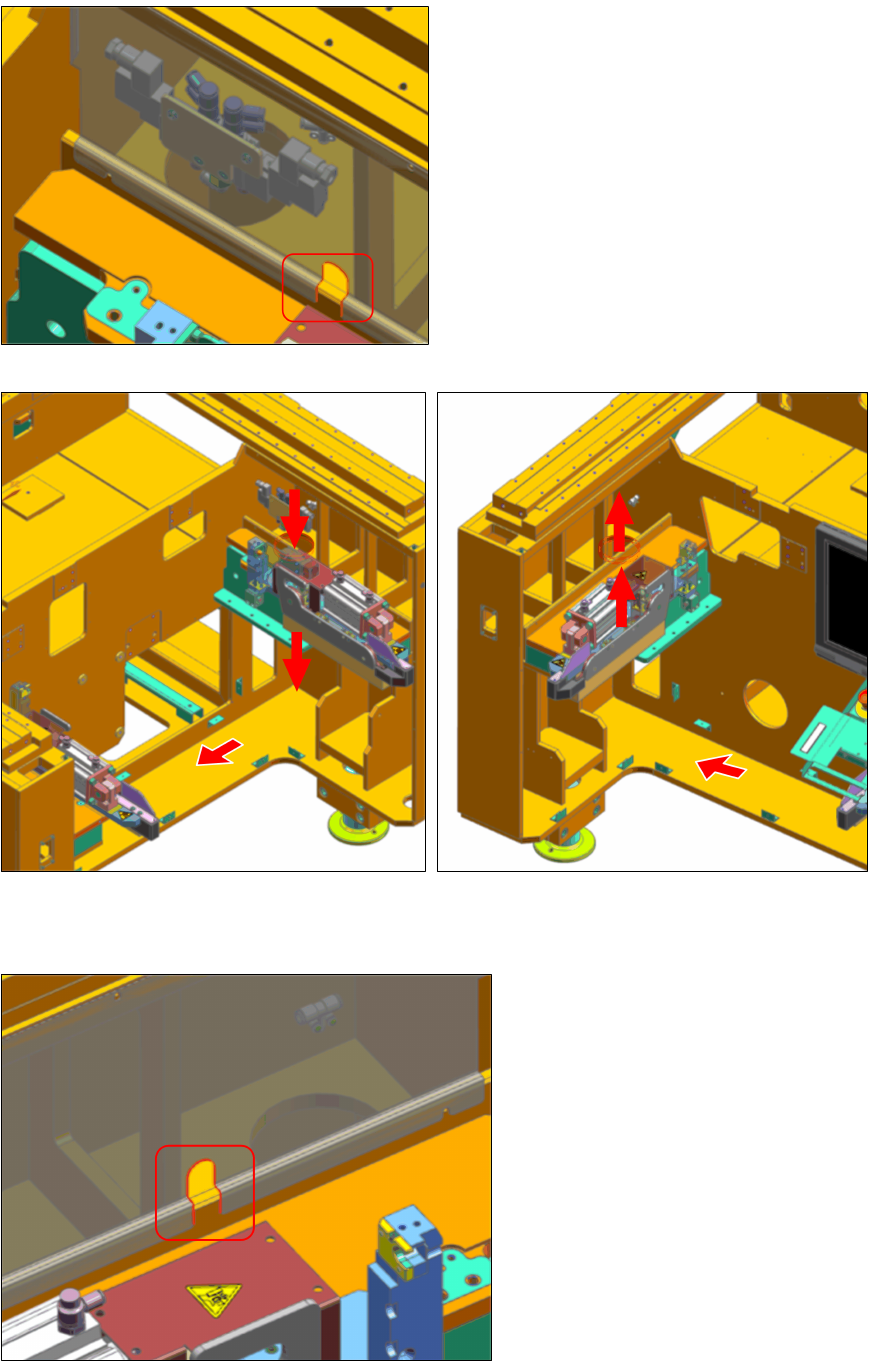
► Route the Tube TEE_R2-RET_R (port D2)
[03111722-xx], B_TOP-EXT_R (port B1)
[03111720-xx] and PUSH-OUT_R (port
D3) [03111724-xx] through the slot hole on
Top panel cover 4 [03106625‑xx].
► Take note of the tube routing for 2B_BTM-EXT_R (port B2) [03111721-xx] and 4A_BTM-
TEE_L1 (port C2) [03111719-xx]. They are routed as shown above.
► Route the Tube 2B_BTM-EXT_L
(port B2) [03111721‑xx],
TEE_L2-RET_L (port G2)
[03111723‑xx] and
PUSH-OUT_L (port G3)
[03111725‑xx]
through slot hole on Top panel
cover 3 [03106628‑xx].
2 Installation of Location 2 Upgrade Kit
2.3 Recommended Installation Steps
Assembly Instructions E by SIPLACE
Location 2 Upgrade Kit 04/2017
24
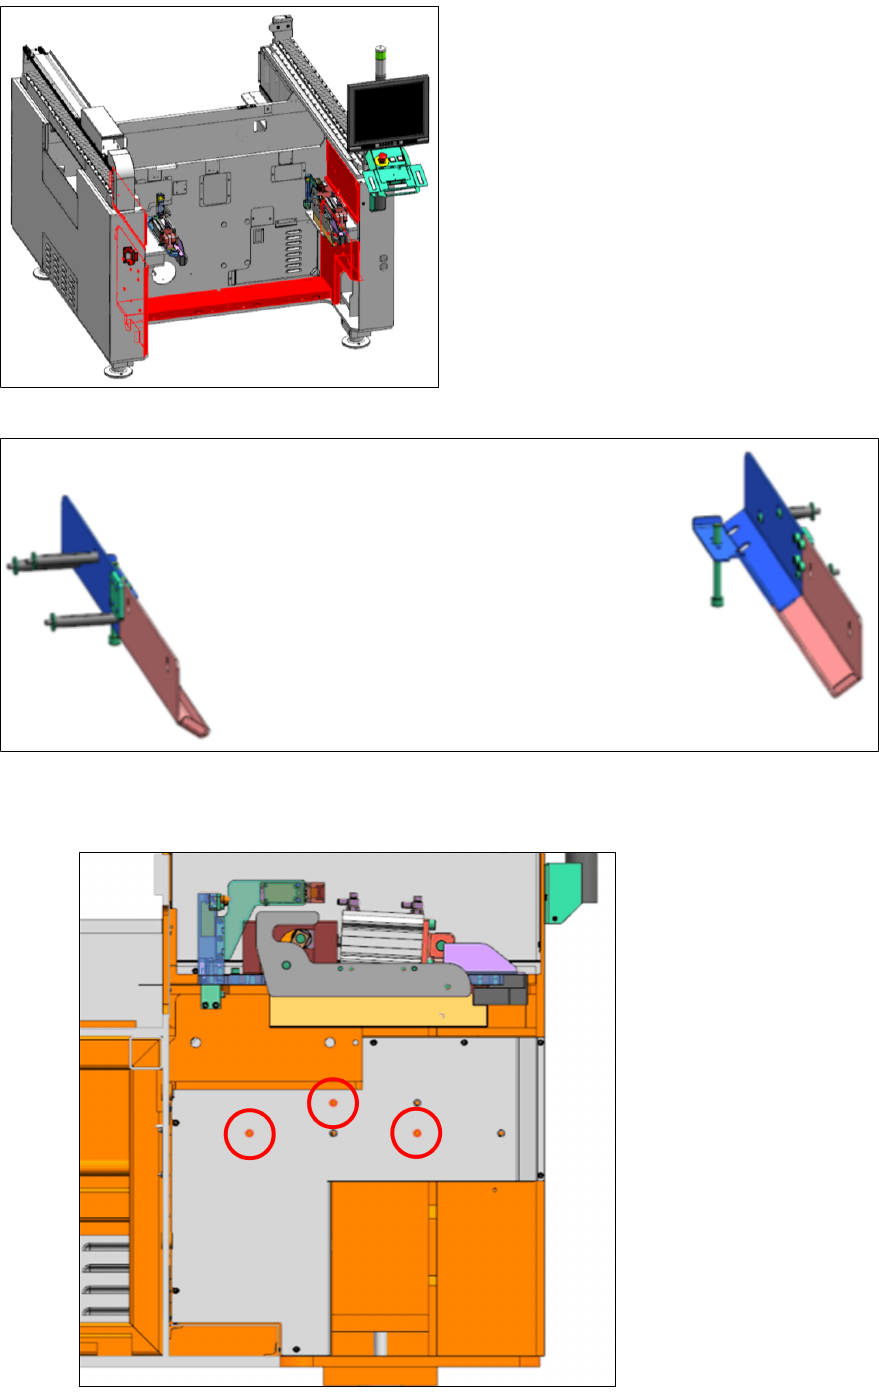
► Mount the side panel covers back in
place onto the machine frame.
► Install the Tape cutter mount assy [03106702-xx]. Depending on your machine type use the
indicated holes to mount the tape cutter side brackets as shown below. Pay attention that
there are different standoffs (see below).
Speed:
Assembly Instructions E by SIPLACE
Location 2 Upgrade Kit 04/2017
2 Installation of Location 2 Upgrade Kit
2.3 Recommended Installation Steps
25
Twin /
Flex:
NOTICE!
Standoffs used on location 2
The longer standoffs M8x84 [03106718-xx] are on the left.
The shorter standoffs M8x38 [03106776- xx] are on the right.
.