00193687-06_Installation SIPLACE Explorer2.1_DE.pdf - 第30页
3 Installation des SIPLACE Explorer Installati ons- und Konfigurationsanleitung SIPLACE Explor er 3.1 Erstinstallation von SIPLACE Explorer 2.1 Ausgabe 11/2006 DE 30 → Le sen Sie die Lizenzbe stimmungen. Wenn Sie zustimm…
Installations- und Konfigurationsanleitung SIPLACE Explorer 3 Installation des SIPLACE Explorer
Ausgabe 11/2006 DE 3.1 Erstinstallation von SIPLACE Explorer 2.1
29
3
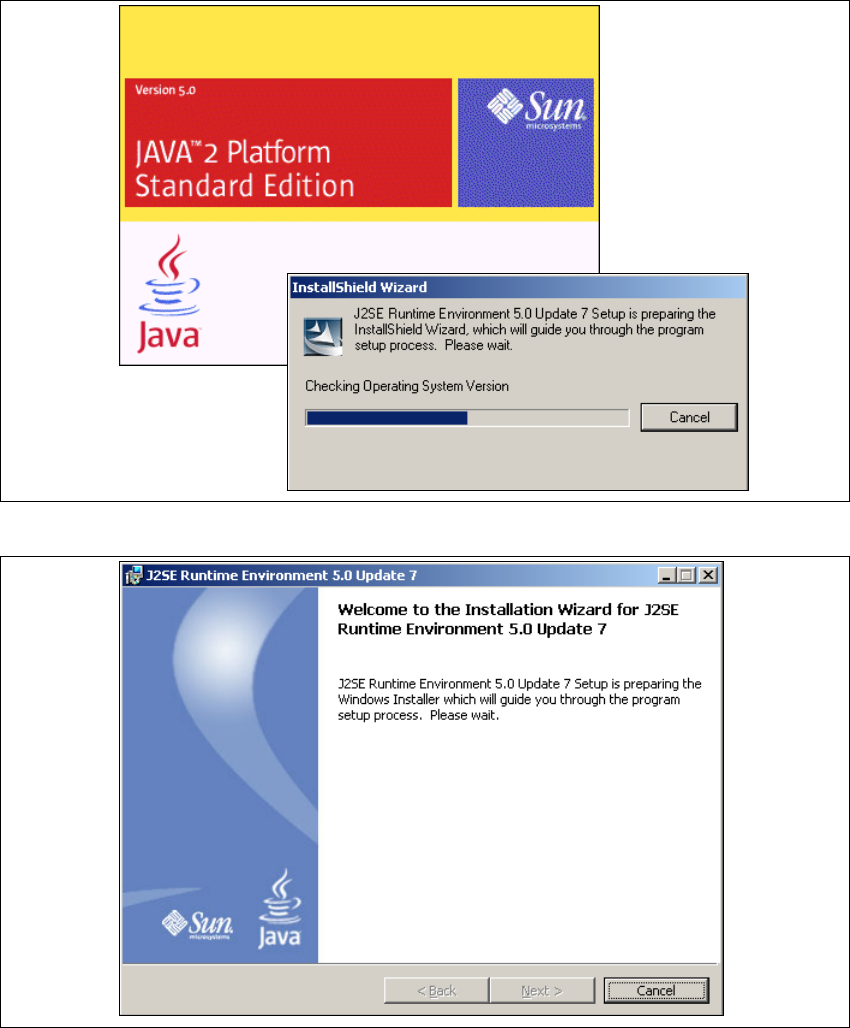
Abb. 3 - 2 Installshield Wizard - Vorbereitung der Installation
3
Abb. 3 - 3 Java 2SE Setup - Willkommen im SIPLACE Explorer
→ Beenden Sie alle anderen Programme und klicken Sie dann auf Next (Weiter). Das
Dialogfenster License Agreement wird geöffnet.
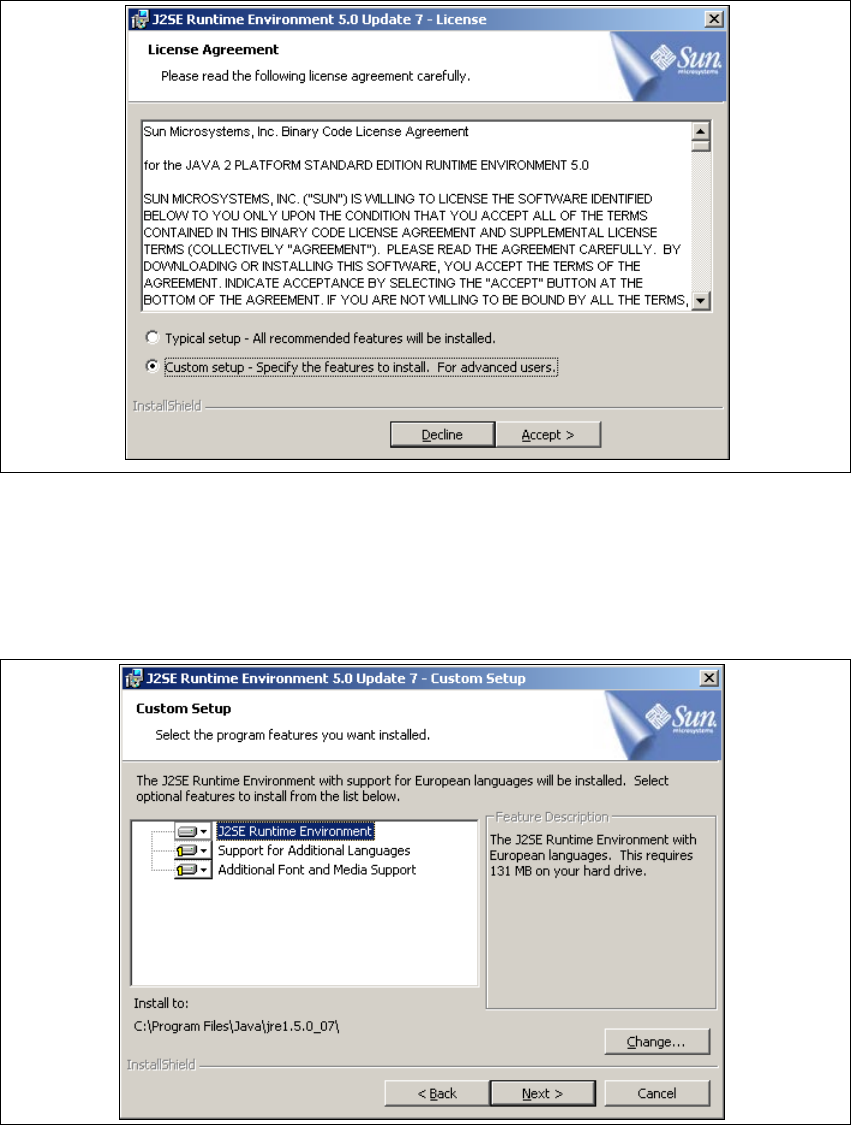
→ Wählen Sie die Option Custom Setup aus.
3 Installation des SIPLACE Explorer Installations- und Konfigurationsanleitung SIPLACE Explorer
3.1 Erstinstallation von SIPLACE Explorer 2.1 Ausgabe 11/2006 DE
30
→ Lesen Sie die Lizenzbestimmungen. Wenn Sie zustimmen, Accept > anklicken, die
Installation wird fortgeführt. Ansonsten wählen Sie Decline. In diesem Fall wird die Installation
beendet.
3
Abb. 3 - 4 Java 2SE Setup - Lizenzvereinbarungen
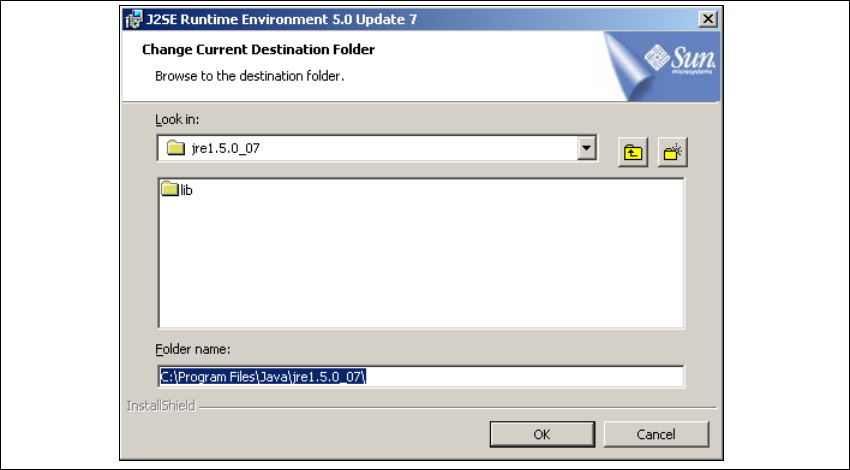
→ Das Dialogfenster Custom Setup wird geöffnet.
→ Wählen Sie jetzt die gewünschten Installationsoptionen aus und geben Sie den Ordner an, in
dem Sie die Anwendung installieren möchten. Der standardmäßig eingestellte Ordner ist
C:\Program Files\Java\jre1.5.0_07\. Diesen können Sie nach Bedarf auch ändern.
3
Abb. 3 - 5 Java 2SE Setup - Benutzerdefinierte Installation
Installations- und Konfigurationsanleitung SIPLACE Explorer 3 Installation des SIPLACE Explorer
Ausgabe 11/2006 DE 3.1 Erstinstallation von SIPLACE Explorer 2.1
31
→ Sie können die Standardeinstellung des Installationsordners durch Betätigung der
Schaltfläche Change (Ändern) verändern. Das Dialogfenster Change Current Destination
Folder wird geöffnet.
. 3
Abb. 3 - 6 Java 2SE Setup - Zielordner wählen
→ Geben Sie den gewünschten Ordner an und klicken Sie OK, um Ihre Auswahl zu bestätigen.
→ Um die Auswahl des Zielordners zu bestätigen, klicken Sie im Dialogfenster Custom Setup
(Benutzerdefinierte Installation) die Schaltfläche Next (Weiter) an.