00193687-06_Installation SIPLACE Explorer2.1_DE.pdf - 第41页
Installations- und Konfigurationsanleitung SIPLAC E Explorer 3 Installation des SIPLACE Explorer Ausgabe 11/2006 DE 3.1 Erstinstallation von SIPLACE Explorer 2.1 41 → Wenn die Installation beendet ist, erscheint nachfolg…
3 Installation des SIPLACE Explorer Installations- und Konfigurationsanleitung SIPLACE Explorer
3.1 Erstinstallation von SIPLACE Explorer 2.1 Ausgabe 11/2006 DE
40
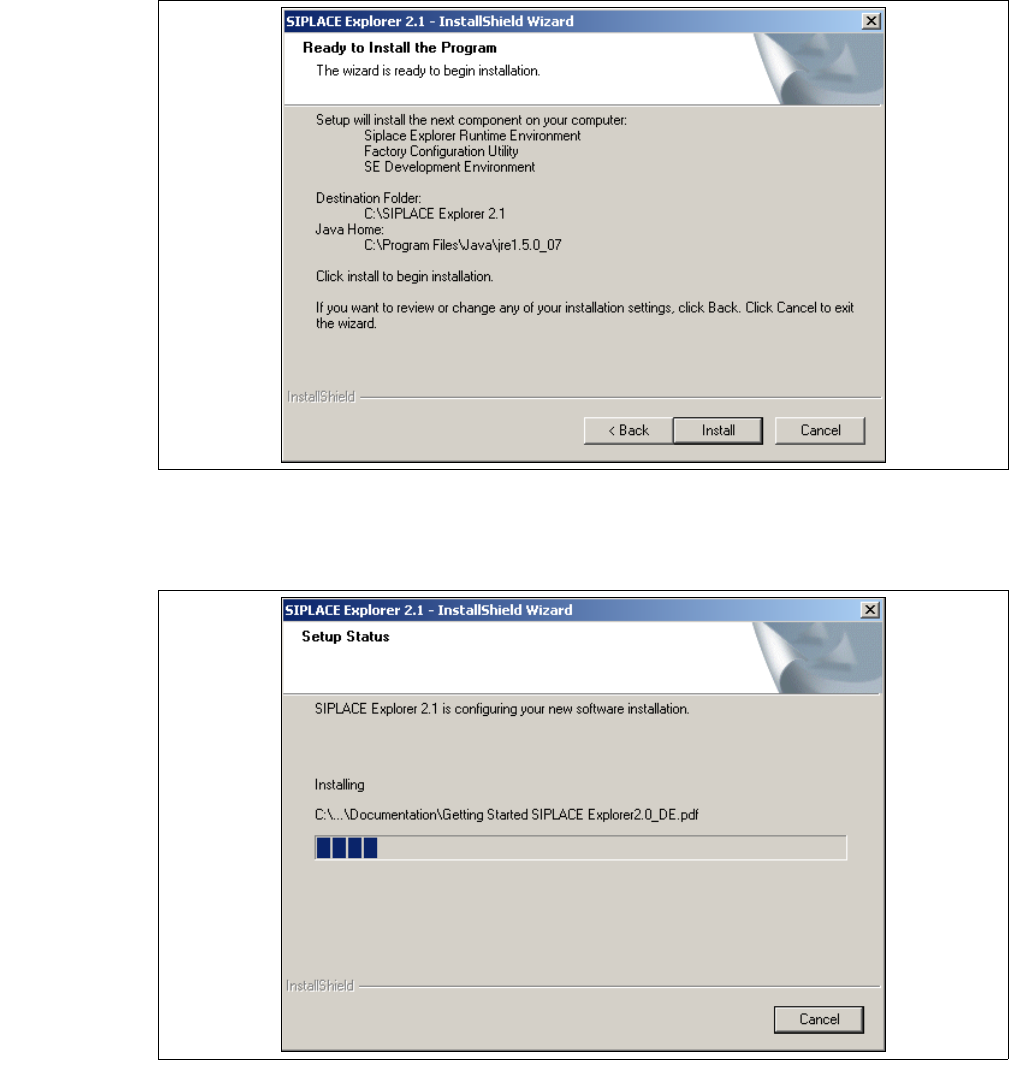
→ Das Dialogfenster Ready to Install the Program wird geöffnet.
3
Abb. 3 - 19 SIPLACE Explorer Setup - Dialogfenster 'Ready to Install' (Bereit für die Installation)
→ Betätigen Sie die Sie die Schaltfläche Install, die eigentliche Installation von SIPLACE
Explorer V2.1 beginnt.
3
Abb. 3 - 20 SIPLACE Explorer Setup - Dialogfenster 'Setup Status' (Status der Installation)
Installations- und Konfigurationsanleitung SIPLACE Explorer 3 Installation des SIPLACE Explorer
Ausgabe 11/2006 DE 3.1 Erstinstallation von SIPLACE Explorer 2.1
41
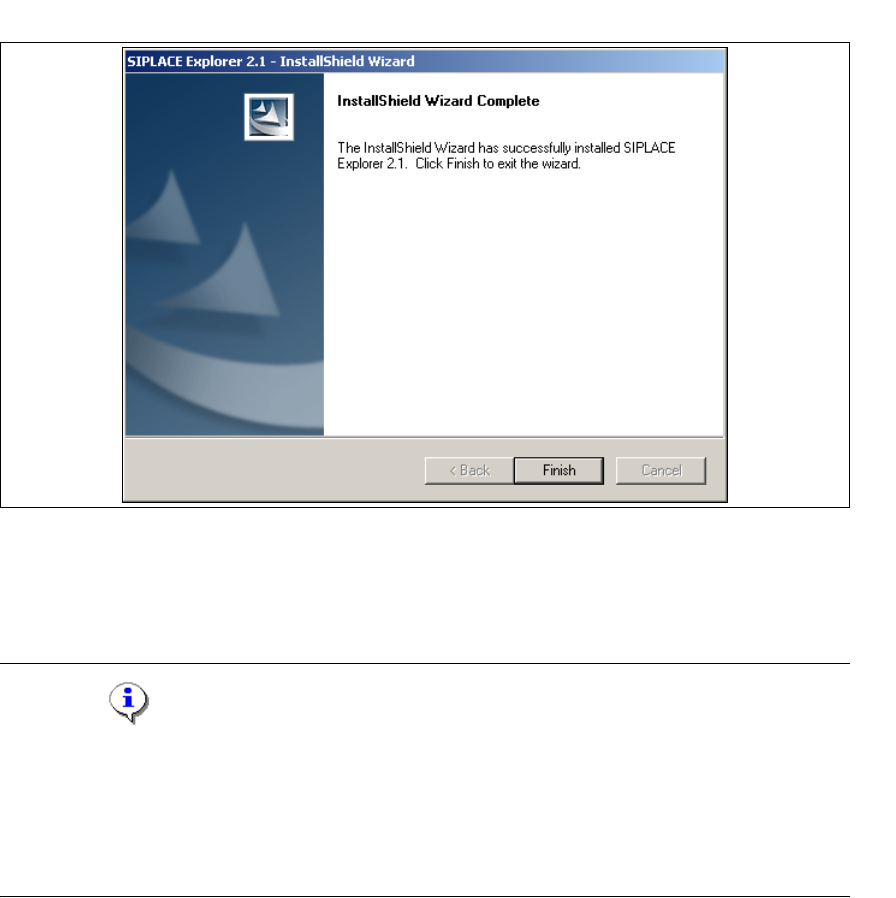
→ Wenn die Installation beendet ist, erscheint nachfolgendes Dialogfenster.
3
Abb. 3 - 21 SIPLACE Explorer Setup - Installation beendet
→ Klicken Sie auf Finish. Nach dem nächsten Start Ihres Computers können Sie SIPLACE
Explorer starten. Gehen Sie dazu vor, wie unter “SIPLACE Explorer starten” auf Seite 61
beschrieben.
HINWEIS
Nach der Installation von SIPLACE Explorer muss das System neu gebootet werden. Dies ist
notwendig, um sicherzustellen, dass der Port 1099 für die Java Runtime Environment verfügbar
ist. In seltenen Fällen wird der Port 1099 von einer anderen Applikation verwendet. Wird SIPLACE
Explorer ohne Neustart des Systems nach der Installation gestartet, so wird in solchen Fällen der
Fehler "SIPLACE Explorer 2.1 runtime not found" angezeigt. 3

3 Installation des SIPLACE Explorer Installations- und Konfigurationsanleitung SIPLACE Explorer
3.1 Erstinstallation von SIPLACE Explorer 2.1 Ausgabe 11/2006 DE
42
3.1.3 Bundled Web Server Installation
HINWEIS
Sie müssen über Windows Administrator-Rechte verfügen, um die Installation ausführen zu
können. 3
→ Legen Sie die SIPLACE Explorer CD in Ihr CD-Rom-Laufwerk ein. Es erscheint der Start
Screen.
3
Abb. 3 - 22 SIPLACE Explorer setup - Start Screen
→ Wählen Sie Bundled Web Server Installation aus. Ihr System wird auf folgende Software-
Komponenten und deren Versionen überprüft:
– Tomcat 5.5.9
– Java run-time environment (J2SE RTE 5.0.07)
– MS XML Core services 4.0 SP2
– MS Excel 2000 oder 2003