QuickStartGuide_SanDiskSecureAccessV2.0.pdf - 第3页
QUICK START GUIDE Page 3 Introduction Welcome to SanDisk SecureAccess™! SanDisk SecureAccess is a fast, simple way to store and protect critical and sensitive files on any SanDisk ® USB flash drive. Create a private vaul…
QUICK START GUIDE
Page 2
English _____________________________________________ 3
Français ____________________________________________ 5
Deutsch ____________________________________________ 7
Español _____________________________________________ 9
Italiano ____________________________________________ 11
Português __________________________________________ 13
简体中文
____________________________________________ 15
繁体中文
____________________________________________ 17
한국어
______________________________________________ 19
QUICK START GUIDE
Page 3
Introduction
Welcome to SanDisk SecureAccess™!
SanDisk SecureAccess is a fast, simple way to store and protect critical and sensitive files on any
SanDisk
®
USB flash drive. Create a private vault and simply drag-and-drop your valuable files
inside. Access to your vault is protected by a personal password, and your files are automatically
encrypted – so even if you share your SanDisk USB flash drive or it becomes lost or stolen, access
to your files are safe.
When it comes to protecting your private files, you can trust SanDisk
®
!
Supported Operating Systems:
Windows
®
XP
Windows Vista
®
Windows
®
7
Windows
®
8
Mac OS
®
X v10.5+
Required Hardware:
Available USB port
SanDisk USB flash drive
Getting Started
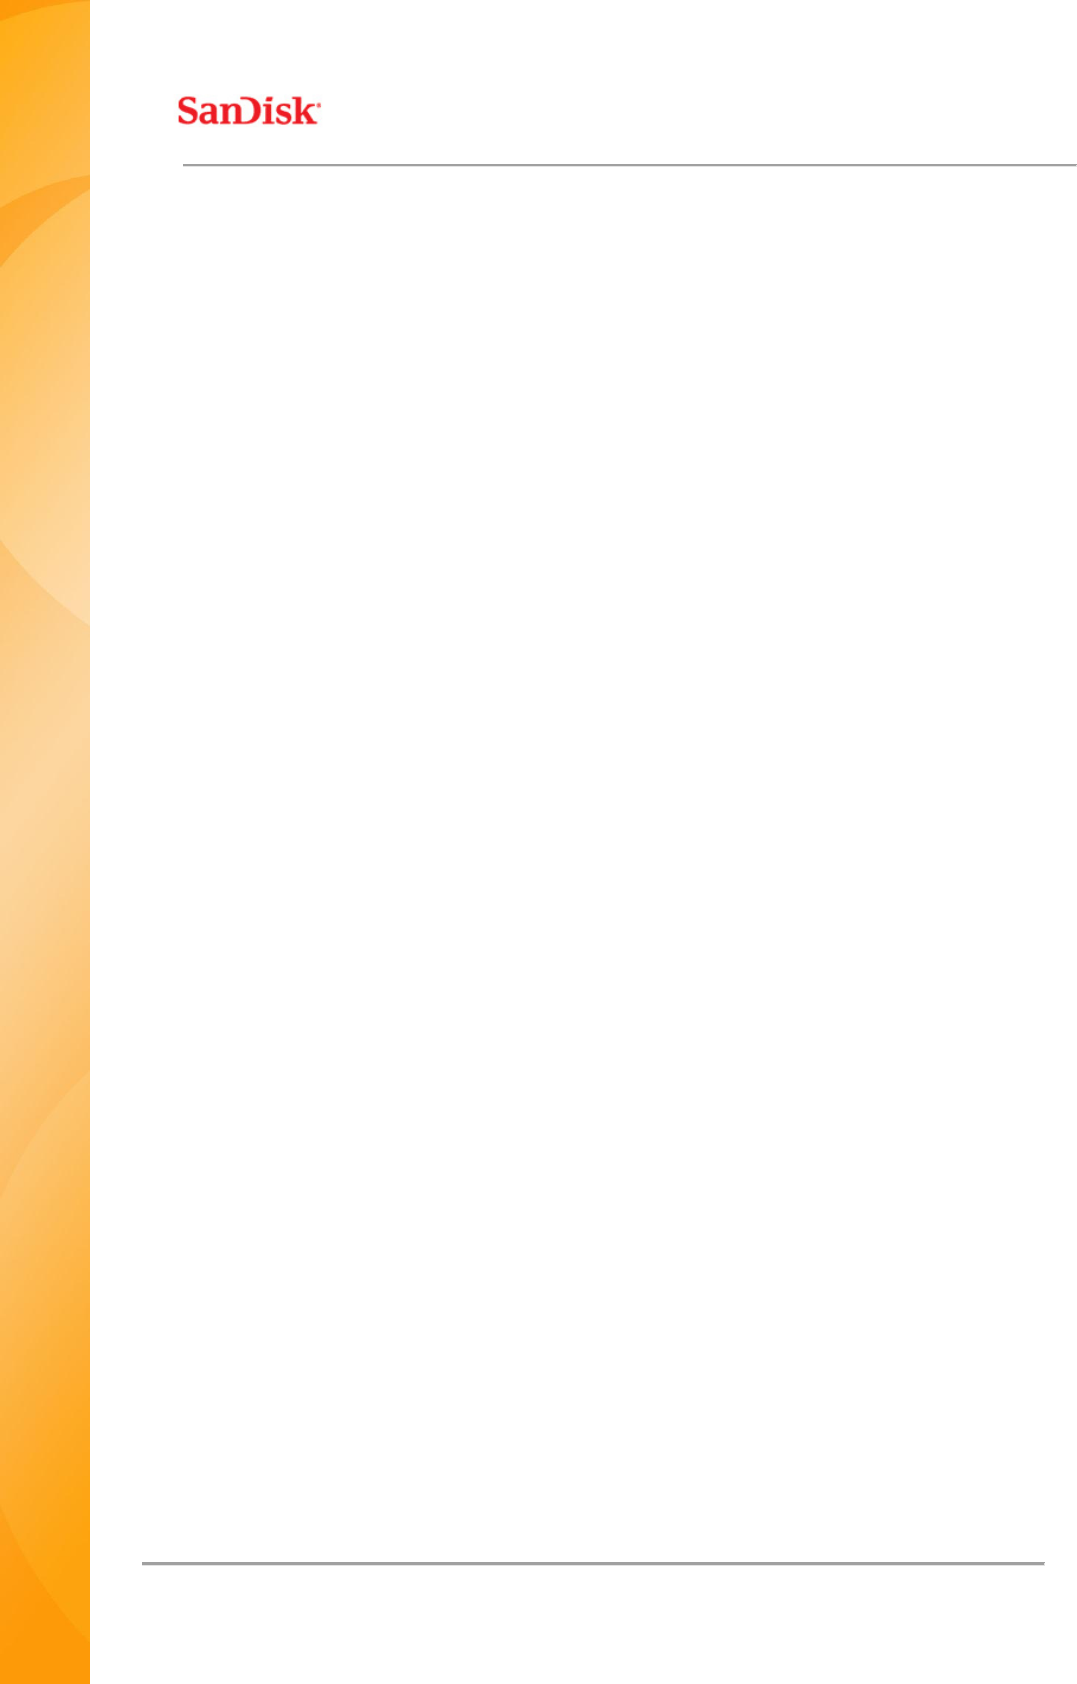
After connecting your SanDisk
®
USB flash drive to a computer, double-click the
SanDiskSecureAccessV2_win.exe (executable) file to run the SanDisk
®
SecureAccess™ software
(Fig. 1). (Some computers may require you to open the computer directory to locate connected
drive.)
Fig. 1
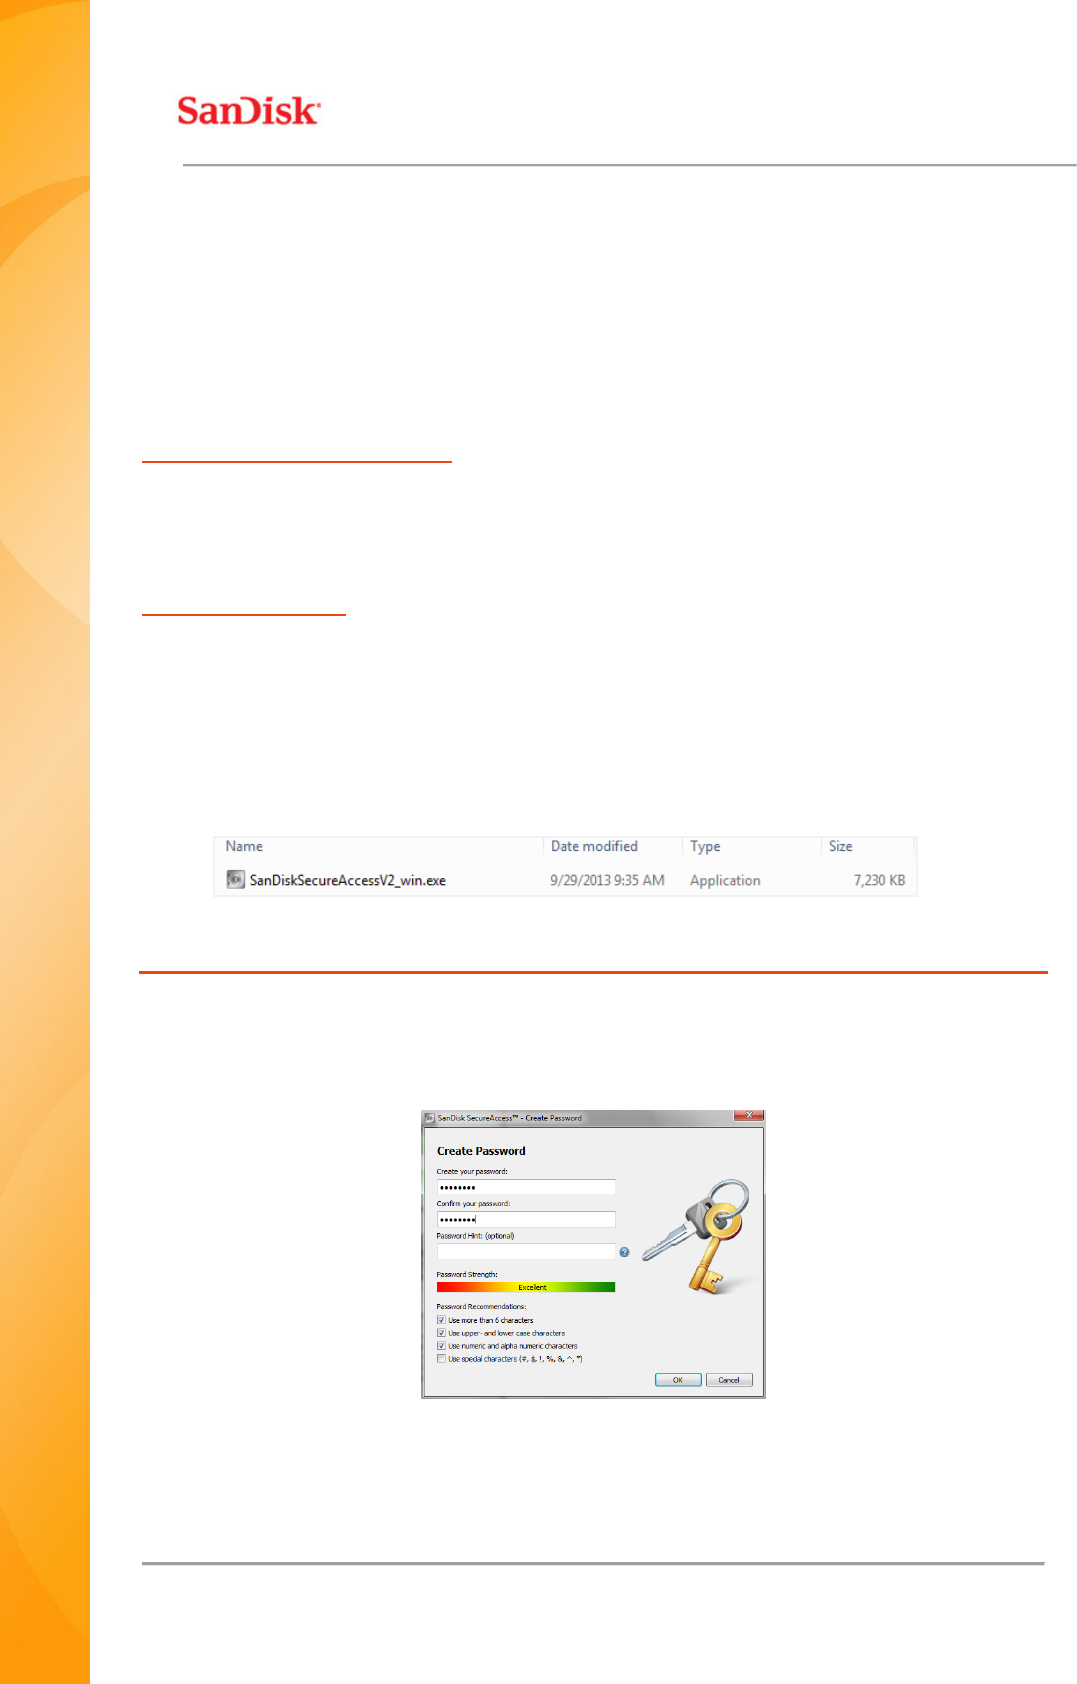
Set-up
Setting-up your private vault is simple!
1. Enter a personal password for your private vault. Password must be at least 6 characters
and contain numeric and alphabet characters. Enter a hint to help you remember your
password (Fig. 2).
Fig. 2
2. Click ‘OK’
QUICK START GUIDE
Page 4
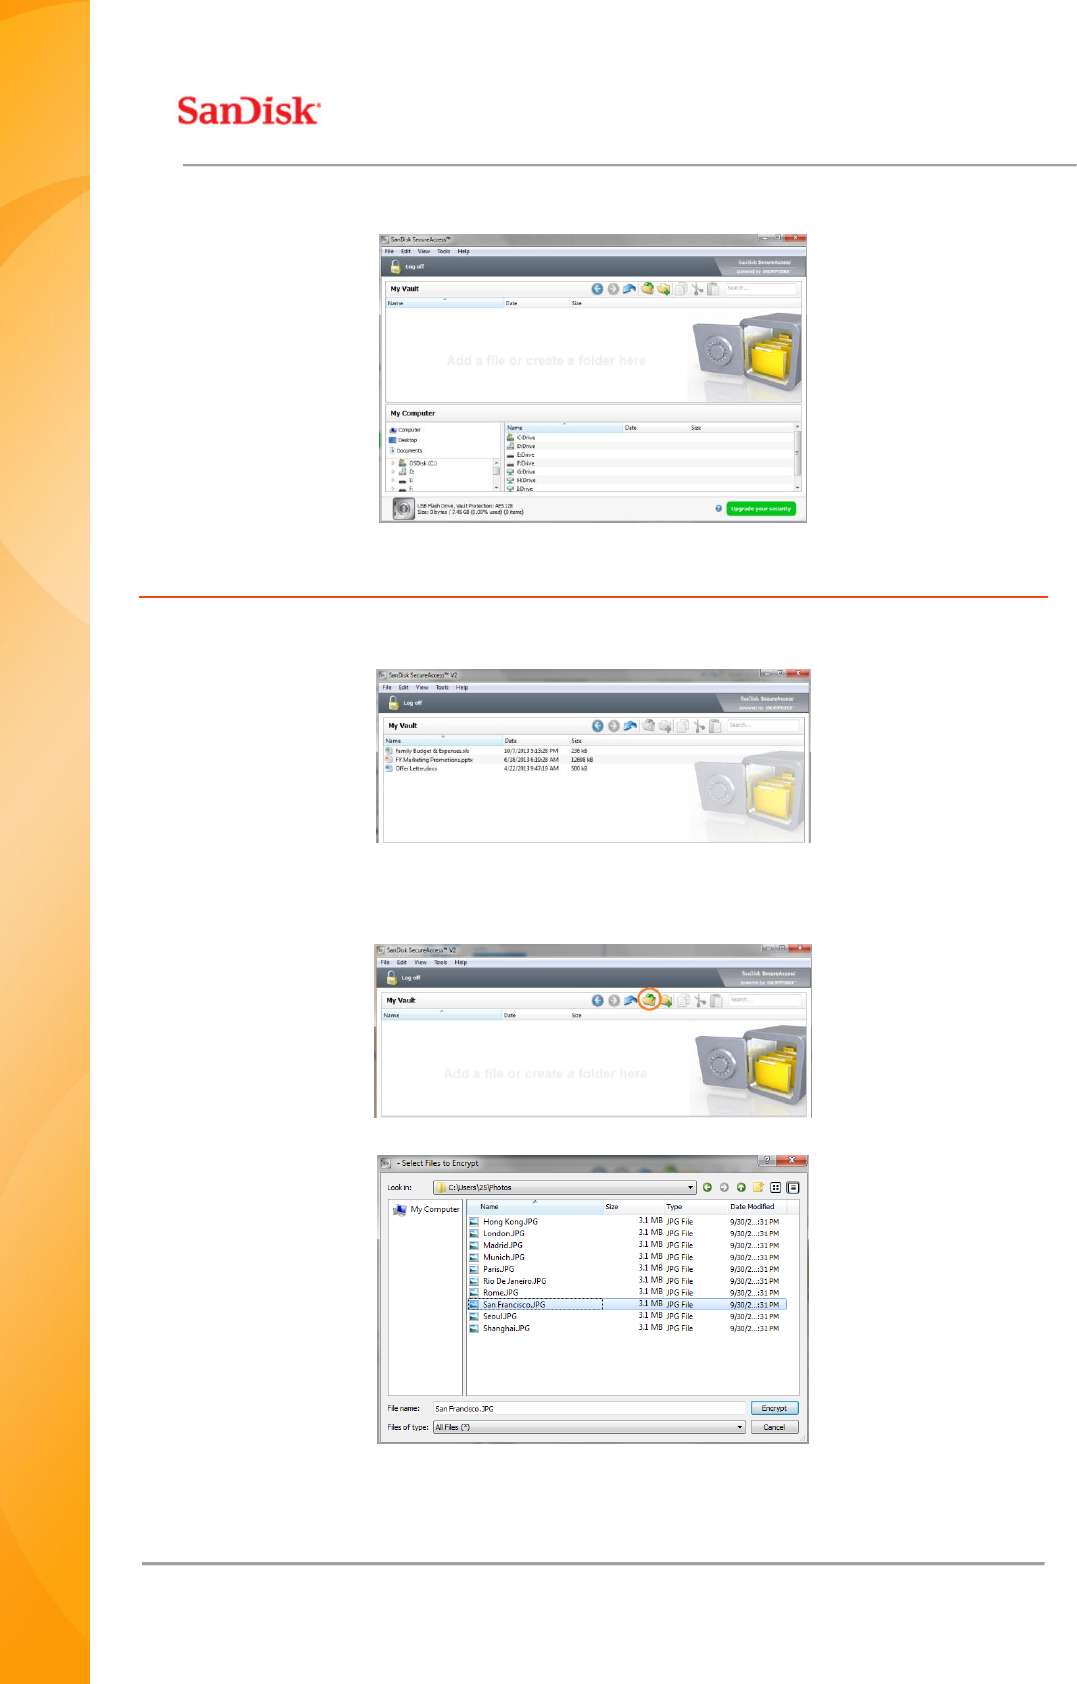
You are now ready to keep your valuable and sensitive files in your new private vault, and protect
access to them! (Fig. 3)
Fig. 3
Adding files or folders into your private vault
1. Select the files you want to add, and drag-and-drop them right into the main screen (Fig.
4).
Fig. 4
2. Add files manually by clicking on the ‘Add File’ icon from the My Vault menu bar, and select
the files you want to add (Fig. 5a and 5b).
Fig. 5a
Fig. 5b