Galaxy EX Safety Features.pdf - 第16页
SA FETY FEA TUR ES LOCKOUT 2.1 6 Tech ni cal R efere nce Ma nual C hapt er Issu e 6, Ju n 18 5. Di ss ipat e remai n ing air in the pn eumati c sup ply lin e. 6. Disconnect t he pneumati c suppl y line fr om the m ach in…
SAFETY FEATURES
LOCKOUT
Chapter Issue 6, Jun 18 Technical Reference Manual 2.15
LOCKOUT
Electrical Lockout
WARNING
LETHAL VOLTAGE. DANGEROUS VOLTAGES EXIST IN THIS EQUIPMENT.
ENSURE ALL ELECTRONIC COVERS AND MAIN MACHINE COVERS ARE FITTED
BEFORE OPERATING THIS EQUIPMENT.
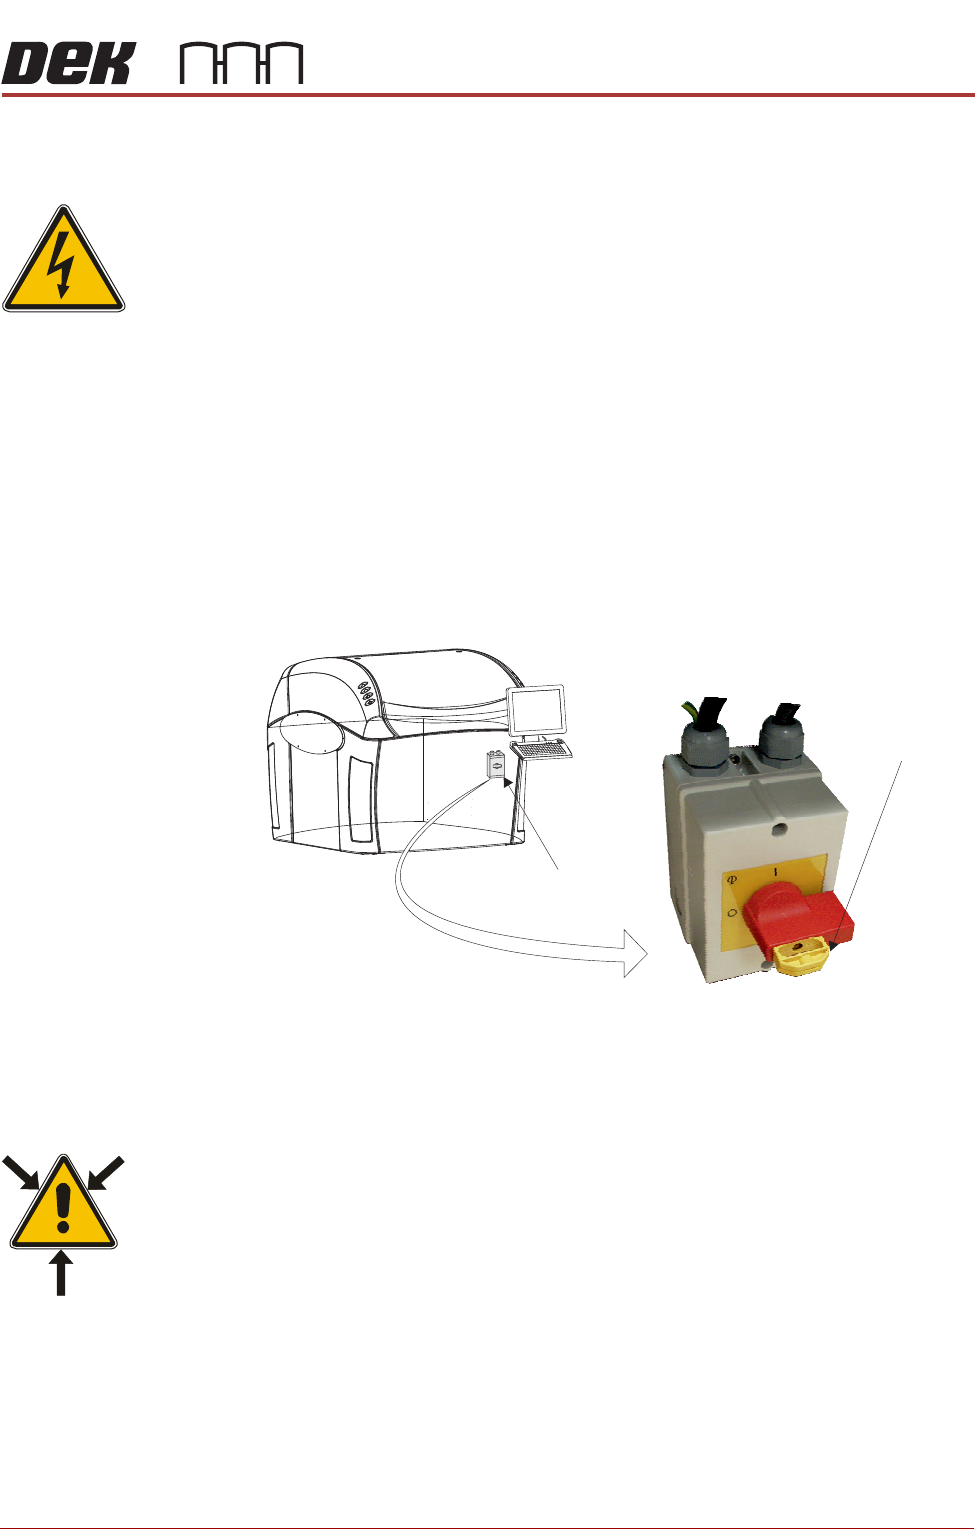
Electrical lockout of the machine is achieved by applying a padlock, or any other
suitable locking device, through the centre pull out section of the mains isolator
switch. This can only be achieved when the switch is in the OFF position.
To electrically lockout the machine, carry out the following procedure:
1. Close down the machine software.
2. Switch the mains isolator to the OFF position.
3. Pull the yellow centre section of the mains isolator switch out.
4. Fit a padlock or suitable locking device through the lockout point in the
centre section of the switch.
5. This completes the electrical lockout.
Pneumatic Lockout
WARNING
COMPRESSED AIR. COMPRESSED AIR SHOULD NEVER IMPINGE UPON THE
BODY. PORTS, PIPES, ETC MUST NEVER BE BLOCKED BY HAND. BEFORE
CONNECTING OR DISCONNECTING ANY PNEUMATIC COMPONENTS, ENSURE
THE COMPRESSED AIR SUPPLY HAS BEEN DISSIPATED AND DISCONNECTED
FROM THE MACHINE.
Pneumatic lockout of the machine is achieved by:
1. If the electrical lockout procedure has just been implemented, go to Step
4.
2. Close down the machine software.
3. Switch the electrical mains isolator to the OFF position.
4. Turn OFF the factory’s main pneumatic supply to the machine.
Mains Isolator Switch
NOTE
Switch shown in the positionOFF
Lockout Point

SAFETY FEATURES
LOCKOUT
2.16 Technical Reference Manual Chapter Issue 6, Jun 18
5. Dissipate remaining air in the pneumatic supply line.
6. Disconnect the pneumatic supply line from the machine.
7. This completes the pneumatic lockout.
SAFETY FEATURES
SEMI - LEVELS OF ELECTRICAL WORK
Chapter Issue 6, Jun 18 Technical Reference Manual 2.17
SEMI - LEVELS OF ELECTRICAL WORK
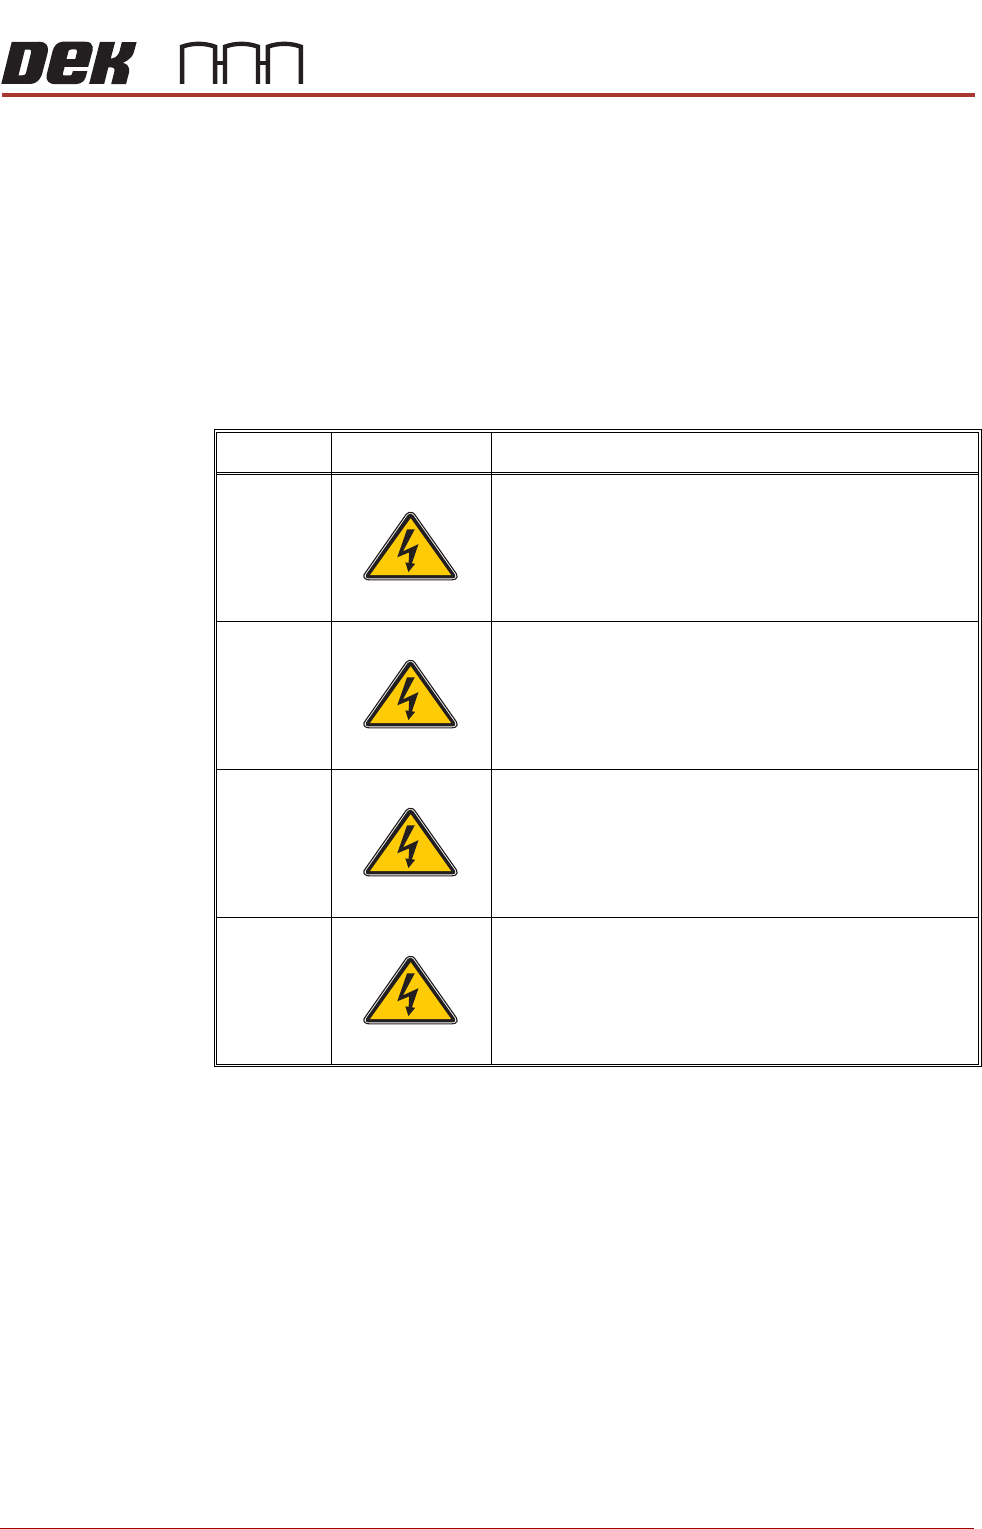
The table below show the four levels of energized electrical work carried out
on electrical equipment and its associated circuits, as defined by the SEMI S2-
0200 Standard.
Throughout all the ASM manuals when a maintenance or calibration
procedure falls within any of these four levels of energized electrical state, the
appropriate symbol is represented in the margin alongside that procedure.
A full definition can be found in the SEMI S2-0200 Safety Guidelines for
Semiconductor Manufacturing Equipment. See also NFPA 79-14.3, BS
EN60204, BS EN60950 and UL 1950.
Type
Symbol
Definition
1 Equipment is fully de-energized
2 Equipment is energized. Energized circuits are covered or
insulated. Work is performed at a remote location to pre-
clude accidental shock
3 Equipment is energized. Energized circuits are exposed
and accidental contact is possible. Potential exposures are
less than 30 volts rms, 42.4 volts peak to peak, 60 volts dc,
or 240 volt-amps in dry locations
4 Equipment is energized. Energized circuits are exposed
and accidental contact is possible. Potential exposures are
greater than 30 volts rms, 42.4 volts peak to peak, 60 volts
dc, 240 volt-amps in dry locations, or radio frequency (rf) is
present
SEMI 1
SEMI 2
SEMI 3
SEMI 4