a2-100-en(v3_0).pdf - 第14页
A2 Automatic Dispenser V3 .0 12 8. Maintenance Routine maint enance is needed to ensure that the machine remains in good working conditi on and has a lon g service l ife. Maintenance and any repairs shoul d only be car r…

A2 Automatic Dispenser V3.0 11
according to the dispensing software reminders.
No need to add water to the dry brush container. Add some water to the wet brush container (Do not
exceed the cleaning wheel shaft). The clean shall be done by following manners to ensure the cleaning
effects.
Detailed steps as below:
1) Open the side door of the left front of the dispenser then turn the lock handle clockwise to loose the
cleaning box;
2) Pull the cleaning box out;
3) You may clean the brush wheel and the cleaning box separately. Rotate the wet brush for a better
clean of the cleaning box. Clean each valve bottom thoroughly.
4) Put the cleaning box back and push down lock handle. Lock the side door.
Lock Handle
Brush Assy
Dry
Brush
Wheel
Wet Brush
Wheel
Cleaning
Box
Clean bottom of
all the valve
bodies
A2 Automatic Dispenser V3.0 12
8. Maintenance
Routine maintenance is needed to ensure that the machine remains in good working condition and has a long
service life. Maintenance and any repairs should only be carried out by qualified personnel.
8.1
D
D
a
a
i
i
l
l
y
y
M
M
a
a
i
i
n
n
t
t
e
e
n
n
a
a
n
n
c
c
e
e
Add colorant in time when software shows low colorant warning
If the colorant in the canister is too little, less than 0.5L,which will affect
the accuracy of the dispensing. Then cover the canister lid
Keep machine power on; even it is not used.
8.2 Periodical Maintenane
Do the following maintenance every 1-6 months:
Check stirring paddle inside each canister, see whether it works; if not, repair.
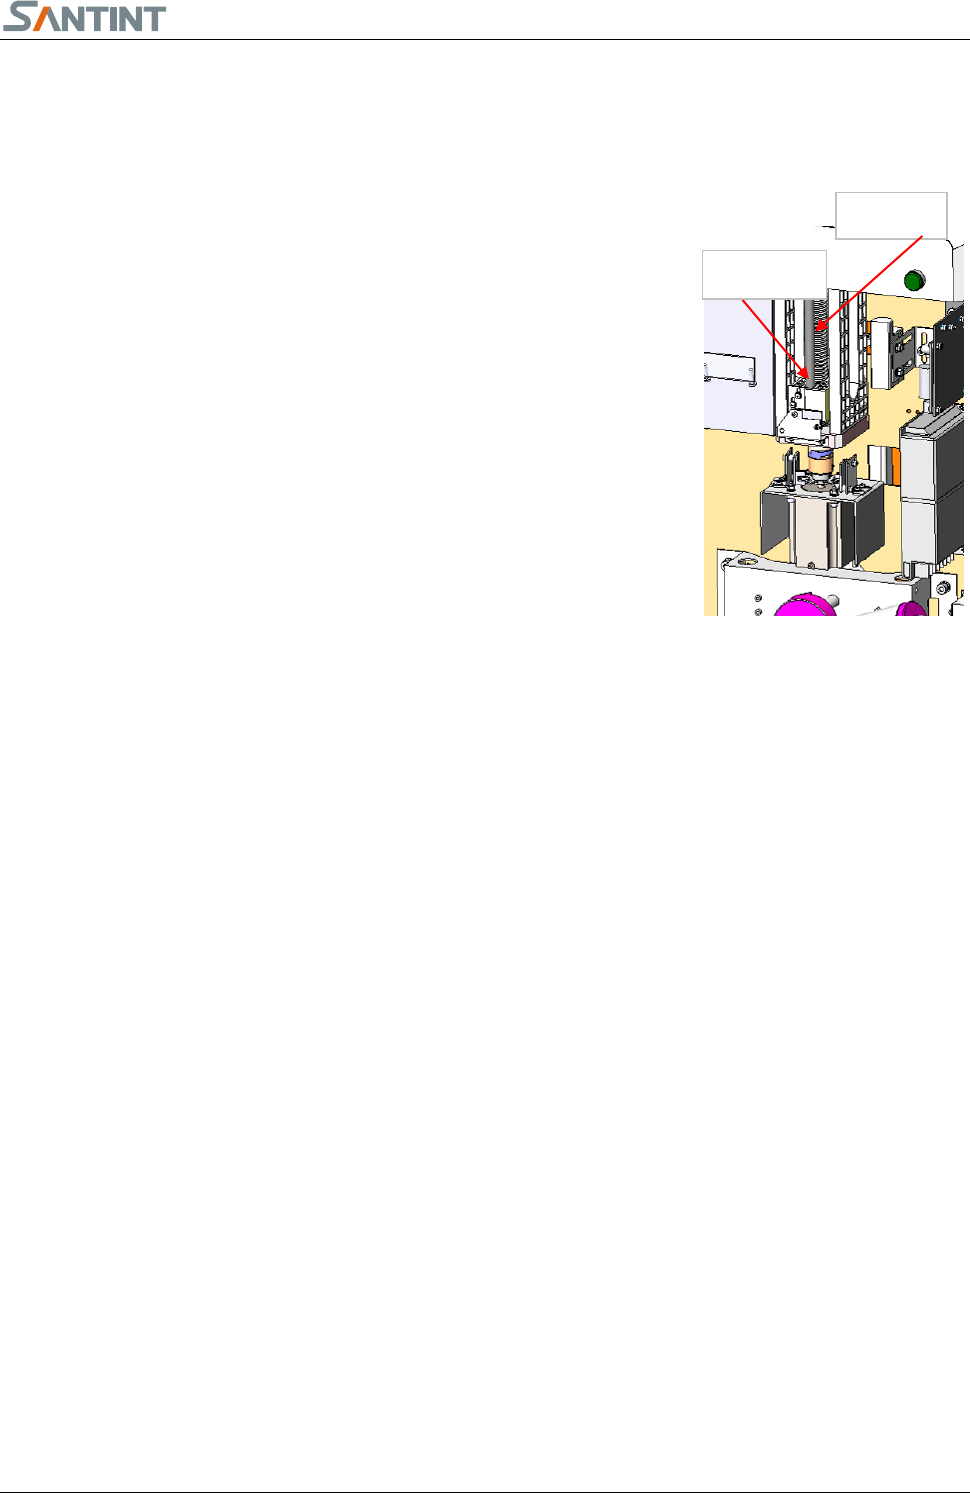
Lubricate screw and guiding rod in every six months
If the machine has not been used over one week, it shall be powered on and recirculate it automatically
before usage.;
9. Replacing Spare Parte
1)Replacing Outer Canister:
Loose the three screws which fix the canister on the turntable using screwdriver, and then drive the canister
anticlockwise to take off the canister.
2) Replacing Inner Canister:
a. If you want to replace the inner canister, you will take off the outer canister first.
b. Remove the screw on the bracket to fix the canister, pull out the bracket for 10mm. Pay attention to not to
pull out the bracket too much to avoid the colorant leaking off the canister.
c. Rotate the canister anticlockwise, the canister can be taken off the turntable
Fig8.2.1
Screw
Guide Pin

A2 Automatic Dispenser V3.0 13
10. Circuit Diagram