00193888-0402_AI_LBO_HFXD3_DE+EN.pdf - 第34页
2 Assembly instructions: Long board option - SIPLACE HF -series / X-series / D3 Long board 02/2007 Edition 34 : Pull the connecting cable an d the hose (on DC: 2 cables, 2 hoses) through th e opening in the corner of the…
Long board 2 Assembly instructions: Long board option - SIPLACE HF-series / X-series / D3
02/2007 Edition
33
2.5.2 Work in processing area 2
: Remove the cover over the conversion board (6 screws).
2
2
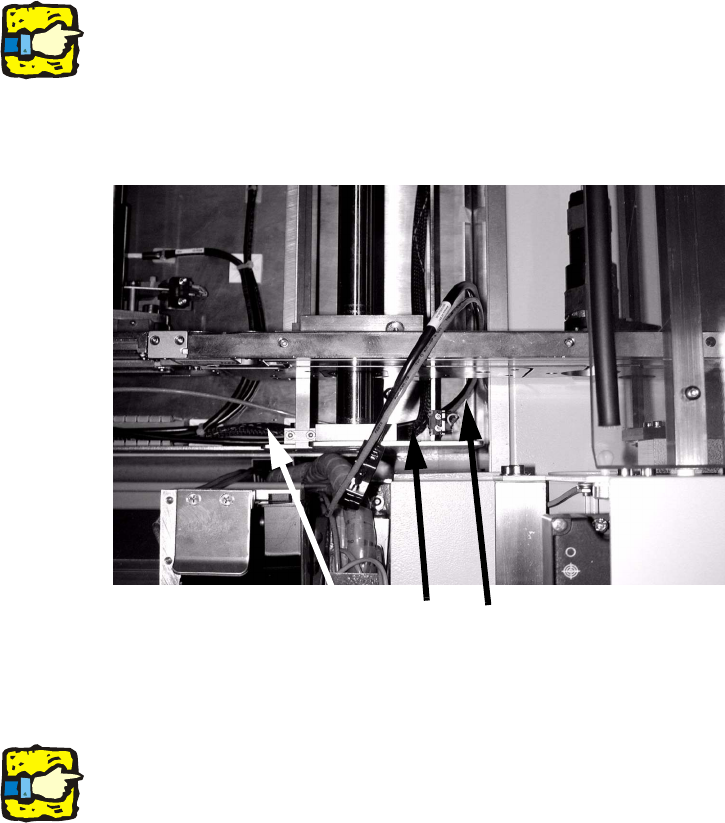
: Remove the protective cover over the cable duct.
2
2
: Open the cable duct.
2
2
Protective cover over cable duct
2 Assembly instructions: Long board option - SIPLACE HF-series / X-series / D3 Long board
02/2007 Edition
34
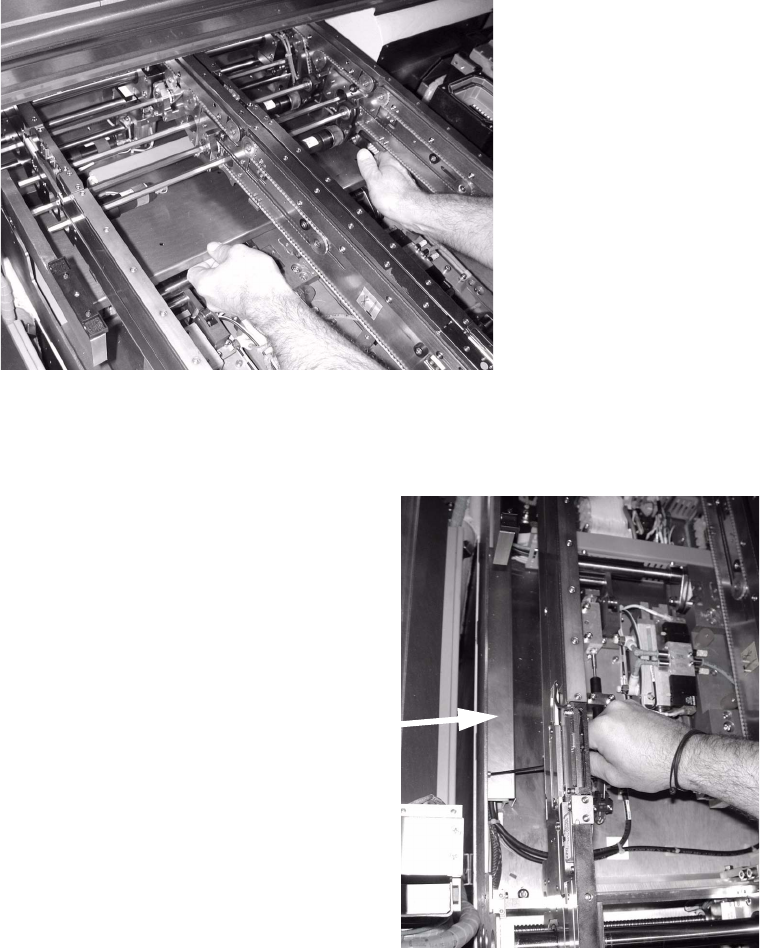
: Pull the connecting cable and the hose (on DC: 2 cables, 2 hoses) through the opening in the
corner of the conveyor assembly tray.
2
Fix the cable and hose from the unit to the corner of the assembly tray using cable ties, ideally at
the bottom on the floor of the assembly tray so that the width adjustment unit can move over them
without touching.
With the dual conveyor, it is very important to remember that there are 2x sets of cables and hose,
and both have to be fixed. 2
2
2
2
The unit must be attached to the stationary conveyor side wall and the switch actuator to the mov-
ing side wall. 2
2
: Connect the connector on the unit to the connecting cable.
: Connect the hose to the quick-release coupling on the unit.
2
2
2
2
2
2
Run cables and connectors through
the corner and fix with cable ties.
Long board 2 Assembly instructions: Long board option - SIPLACE HF-series / X-series / D3
02/2007 Edition
35
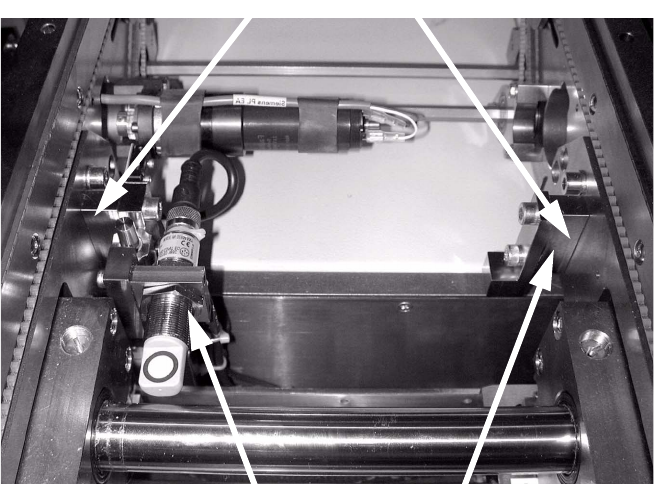
: Fit the unit to the stationary conveyor side wall and the actuator to the moving conveyor side
wall. A spacer block is fitted beneath both the unit and the actuator:
– Actuator with 2x M6 x 25 screws
– Unit with 2x M6 x 30 screws.
The adjustments are carried out using the adjusting gauge (for settings, see Section 2.5.4). 2
2
2
: Set the stopper position using the LBO HF assembly gauge.
: Unscrew the proximity switch to a distance between fixing bracket and proximity switch is 38
mm.
2
2
2
2
2
2
2
Unit
Actuator
Spacer block
NOTE:
On the photo you
see "Fixed
conyeyor rail left".