ET8383-說明書(英文).pdf - 第34页
30 Ⅴ .T rou bleshooting and Maintenan ce 5 .1 T rouble shoo ting and analysis Item T rouble shooting Reason Measure 1 The u nit can’t res et. Please check if the emergency BTN was pressed or not. Dismis s the emergency B…
29
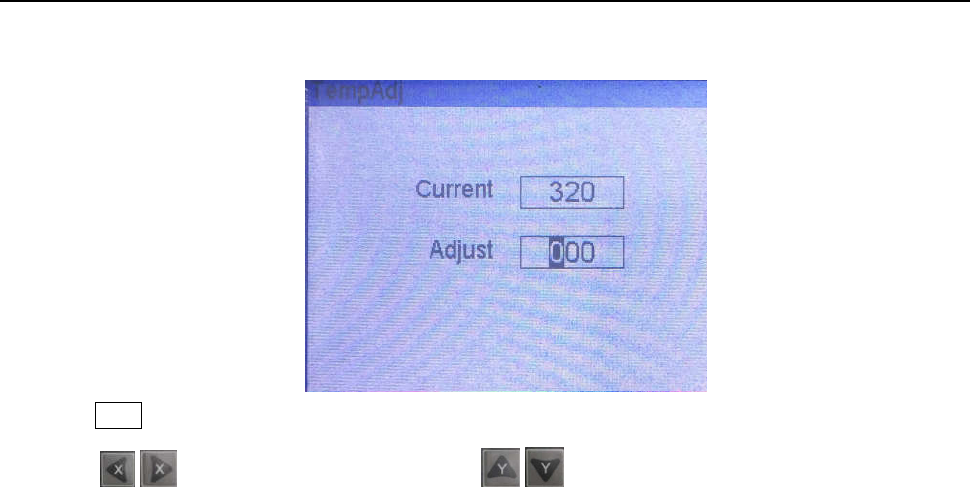
4.3.3 Temperature calibration menu
Press SHIF button for 3s to enter into the temperature calibration menu.
Pres
s
\ butt
on to change the digital; press
\ butt
on to change the number.

30
Ⅴ.Troubleshooting and Maintenance
5
.1 Trouble shooting and analysis
Item
Trouble shooting Reason Measure
1 The u
nit can’t reset.
Please check if the
emergency BTN was pressed
or not.
Dismiss the emergency BTN and
press the ORG BTN.
2
The Z axi
s unit
movement wasn’t
accurate.
Out of the weight or the
speed.
If the unit’s accurate decreased,
reduce the speed and it will be
remission.
Adjust
the
verticality or
paral
lelism of the track.
Tighten the screws of the tracks.
3
The
motor was
abnormal.
The board or the motor was
bad.
If it was still bad after changed the
signal wires of motor, the board
doesn’t have matter. Change the
wires of drivers, if the bad one
works after changed the wires, it
proves the motor was bad, if the
normal one doesn’t work, it proves
the driver is bad.
4
The
firmware
always displays
EMERGENCY
STOP PLEASE
RESET
Was not reset.
Please dismiss the emergency
BTN and reset the unit, if it
doesn’t work, the relay of the
power board was abnormal.
5
The
unit is always
alarming.
If overcome the trouble it
was still alarming, maybe the
emergency BTN was bad or
the alarm flag wasn’t
feedback.
Press the emergency BTN and
check if power will be cut or not.
If the power wasn’t cut, the
emergency BTN i
s bad.
8
There is som
ething
strange in the lead
screw.
1. The bearings are damaged.
2. Lack of lubricating oil.
1. Clean or change the bearings.
2. Add the lubricating oil.
9 The
lead screw was
1. The
lead screw wa
s bent
1. Ch
ange the lead screw.
31
Item
T
rouble shooting
Reason
Meas
ure
shaki
ng while
moving.
2. The
lead screw was n
ot
concent
ricity with the motor.
2. A
djust the place of the lea
d
scr
ew.
11 The belt
s slipped.
1. The
belts loos
en.
2. There
is some lubricatin
g
oil
on the belts.
1. A
djust the motor’s place for
tightening the bel
t.
2. Clean
the lubricating oil.
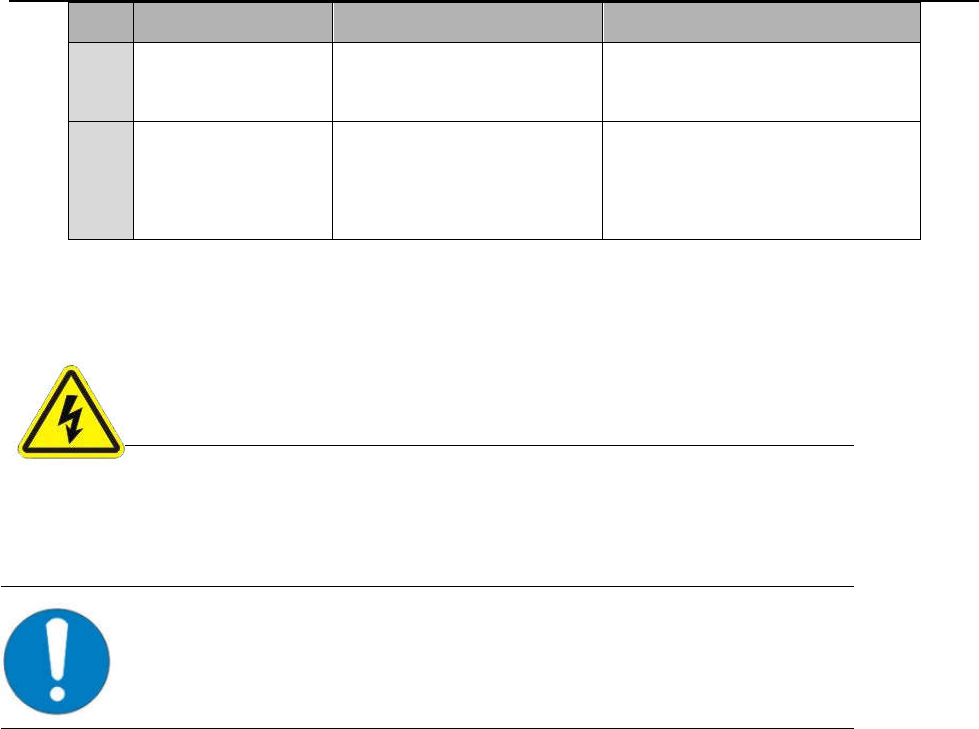
5
.2 Maintenance and inspection
Safety
instructions:
Risk of
electric shock
Be sure to open the cabinet door after the power off
Cut off the power supply for 5 minutes and replace the servo unit (including the
rectifier) and control the power unit. During this time, please do not touch the
terminal!
Risk of electric shock and injury
After the repair, please do not forget the tool in the electric control cabinet, make
sure the door of the electric control cabinet is closed.
● Dail
y check
1) Chec
k if there's flammable or explosive item close to the dispensing robot.
2) Check if the working voltage is correct.
3) Clean the needle, syringe, barrel and dispensing valve regularly. Replace them if they’re bl
ocked.
4) Chec
k if the airflow is normal.
5) Chec
k if zero position of each axis is correct
.
6)
Test the movement and communication performance of dispensing robot.
7) Check if the emergency button can be pushed and unscrewed normally.
8) Chec
k if the air tube is smooth.
9) Cle
an the working environment of dispensing robot.
10) Ch
eck if the external screws of the dispensing robot are screwed wel
l.
11)
Write down equipment condition in each shift.
12) Ru
n a testing program after each shift.