Installation_Manual_SIPLACE_Explorer_2.4_EN.pdf - 第65页
Installation and Configuration Guide SIPLACE Explorer 4 Configuration Edition 08/2008 EN 4.1 Standard Monitoring Application (SMA) 65 4.1.1.4 Step 3 - Review Applica tion Features A list of Features will be presented in …
4 Configuration Installation and Configuration Guide SIPLACE Explorer
4.1 Standard Monitoring Application (SMA) Edition 08/2008 EN
64
→ For each type of equipment, you will be presented with a different box of properties. You will
need to specify the following values:
– Unique Machine ID (MID)
Specify the MID for the equipment concerned. The MID can be found on the equipment
label.
The MID is automatically entered during OIS import and OIS versions from 4.1 onwards. 4
– IP address
The IP address will be automatically entered during OIS import.
– The IP address and scan period for equipment available via SIPLACE OIS database. The
scan period defines the frequency with which SIPLACE Explorer checks the data in the OIS/
SIS database in order to import new data from that database. We recommend a scan period
of 60 secs.
→ After specifying the equipment properties, check the data consistency of the equipment with
OIS. To do this, click on the Test button.
The system will check whether the specified MID and IP address already exist in OIS. If this is
not the case, you will have to correct the MID and IP address accordingly. MID checks can only
be performed from OIS version 4.1 onwards. If you do not correct data inconsistencies, the
data monitored with SIPLACE Explorer will be stored in the database with their uncorrected
data inconsistencies. 4
→ When all machines in the production line have been defined and the data consistency has
been checked with OIS, click on the Next button to continue with the next step.
Installation and Configuration Guide SIPLACE Explorer 4 Configuration
Edition 08/2008 EN 4.1 Standard Monitoring Application (SMA)
65
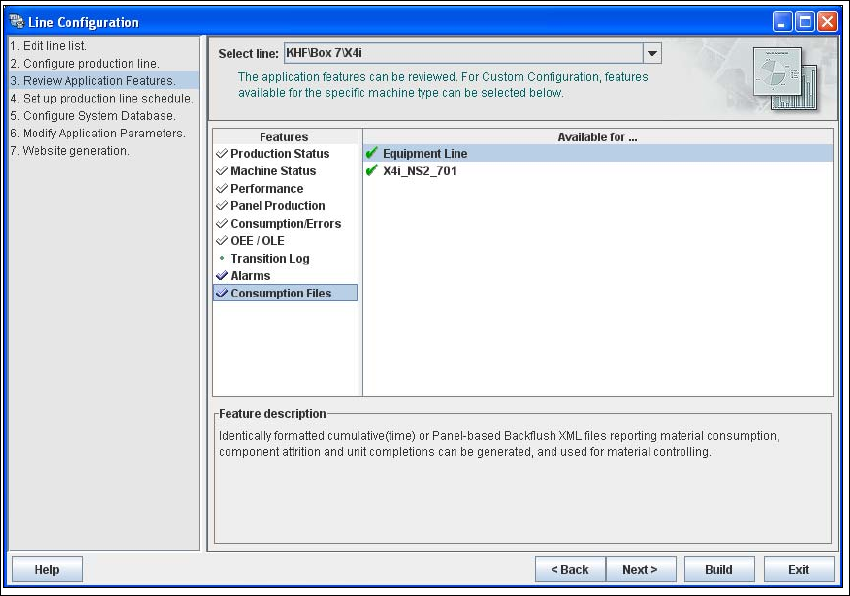
4.1.1.4 Step 3 - Review Application Features
A list of Features will be presented in the left box. If you chose custom configuration, any feature
can be selected from the list. Otherwise, a minimum or maximum list of features will be shown. 4
A list of machines for which the chosen feature is available will be shown in the Available for box
on the right. An icon next to the machine name indicates whether the selected feature is
implemented for this machine or not. The Feature Description window shows a comment for the
selected feature. 4
4
Fig. 4 - 8 Step 3: review application features
→ From the list in the left box, you can select the application features you want to add to the
application to be generated. To select a feature, mark the check box next to the feature name.
→ Check the functions for the relevant machines of all available production lines and add other
functions, where necessary.
→ After selecting all the features for the machines and production lines, click Next to continue
with the next step.
4 Configuration Installation and Configuration Guide SIPLACE Explorer
4.1 Standard Monitoring Application (SMA) Edition 08/2008 EN
66
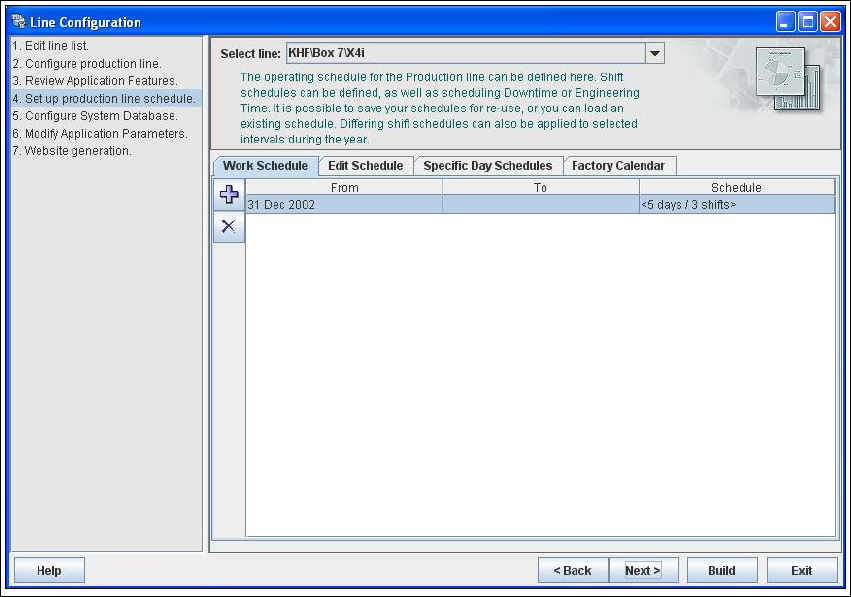
4.1.1.5 Step 4 - Set Up Production Line Schedule
The SIPLACE Explorer Calendar allows you to specify a production line schedule: 4
– Define a weekly shift schedule,
– Plan engineering and scheduled downtime for machines in the line and
– Apply the schedule to a time interval.
4
Fig. 4 - 9 Step 4: set up production line schedule
→ When the schedule for the production line as been defined, click on Next to continue with the
next step.