Installation_Manual_SIPLACE_Explorer_2.4_EN.pdf - 第67页
Installation and Configuration Guide SIPLACE Explorer 4 Configuration Edition 08/2008 EN 4.1 Standard Monitoring Application (SMA) 67 4.1.1.6 Step 5 - Configure Sys tem Dat abase → Now you can con figure the SIPL ACE Exp…
4 Configuration Installation and Configuration Guide SIPLACE Explorer
4.1 Standard Monitoring Application (SMA) Edition 08/2008 EN
66
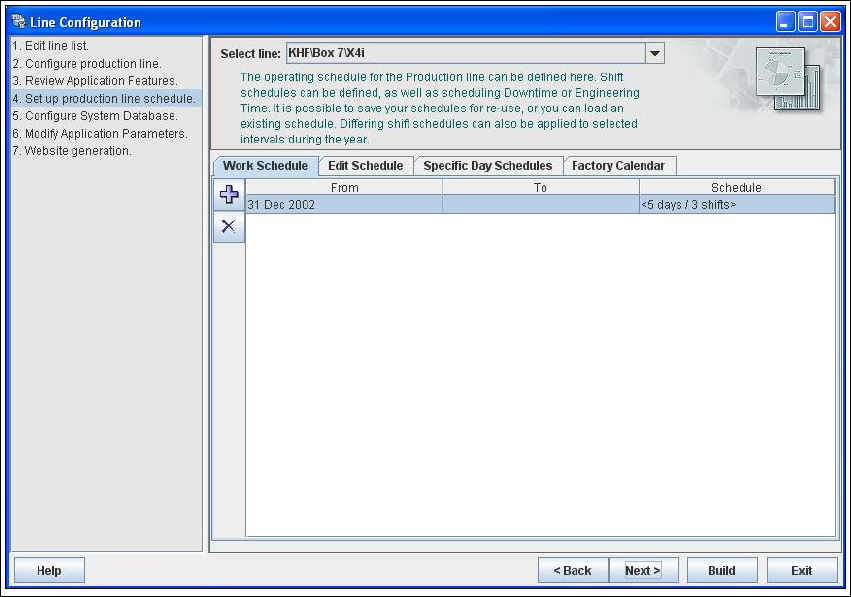
4.1.1.5 Step 4 - Set Up Production Line Schedule
The SIPLACE Explorer Calendar allows you to specify a production line schedule: 4
– Define a weekly shift schedule,
– Plan engineering and scheduled downtime for machines in the line and
– Apply the schedule to a time interval.
4
Fig. 4 - 9 Step 4: set up production line schedule
→ When the schedule for the production line as been defined, click on Next to continue with the
next step.
Installation and Configuration Guide SIPLACE Explorer 4 Configuration
Edition 08/2008 EN 4.1 Standard Monitoring Application (SMA)
67
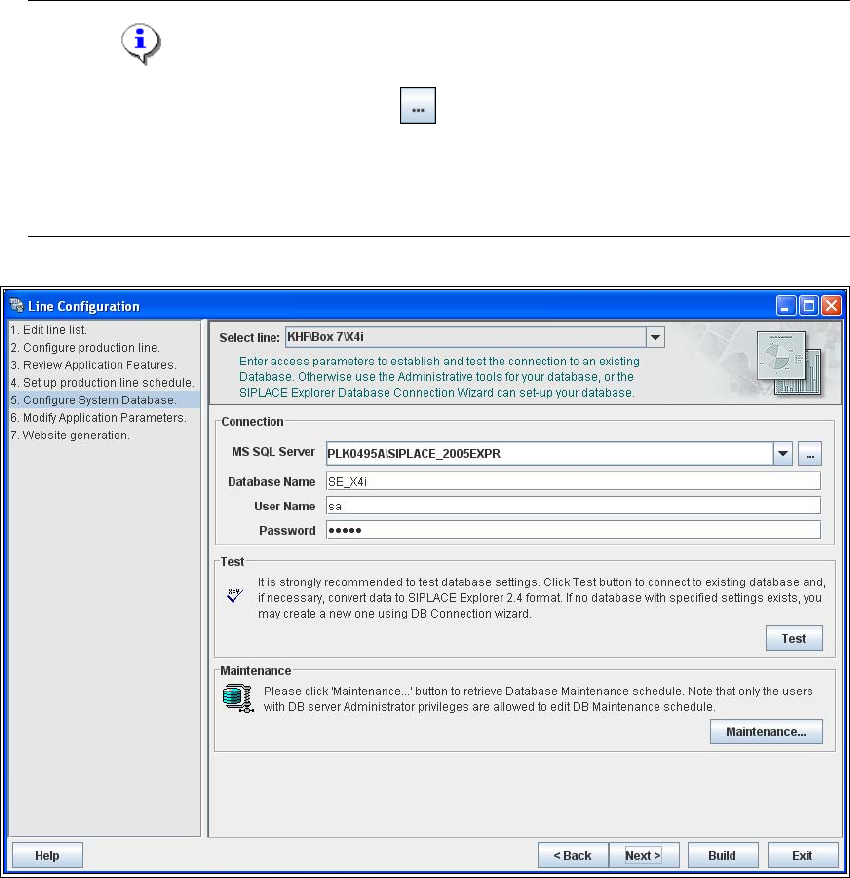
4.1.1.6 Step 5 - Configure System Database
→ Now you can configure the SIPLACE Explorer system database settings:
– MS SQL Server instance
– Database name
– User Name
–Password
NOTE
Click on the Browse for SQL instances icon. All SQL server instances available will be
shown in the Select SQL Server instance dialog box.
If the Select SQL Server instance dialog box shows no entries, you need to specify the SQL
server instance manually in the MS SQL Server field. 4
4
Fig. 4 - 10 Step 5: configure system database
4 Configuration Installation and Configuration Guide SIPLACE Explorer
4.1 Standard Monitoring Application (SMA) Edition 08/2008 EN
68
→ After entering the database access parameters, we strongly recommend that you check the
connection to the database. Click Test to check whether the connection to the database can
be established.
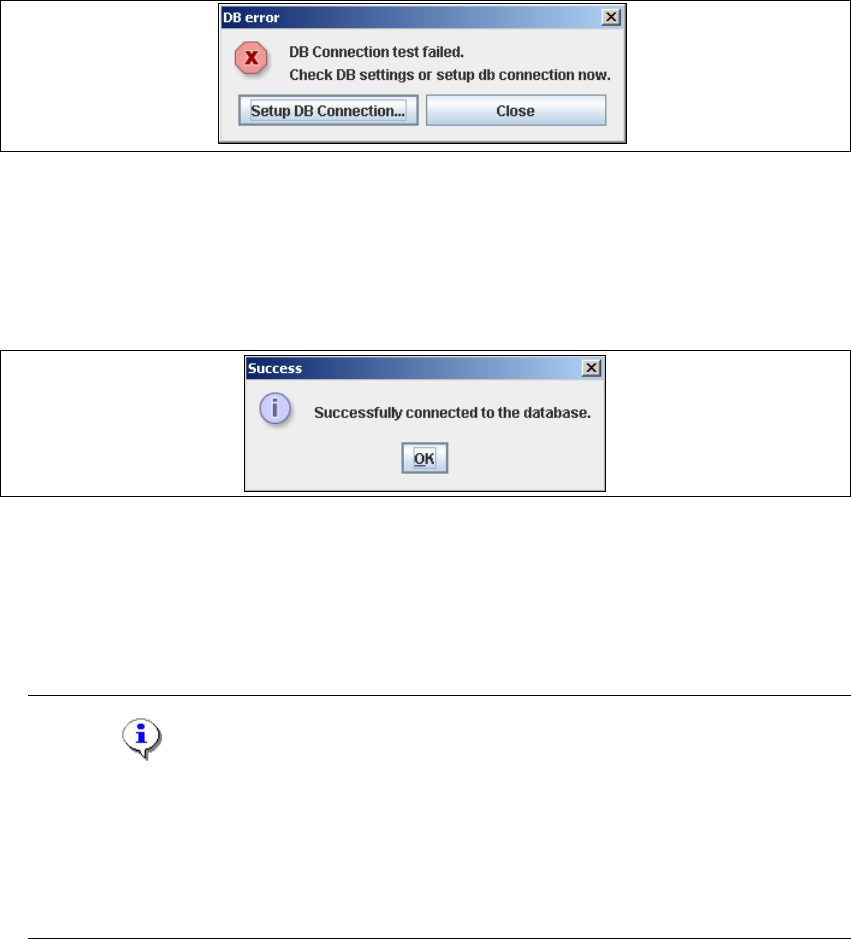
→ If the connection does not function properly, you will see the following information box:
4
Fig. 4 - 11 DB error
→ Click on the Setup DB Connection button to start the DB Connection Wizard setup
sequence and configure the SIPLACE Explorer system database. Follow the instructions at
“Database Connection Wizard” on page 98.
→ If the connection functions properly, you will see the following information box:
4
Fig. 4 - 12 Success
→ Click OK. The system will check the database data. If the database has data from SIPLACE
Explorer V2.3, V2.2, V2.1 or V2.0, you will need to convert the database for SIPLACE V2.4,
due to the changed data structure in the SIPLACE Explorer V2.4 database. In this case, the
Convert Database dialog box will open.
NOTE
Consider the following when converting the database
- You require database administrator privileges.
- Once you have started the conversion, this process can not be stopped.
- The conversion time depends on the size of the database and the performance of the
computer. It may take up to one hour. 4