00194482-02_AI_NozzleChanger_X_605_DE+EN.pdf - 第59页
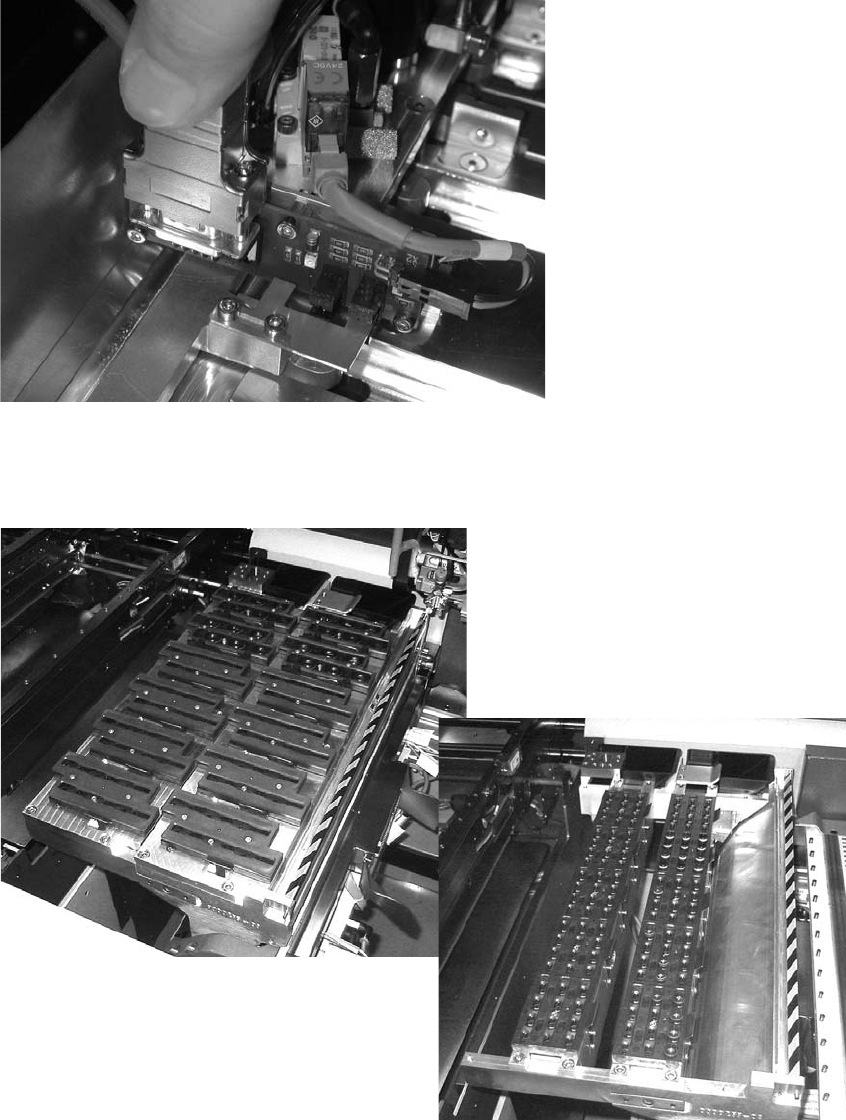
Assembly instructions Nozzle changer SIPLACE X-Series / D3 11/2011 Edition 59 : Attach the cable for th e power supply to the nozzle. 2 2 : Screw the nozzle changer on with four M5x12 screws. 2 2 2
Assembly instructions Nozzle changer SIPLACE X-Series / D3
11/2011 Edition
58
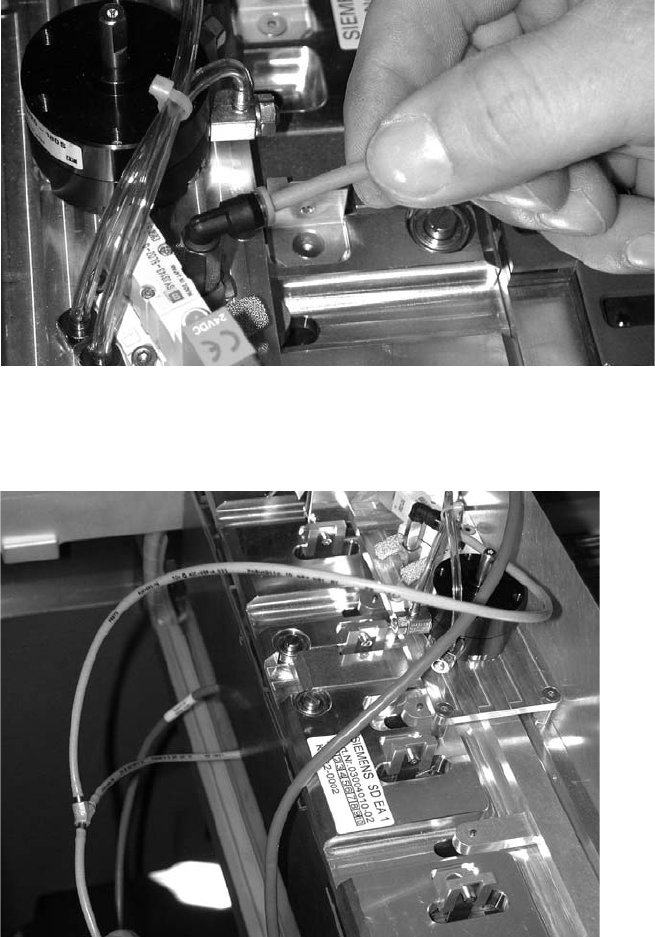
: Put a Y connector onto the disconnected hose.
Use the Y connector to connect the compressed air hoses (2.5 bar) of both nozzle changers.
2
2
The wiring should look like this: 2
2
2
2
2
2
2
Assembly instructions Nozzle changer SIPLACE X-Series / D3
11/2011 Edition
59
: Attach the cable for the power supply to the nozzle.
2
2
: Screw the nozzle changer on with four M5x12 screws.
2
2
2
Assembly instructions Nozzle changer SIPLACE X-Series / D3
11/2011 Edition
60
Fitting the third row of nozzle changers 2
The third row can only be used on machines in the single gantry placement area. 2
This nozzle changer is installed in the same way as the first row but without a nozzle ejector.
Use the HF nozzle changer 2, 12-segment C&P head (00119661-01) or
HF nozzle changer 2, 6-nozzle C&P head (0011962-01) package.
In this case the extension is not needed. 2
2
: Secure all the cables with cable ties.
2