00198596-02_JC_3M_C&P20P2M3_EN.pdf - 第16页
4 3-monthly C&P20 P2/M3 Clean the Z-axis 3 min 2 / 2 Refer to safety instructions in user manual before commencing Maintenance NOTICE! ESD guidelines are to be followed Tool: T3, T7, T21, T41, T96, T97, T98 Wear Part…

4 3-monthly C&P20 P2/M3 Clean the Z-axis 3 min 1 / 2
Refer to safety instructions in user manual before commencing Maintenance
NOTICE! ESD guidelines are to be followed Tool:
T3, T7, T21, T41, T96, T97, T98
Wear Part: Consumables:
www.asm-smt.com
1 Proceed with the headstand flat on the
table.
2 Remove the long screw at the side. Be
careful that no screws fall into the head!
3 Remove the short screw at the side of the
Z-axis cover.
4 Remove the 2 screws close to the star and
dismantle the cover plate.
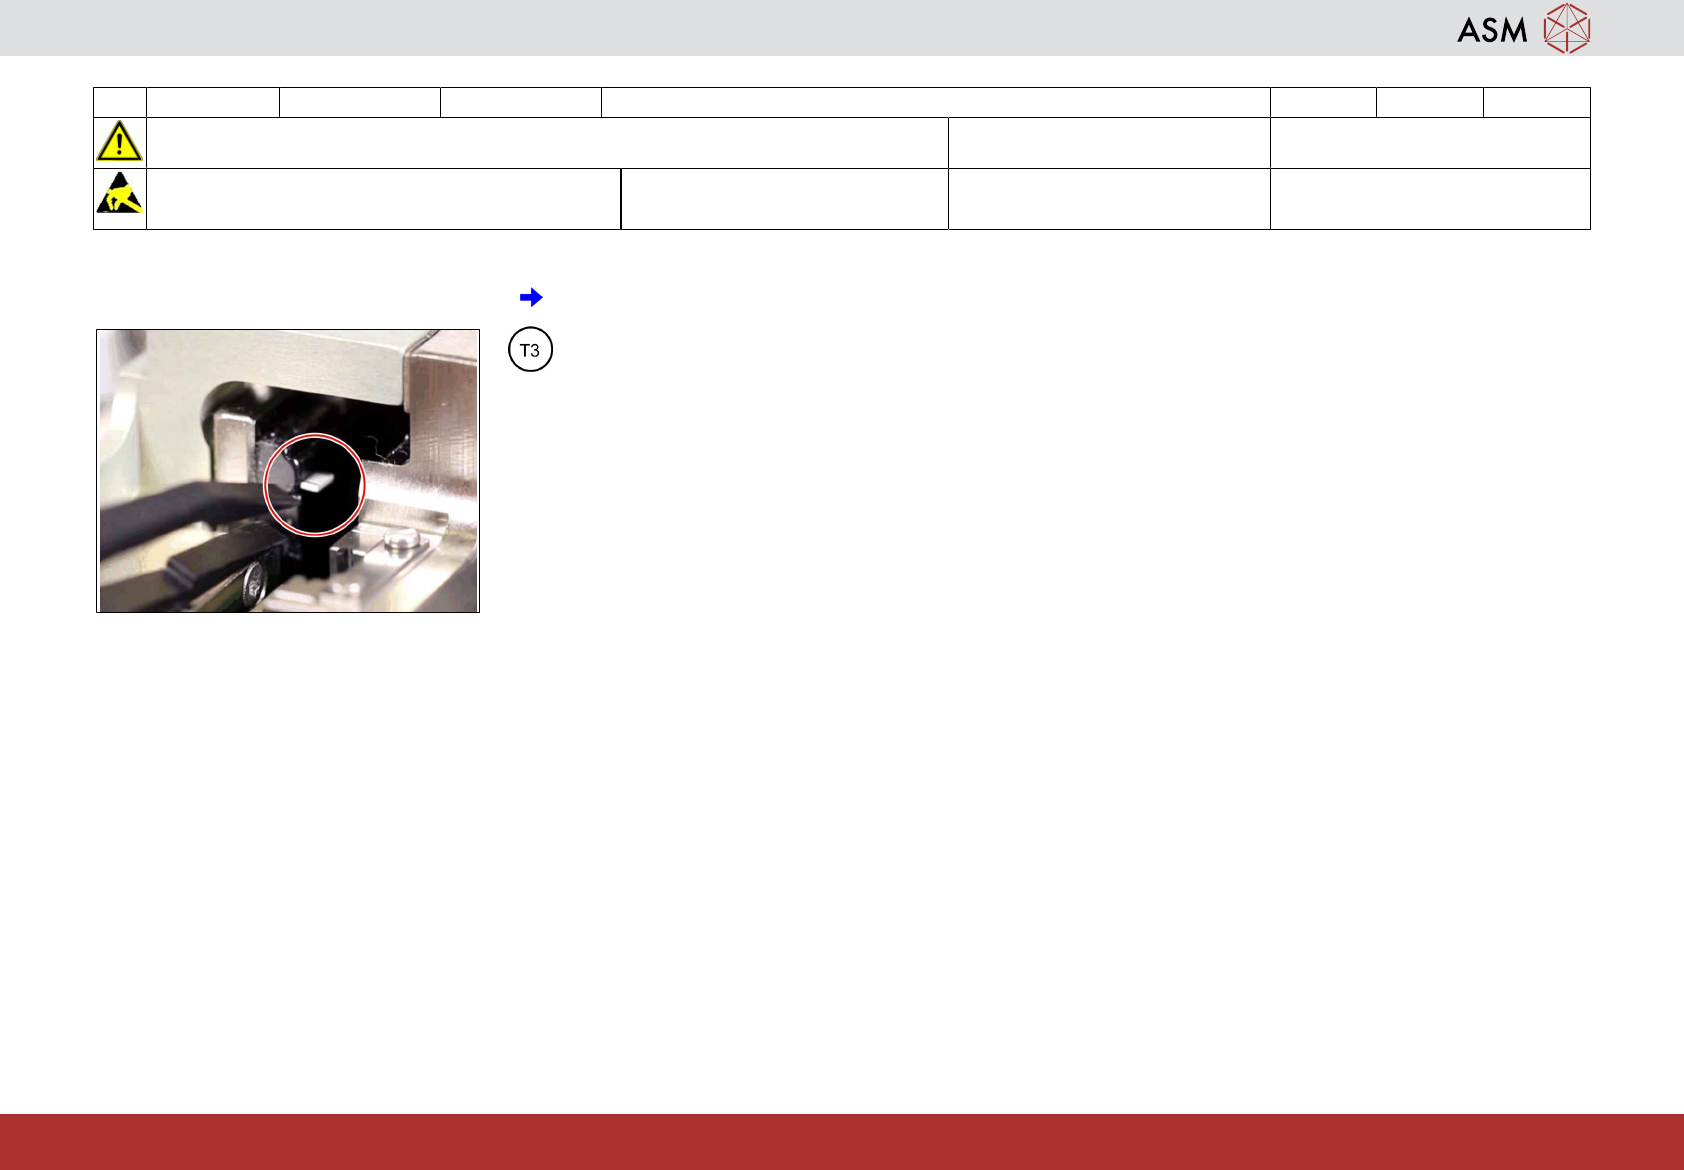
5 Clamp the black rubber hose between Z-
axis and driver of the return unit.
6 Remove all components from the magnets
holding the Z-axis flex print.
4 3-monthly C&P20 P2/M3 Clean the Z-axis 3 min 2 / 2
Refer to safety instructions in user manual before commencing Maintenance
NOTICE! ESD guidelines are to be followed Tool:
T3, T7, T21, T41, T96, T97, T98
Wear Part: Consumables:
www.asm-smt.com
7 Remove all components from the magnet
of the Z-axis linear drive.
5 3-monthly C&P20 P2/M3 Clean / lubricate the Z-axis linear guide 6 min 1 / 5
Refer to safety instructions in user manual before commencing Maintenance
NOTICE! ESD guidelines are to be followed Tool:
T7, T21-T23, T47, T77, T96-T98
Wear Part: Consumables:
C10, C22
www.asm-smt.com
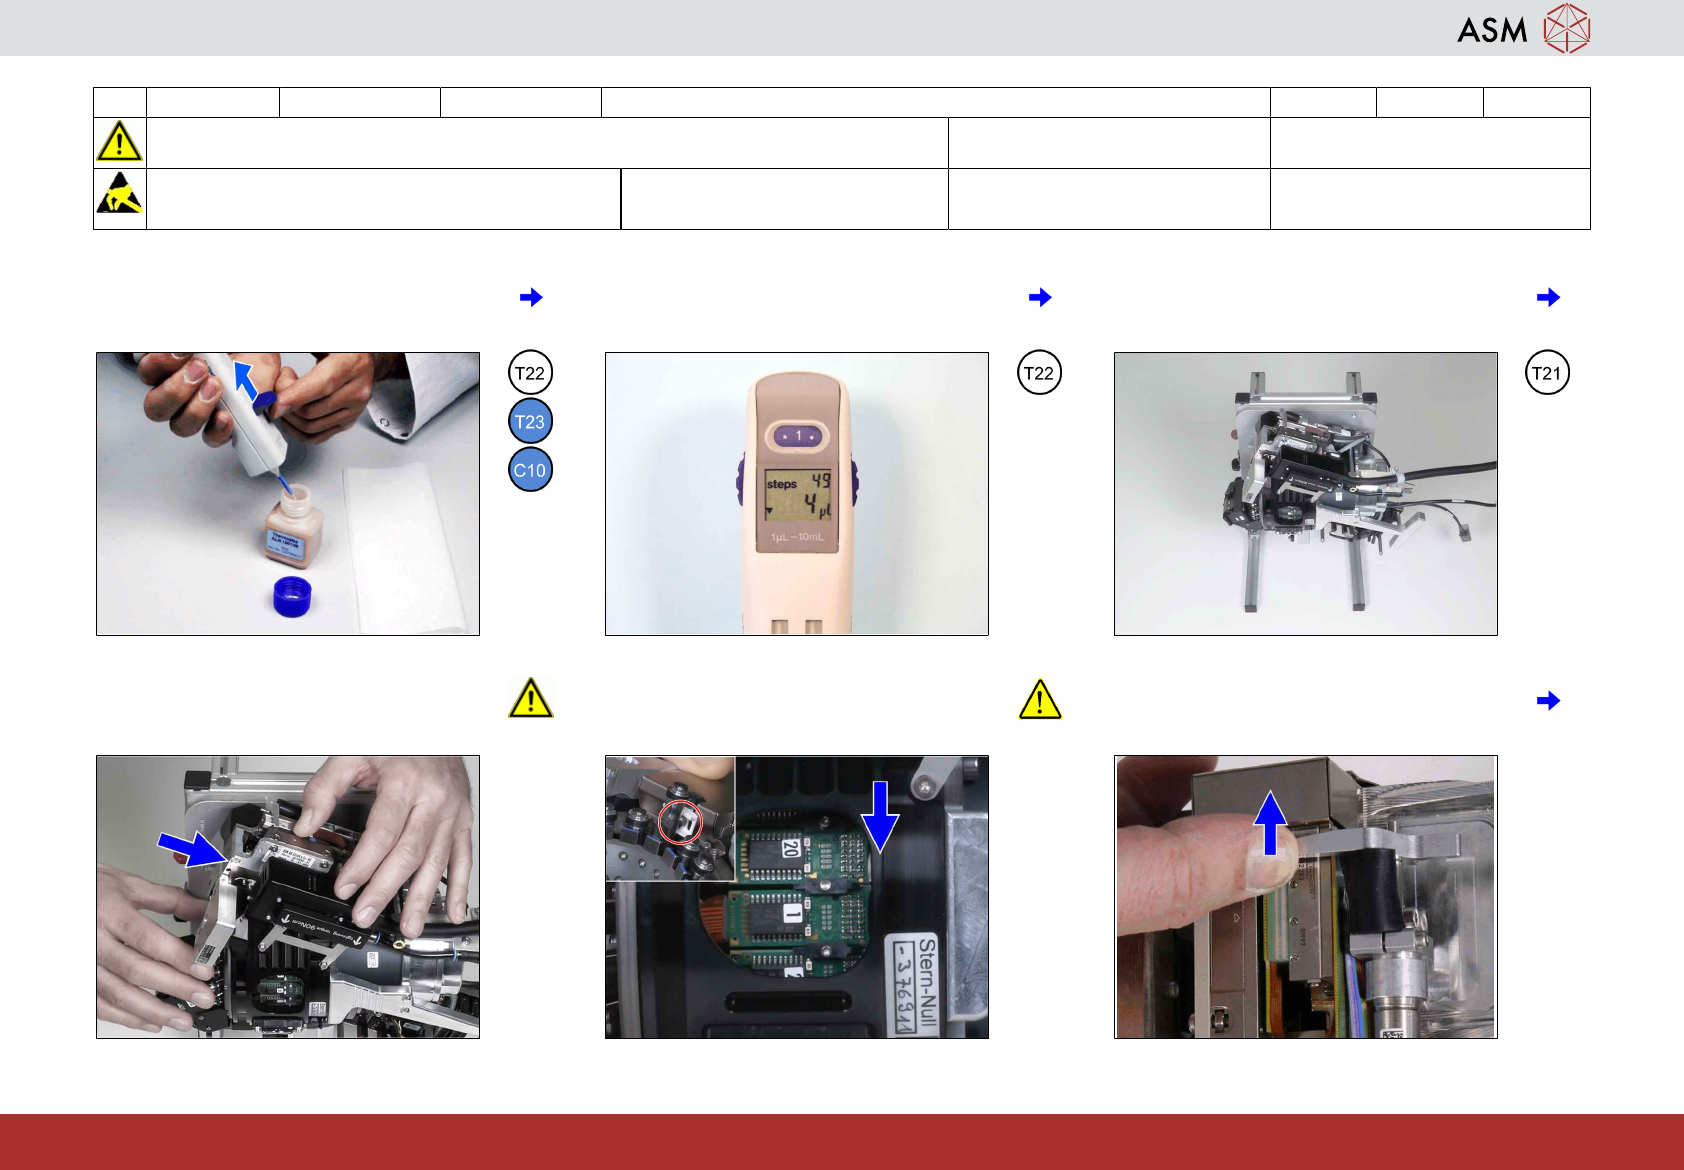
1 Prepare the multipette. See appendix
"Prepare the multipette.
2 Turn the wheel and adjust 4 µl. 3 Put the head stand in the upright position
and turn the head upside down until the Z-
axis points 45° to the side.
4 Ensure the Z-Axis is moved into the head
before turning the star as otherwise the Z-
Axis jaw can be damaged.
5 Align the star with the Z-axis to ensure the
DP bearing sits properly in the Z-axis jaw!
6 Move the Z-axis out of the head and hold
it there.