YG200_200L_E.pdf - 第84页
3-7 3 Starting and ending pr oduction 4 Pr e s s [ Yes ] w h e n a c o n i r m a t i o n d i a l o g b o x a p p e a r s . Press [Yes]. Shutdown confirmation dialog bo x 24 3 1 5 - M 0 -0 0 5 M o v e t h e m a c h i n e …
3-6
3
Starting and ending production
2. Ending production and turning power off
Use the following procedure to end board production.
1
Stop machine operation.
There are four methods for stopping the machine operation.
e
1. Emergency stop button:
Press this button to trigger emergency stop. Do not use this button in normal operation.
2. [STOP] button (operation panel):
Pressing the [STOP] button stops the machine operation immediately. To resume operation, press the
[START] button on the operation panel.
3. [Cycle Stop] button (operation screen):
Pressing this button stops the machine operation just after components are mounted on the current
board.
4. [Convey-out stop] button (operation screen):
Use this button when you want to end production after completing component mounting on the
boards currently on the conveyor. All boards on the conveyor are carried out after component
mounting, but new boards are not carried in from the upstream side.
c
CAUTION
Do not press the emergency stop button during operation except in case of emergency.
2
Reset the operation.
Press the [RESET] button on the operation panel. The machine then returns to the board production
standby status.
3
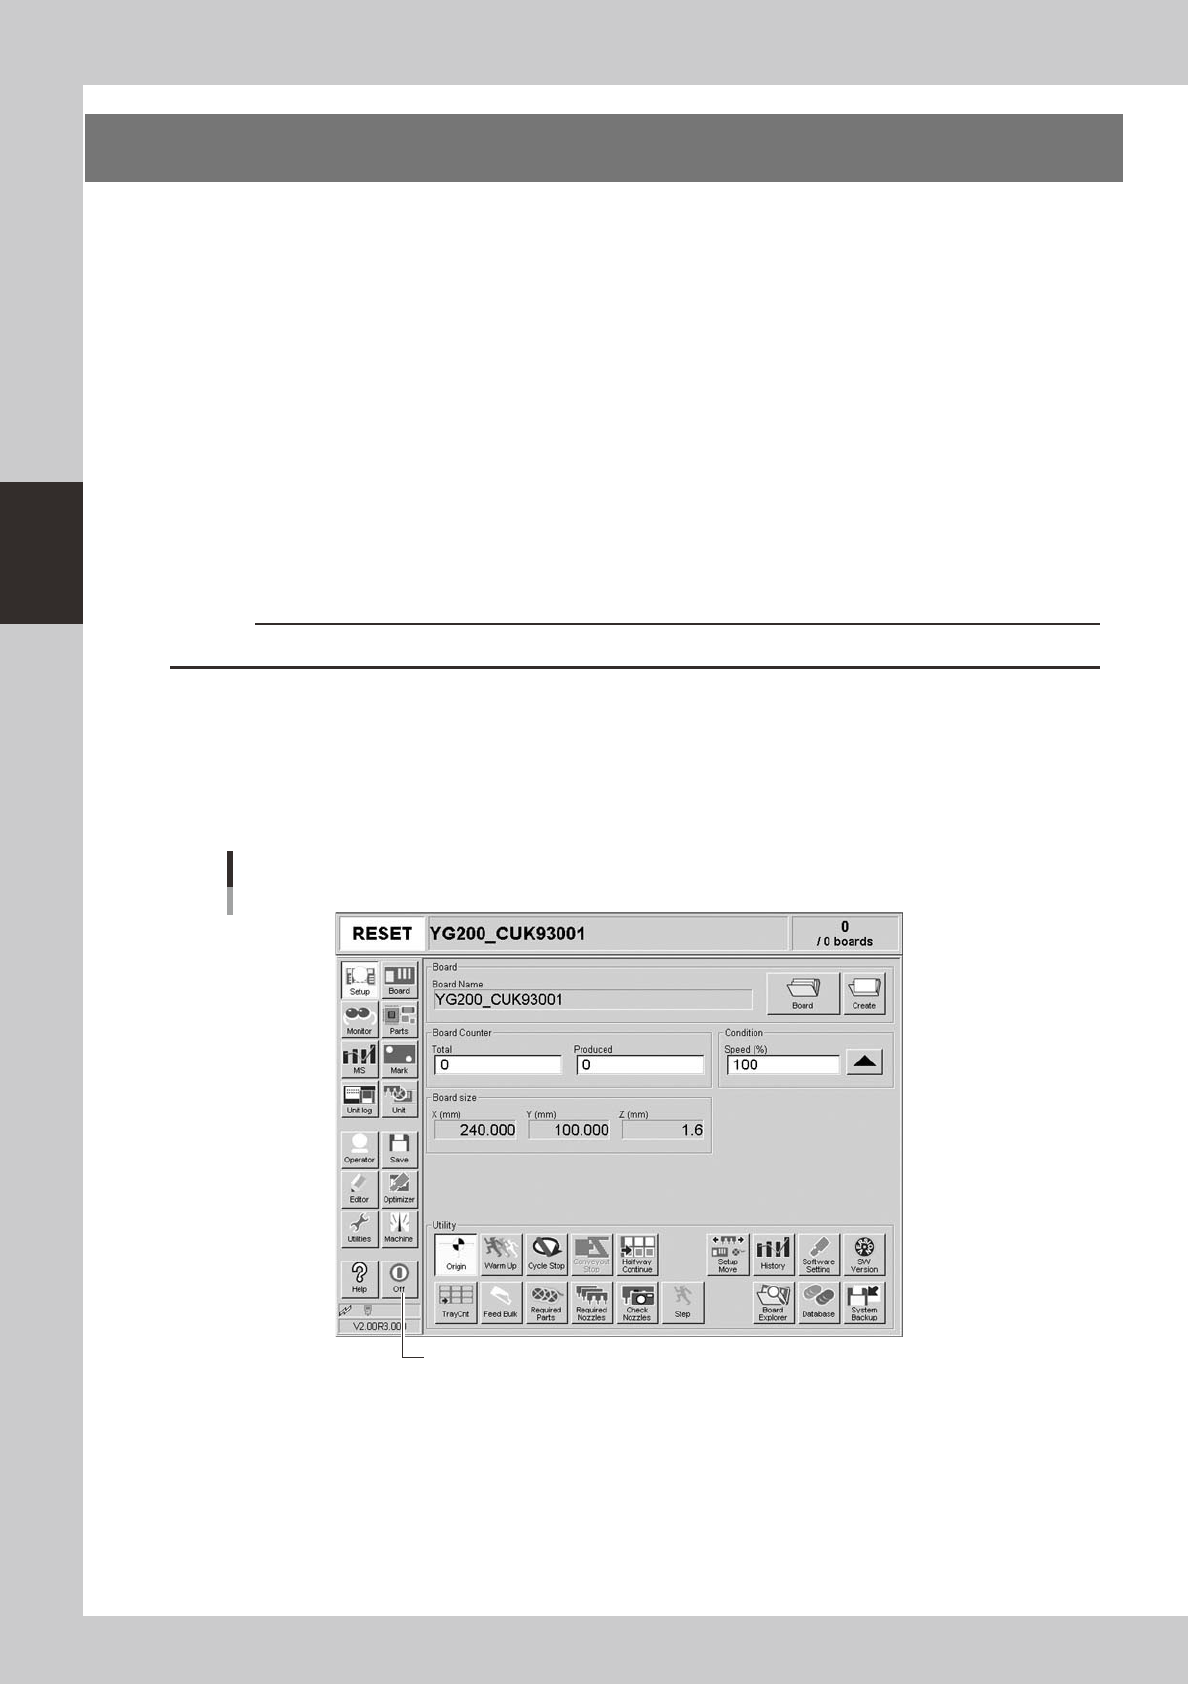
Press the [Off] button.
Press the [Off] button in the left button area of the screen.
[Off] button
[Off] button
24306-M2-00

3-7
3
Starting and ending production
4
Press [Yes] when a conirmation dialog box appears.
Press [Yes].
Shutdown confirmation dialog box
24315-M0-00
5
Move the machine to the origin position.
When the move-to-origin dialog box appears, press [OK].
6
Press the [OK] button when the shutdown confirmation dialog box appears.
e
7
Press the emergency stop button.
When the emergency stop dialog box appears, press the emergency stop button and then press the
[OK] button.
8
Turn off the power switch on the machine.
When the message "Ready to shut down" appears, press the [OK] button and then turn off the power
switch on the lower right of the machine.
c
CAUTION
If you turn off the power without following the correct sequence, the data and machine might be damaged.
3-8
3
Starting and ending production
3. Displaying the production monitors
Press the [Monitor] button to confirm the operation status during production.
The mounting information can be confirmed by selecting the [Main], [Detail], [Vision], [Alignment] and [Retry]
tabs.
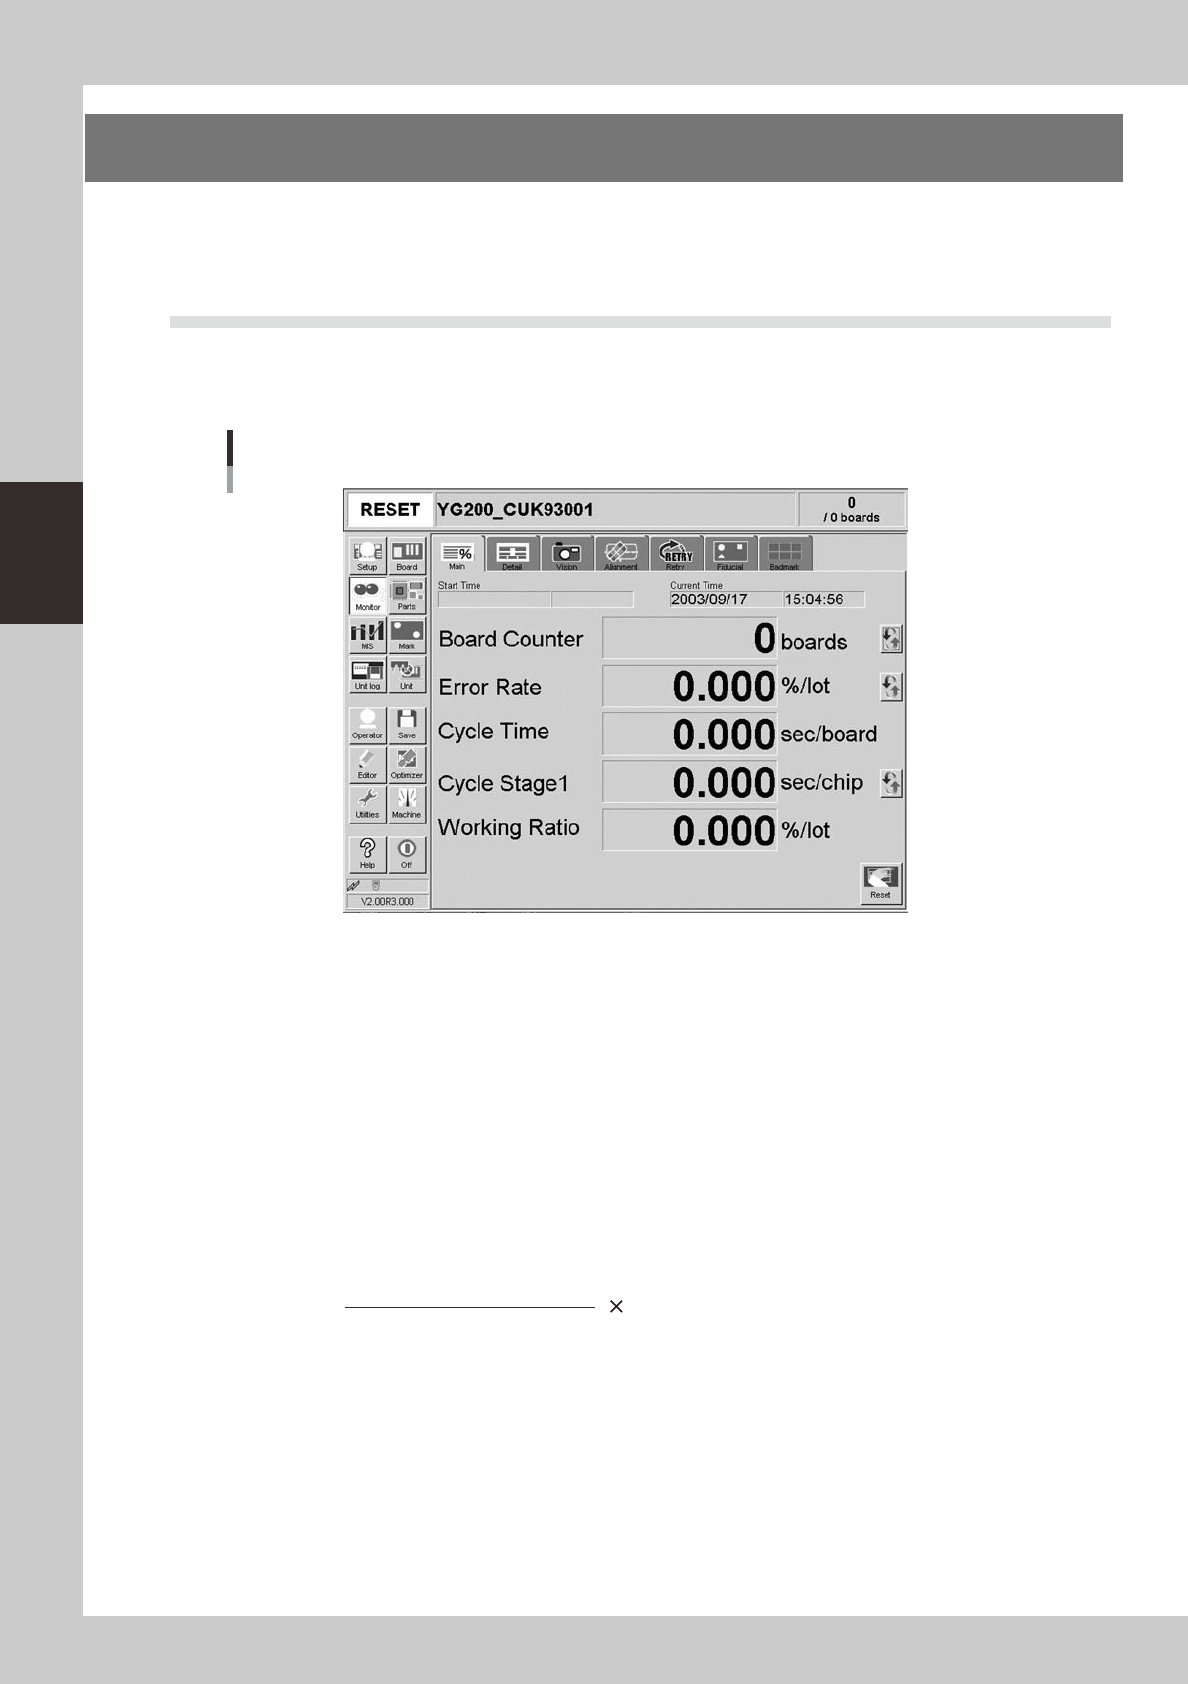
3.1 Main
The [Monitor]-[Main] tab screen shows you the real-time production status such as the board count and cycle
time. Displaying this screen during production is handy. All information will be cleared when the board type is
changed.
Monitor: Main
24307-M2-00
• Start Time
Displays the date and time that the board data currently being produced was changed.
• Current Time
Displays the current date and time (system clock time in the machine).
• Board Counter
Displays the number of boards produced after changing to the current board data. The board data that was reset before
component mounting is complete is not counted unless the component mounting is resumed and completed.
• Error Rate
Displays the rate of discarded components due to pickup or recognition errors with respect to all components that have
been consumed after changing to the current production board data. This data is updated when the production of one
board is completed.
Number of discarded components
Total component consumption
Error rate (%) =
100
• Cycle Time (sec/board)
Shows the average (seconds/board) of the mounting time per board. The data is updated when component mounting on
each board is completed. The cycle time includes the mark (including fiducial and bad marks) recognition time,
component pickup time, component recognition time, mounting time, retry operation time, component dump time and
nozzle change time.
The board transfer time and stop time (time stopped with error or [STOP] button) is not included.
• Cycle Stage 1
Shows the time (seconds) to mount one component on the board. This is the time obtained by dividing the time for one
sequence from pickup to mounting by the number of components mounted in that sequence.