00198328-01_AI_Basic Pack Vakuum Tooling_TX_DE_EN.pdf - 第52页
2 Brief Description 2.4 Tools and Equipment Required 52 Montageanleitung / Assembly Instructions SIPLACE TX-Serie Basic Pack Vacuum Tooling 07/2017 2.4 Tools and Equipment Required The following tools and equipment are r…
2 Brief Description
2.3 Scope of Delivery
Montageanleitung / Assembly Instructions SIPLACE TX-Serie Basic Pack Vacuum Tooling 07/2017 51
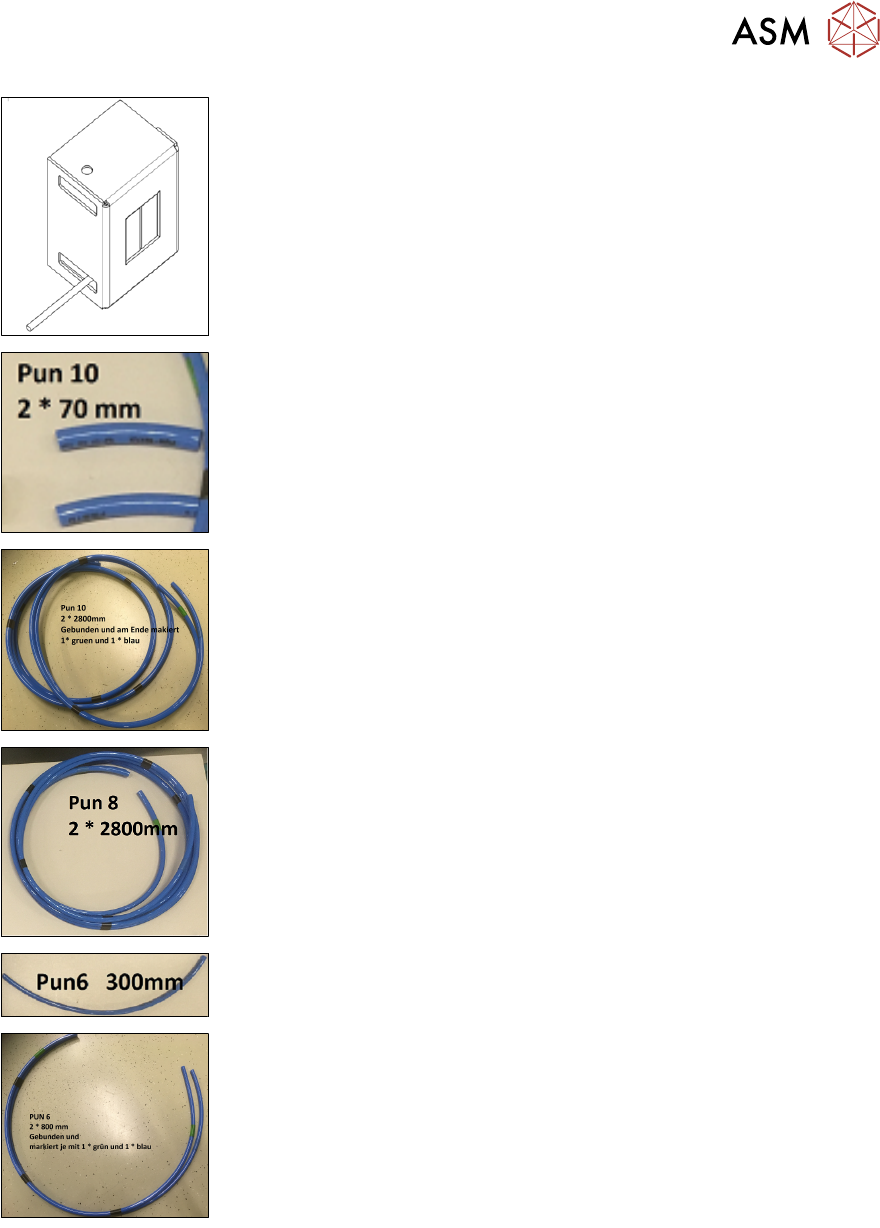
Vacuum switch + plate
PUN 10 – 70 mm
PUN 10 – 2800 mm
PUN 8 – 2800 mm
PUN 6 – 300 mm
PUN 6 – 800 mm

2 Brief Description
2.4 Tools and Equipment Required
52 Montageanleitung / Assembly Instructions SIPLACE TX-Serie Basic Pack Vacuum Tooling 07/2017
2.4 Tools and Equipment Required
The following tools and equipment are required for the work described in this manual:
●
Standard tools
2.5 Required Working Time
The complete installation including settings will take approx. 5 hours.
The machine standstill time is approx. 2 hours.
Programming work on the SIPLACE Pro computer may also be needed.
3 Installation
3.1 Preparatory Steps
Montageanleitung / Assembly Instructions SIPLACE TX-Serie Basic Pack Vacuum Tooling 07/2017 53
3 Installation
3.1 Preparatory Steps
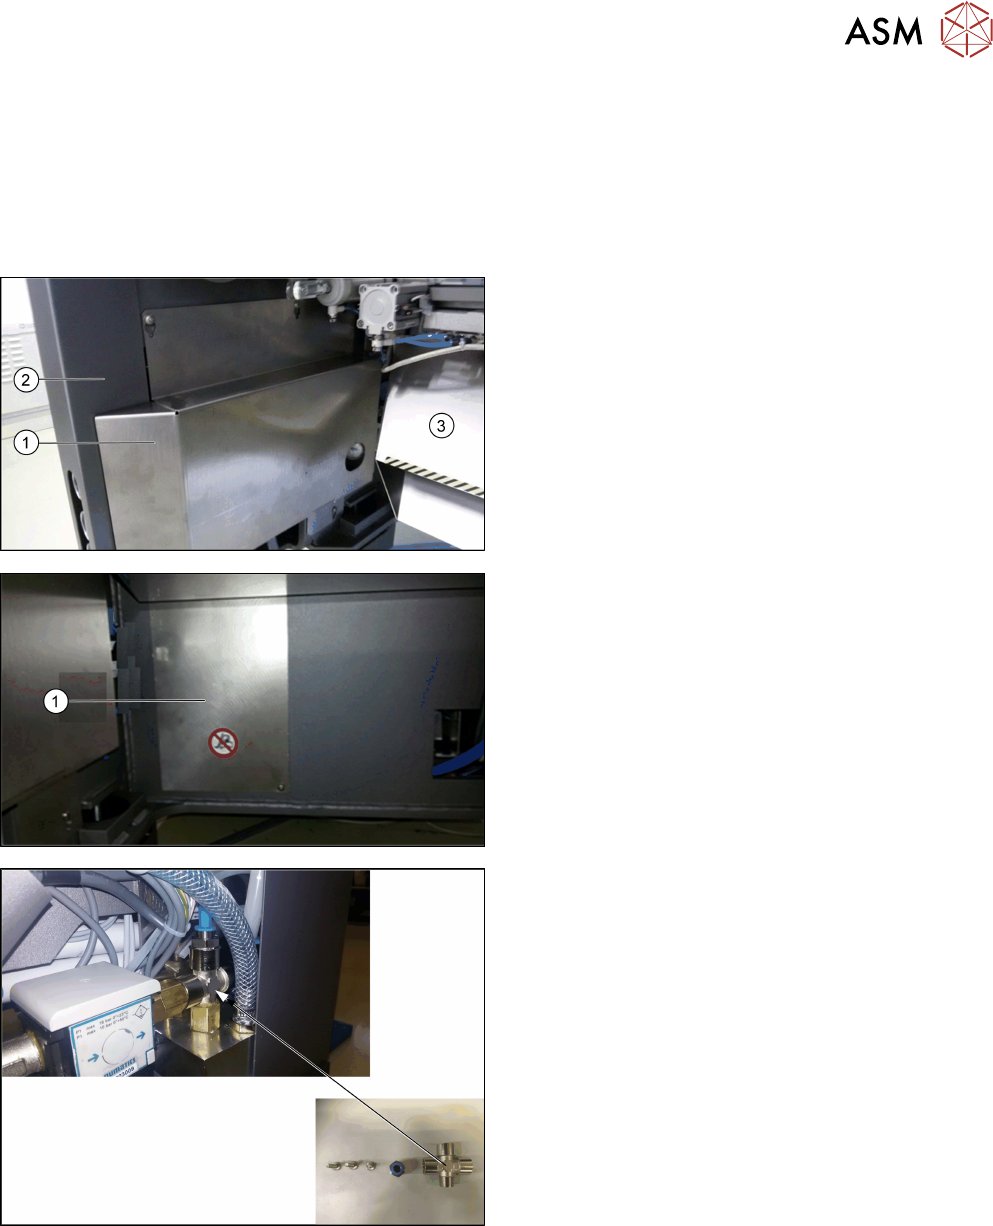
► Move the component trolley at location 2 out of the machine.
► Switch off the machine, disconnect it from the air supply and the power supply.
► Remove the left slide plate (1), the corner cover
(2) and the waste tape chute (3).
► Remove the cover plate (1) at the machine base
of location 2.
► If a T-piece is installed in the control block, re-
place it with a crosspiece.
► Fit the FESTO connection on the top output.
► Run the PUN10 pneumatic hose via the opening
inside the machine through the side panel to the
crosspiece.
► Connect the PUN10 pneumatic hose to the
crosspiece.