00195467-01_Installation Manual Setup Center 2.2.pdf - 第75页
Installation Manual SIPLACE Setup Center 2.2 5.4.3.4 RF Station Comm unication Configuration The following barcodes a re required to set up the RF station and activates the RF station seri al communication to the PC. Res…
SIPLACE Setup Center 2.2 Installation Manual
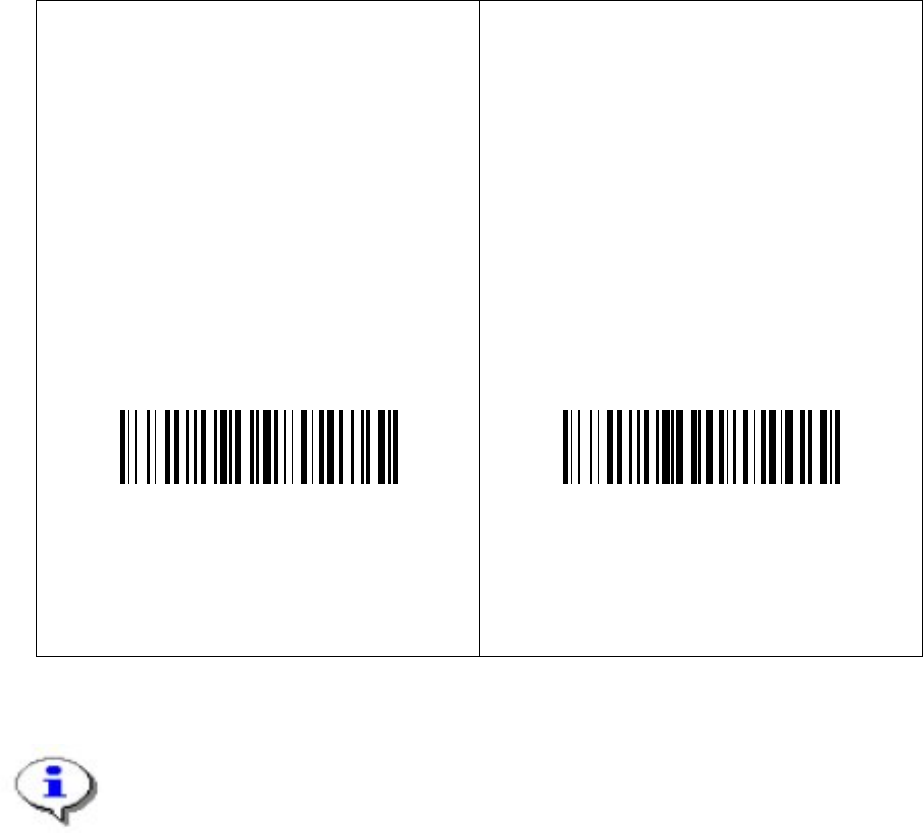
5.4.3.3 Bind or Join the scanner to a RF station
You can connect more than one scanner to one RF station. With the first scanner you need to
scan the barcode label Bind, with all further scanners you need to scan the barcode label Join.
Please follow one of the following instructions according to your choice.
Bind
Make sure the RF station is on (yellow light
is on).
When scanning the following barcode the
green LED of the scanner is active for
about 10 seconds. Put the scanner into the
RF station during these 10 seconds.
Bind
The connection can be tested by scanning any
barcode with the scanner. After the scanning, the
yellow LED “power/data” is switched off for 0.5
seconds.
Join
The following barcode may be used to add
further scanners to one RF station.
Keep in mind that the first scanner need to
be bound to the station as described on the
left side. Each scanner must be set to a
unique address (see the chapter
5.4.3.2
Setting of the scanner address).
Join
You can never recognize if the Dragon scanner has the configuration Bind or Join.
Therefore please note your configuration you did. If you do not remember your
configuration you have to configure it once again.
74 of 90
Installation Manual SIPLACE Setup Center 2.2
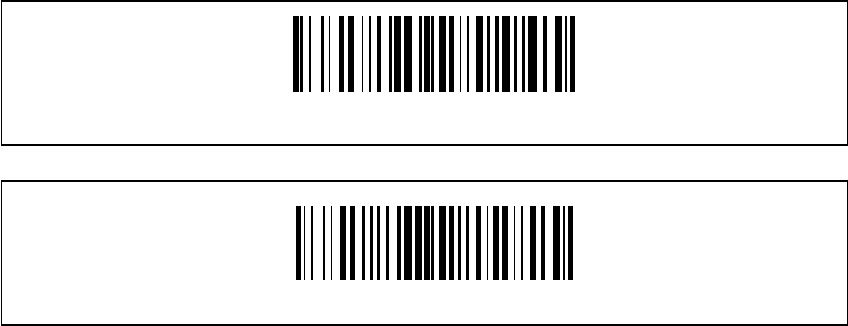
5.4.3.4 RF Station Communication Configuration
The following barcodes are required to set up the RF station and activates the RF station serial
communication to the PC.
Restore OM-DRAGON™ default
RS232
5.5 Testing the Installation
• Connect the RF station to the Setup Center PC to the COM interface.
• Make sure, the RF station is on (yellow LED is active).
• If Setup Center is already running open the configuration dialog, otherwise start Setup
Center.
• Select the COM port in the configuration dialog of SIPLACE Setup Center and apply
settings.
• Press successively all three buttons on the scanner.
• Now the main menu text “SIPLACE Setup Center” is displayed on the scanner.
75 of 90
-
SIPLACE Setup Center 2.2 Installation Manual
5.6 Troubleshooting
If it is not possible to solve a problem during installation of SIPLACE Setup Center, please send
the file SIPLACESetupCenterSetupLog.html and all similar “log” named files to the SIEMENS
Service. 6
5.6.1 Relevant files to analyze setup problems
Error description:
Whenever problems arise during setup, please inspect the file
SIPLACESetupCenterSetupLog.html, which is written during each installation. 6
Cause:
Setup problems.
Solution:
The log file is found either in C:\ (prior to the "move data phase") or in the selected program
folder. 6
Old versions of the log file are located in the program folder. A timestamp is added to the
filename. Dialog boxes appear during the file copying phase of installation which only contain
Yes and No options. 6
Hint
If you need Siemens support regarding installation problems, please provide all installation
log files.
76 of 90