00195642-01_IM-SetupCenter-3.0_EN.pdf - 第51页
Installation Setup Center Software Installation Installation Manual SIPLACE Setup Center V3.0 51 6.3.1.2 Individual setup types and next step s Setup T ype – GUI This setup type will install the GUI ap plication of SIPLA…
Installation
Software Installation Setup Center
50 Installation Manual SIPLACE Setup Center V3.0
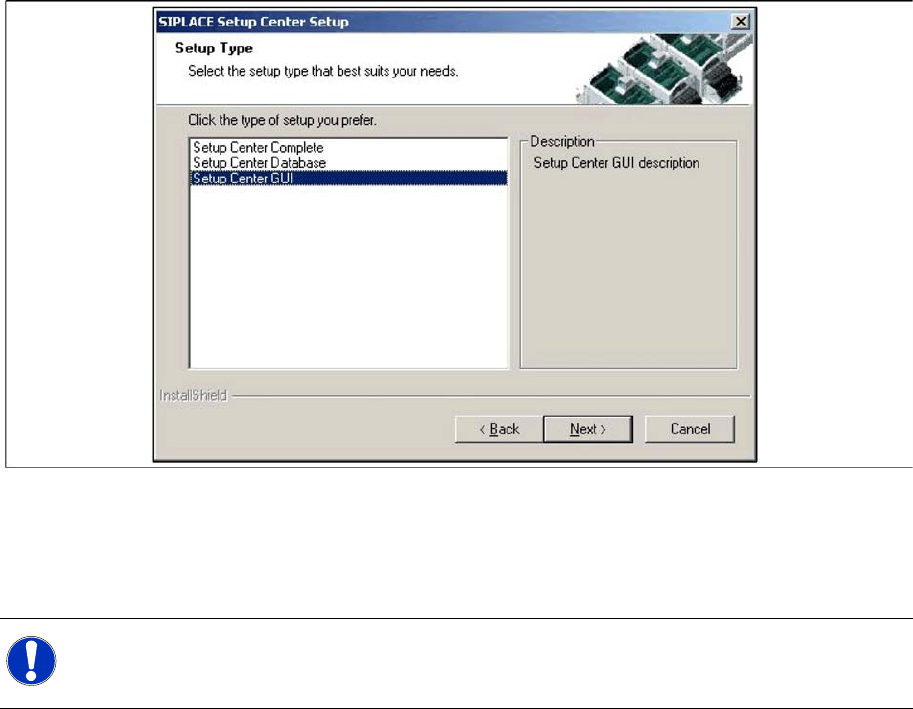
6-18: "Setup Type" dialog box
X Select the setup type you want to install in the Setup Type dialog box.
X Click Next.
X If you select a type, a short description of the setup type in question appears in the Description box.
NOTE:
After choosing a setup type which includes a database installation, the setup program
immediately checks if SQL server is installed on the computer.
Installation
Setup Center Software Installation
Installation Manual SIPLACE Setup Center V3.0
51
6.3.1.2 Individual setup types and next steps
Setup Type – GUI
This setup type will install the GUI application of SIPLACE Setup Center. It is used to setup up a client
system while the database is located on a remote system.
Step 1
X Run through the steps in chapter "General Settings".
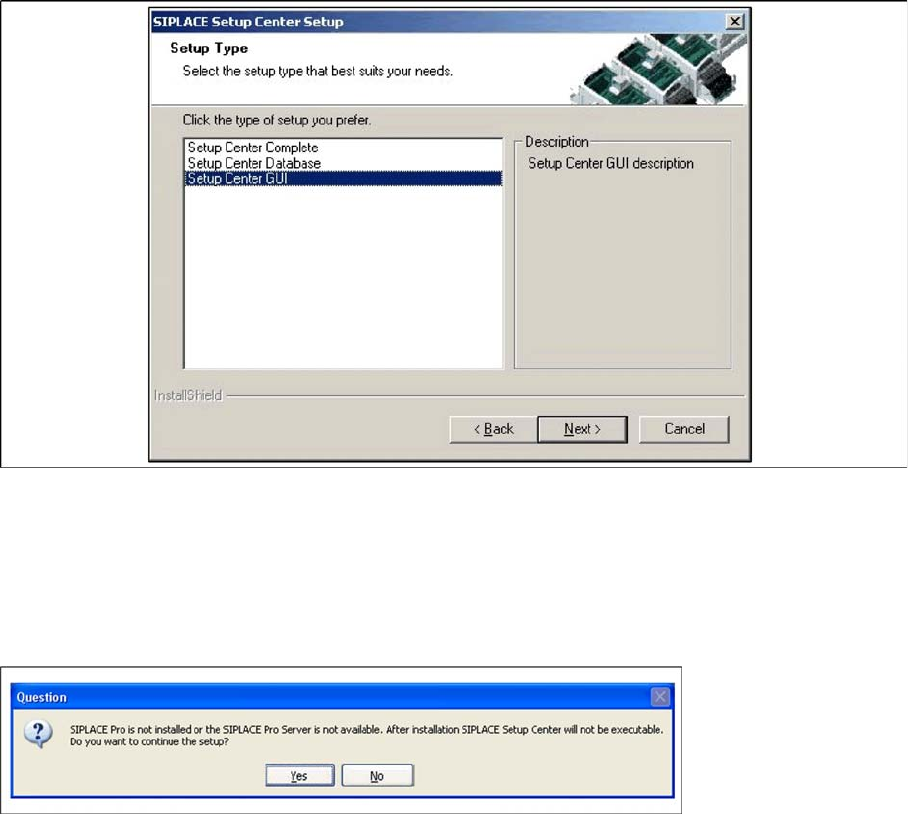
X Select the SIPLACE Setup Center GUI setup type.
X Click Next.
Step 2
The installation detects the existing SPI version and installs the according SIPLACE Setup Center files.
In case no SPI is detected, a warning message is displayed.
X Make sure that SIPLACE Pro is already installed or the SIPLACE Pro Server is available.
X Click Yes to continue the setup.
Step 3
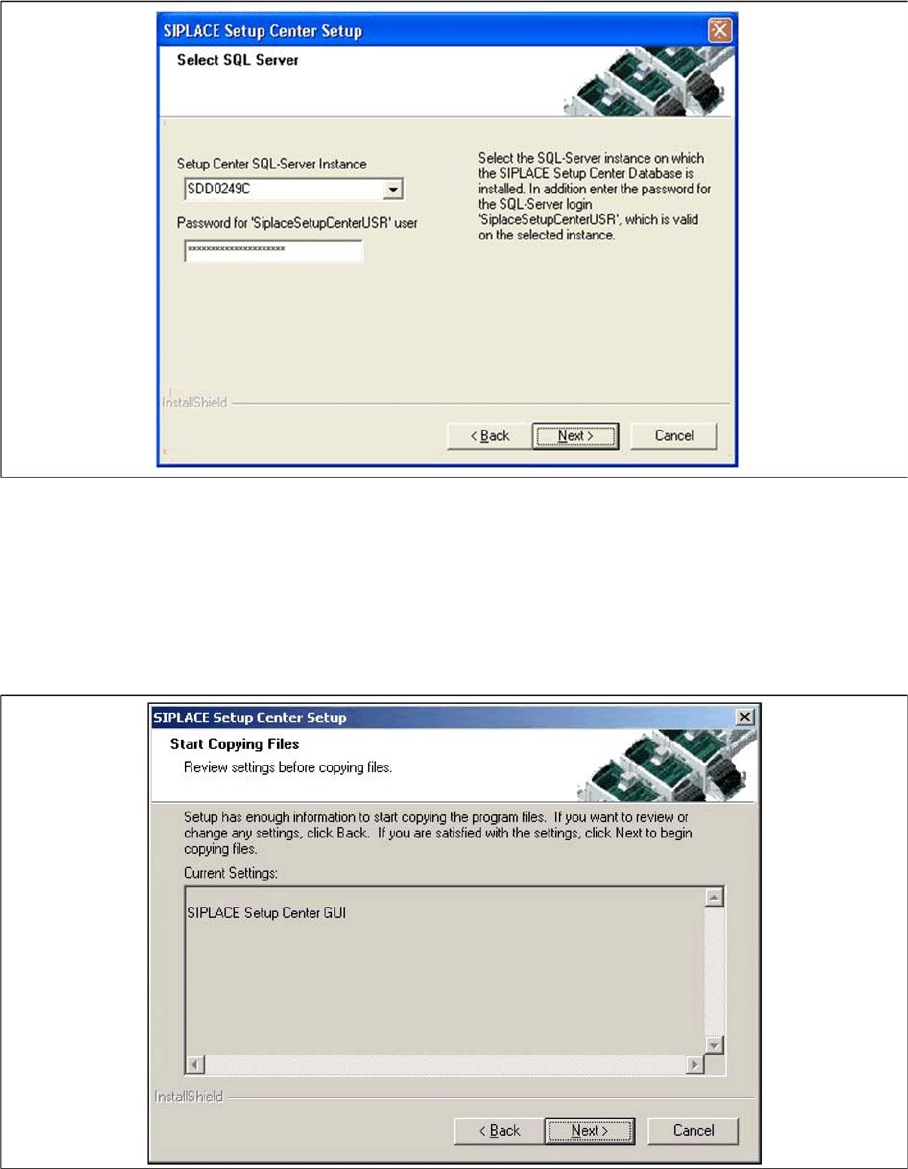
X Enter the information required to be connected with the SQL Server and database in the Select SQL-
Server dialog box.
Installation
Software Installation Setup Center
52 Installation Manual SIPLACE Setup Center V3.0
X Choose your SQL Server Instance from the pull-down menu.
X Enter the Password for the SQL Server user "SiplaceSetupCenterUSR".
X Click Next.
Step 4
X The Start Copying Files dialog box gives you a chance to check the information again, which you
have entered during the previous steps.
X Click Next if you accept all the information entered so far.
X If you want to alter one or more details, click the Back button until you get back to the dialog box in
question.
X There, enter your changes and click Next to continue as usual.
Step 5
X The installation routine starts.
X The "Installation Complete" window appears if the installation has been completed successfully.