00197044-02_IM_706_1_DE_EN.pdf - 第31页
Station S oftware 706. 1 / Install ation Man ual Ausgabe 11/2012 E dit ion 31 ► Click the N ext but ton. 5.4.5 Selecting the M achine T yp e Figure 5- 13 : Selecting the machine type ► Select th e option f or the m achin…
Station Software 706.1 / Installation Manual Ausgabe 11/2012 Edition
30
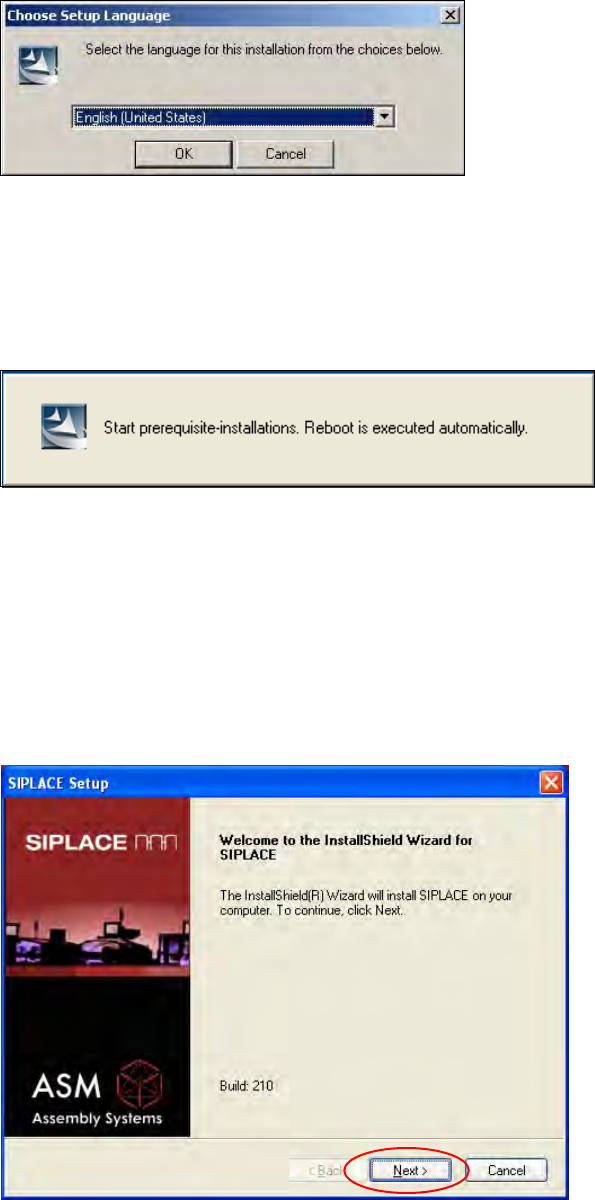
5.4.2 Language Selection
Installation of the station software continues with the selection of the language.
► Select the language to be used during installation.
You can choose between German (Germany) and English (United States).
Figure 5-10: Language selection
► Click the OK button.
5.4.3 Installing the System Files
Figure 5-11: Installing the system files
The necessary system files are installed if they are not already on the machine computer. Under
Windows XP the machine computer is rebooted automatically after installation. You are
automatically logged in as administrator. Under Windows 7 no reboot is necessary.
Installation of the station software continues with the welcome screen.
5.4.4 Welcome Screen
Figure 5-12: Welcome screen
Station Software 706.1 / Installation Manual Ausgabe 11/2012 Edition
31
► Click the Next button.
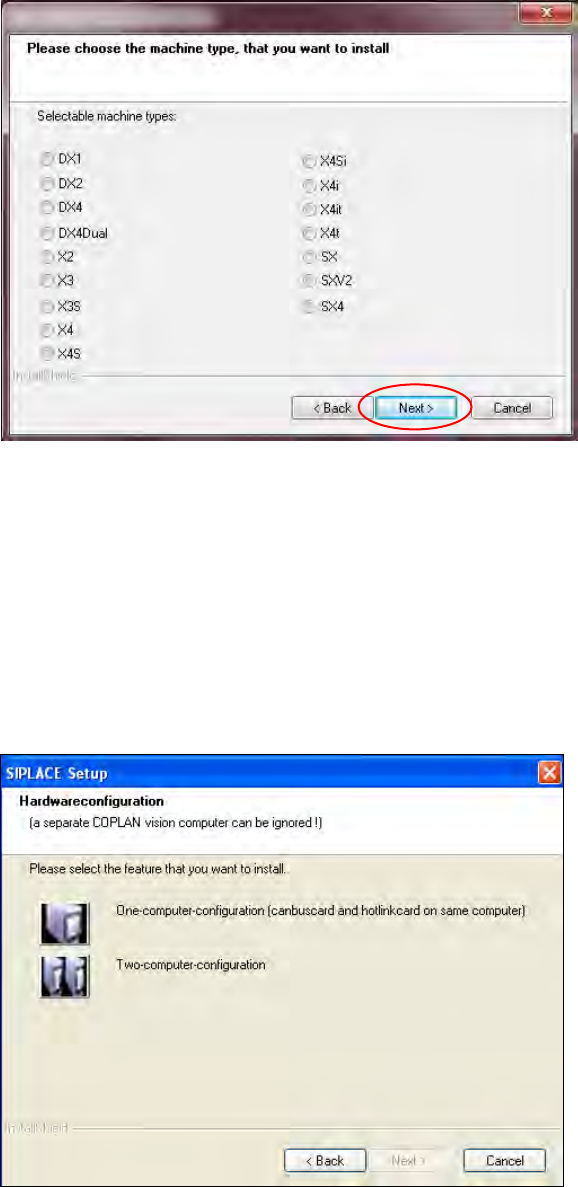
5.4.5 Selecting the Machine Type
Figure 5-13: Selecting the machine type
► Select the option for the machine type for which the software is to be configured.
► Click the Next button.
5.4.6 Selecting the Hardware Configuration
The Hardwareconfiguration dialog box is opened, in which you configure the hardware for one-
computer or two-computer operation. One-computer operation is default for the SX and DX
placement machines.
Figure 5-14: "SIPLACE Setup" dialog box
Station Software 706.1 / Installation Manual Ausgabe 11/2012 Edition
32
► Click the
One-computer-configuration button or the Two-computer-
configuration button for X-series placement machines with two computers.
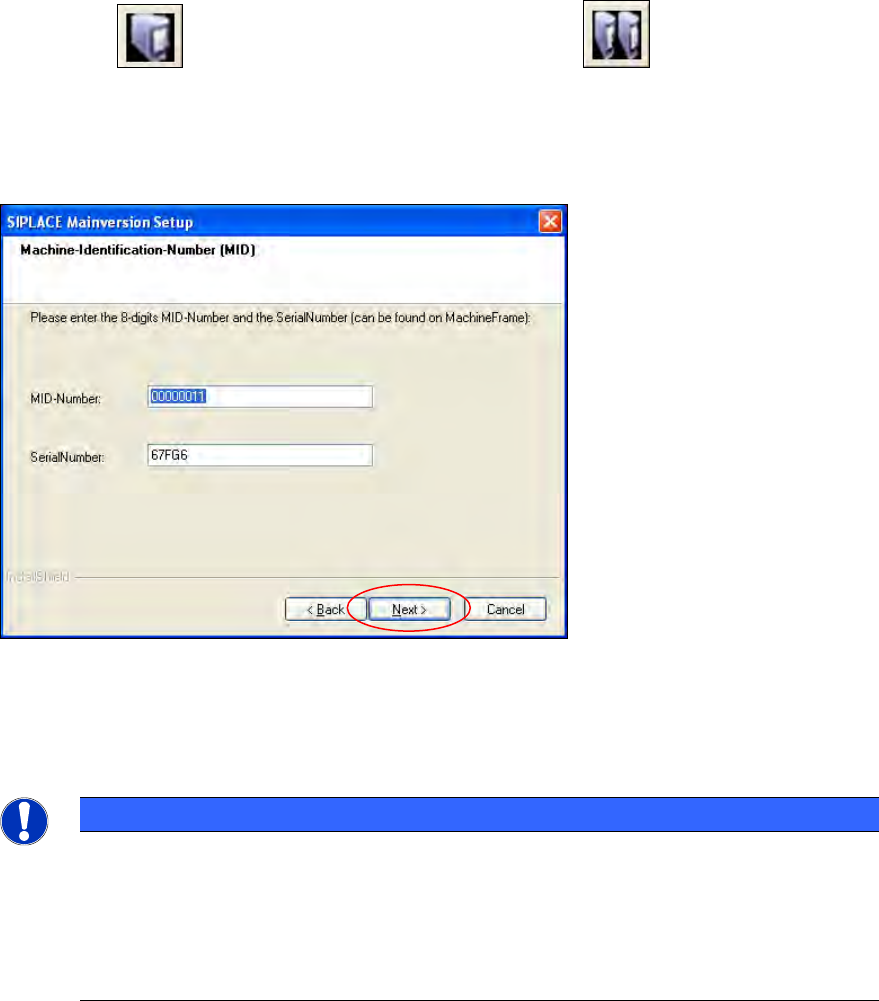
5.4.7 Entering the Machine Identification Number (MID) and serial number
Figure 5-15: Entering the Machine Identification Number (MID) and serial number
► In the text box beside MID-Number, enter the 8-digit machine identification number.
► In the text box beside SerialNumber, enter the serial number
NOTICE
You will find the MID and the serial number on an adhesive label on the side of the
protective covers directly below the label for the number of the relevant location. The
number following the dash after the MID specifies the location and is not entered here
(e.g. 00000001-2 stands for location 2).
After upgrading (from 60x and 70x) the correct MID and serial number are already
inserted.
► Click the Next button.