Maintenance Schedule保养计划.pdf - 第20页
Vision XP+ V AC / XP+ / XP / XS Page 29 2 Mainte nance 2.6 V acuum Uni t Service Instructions V ersion 1.3 2.6.2 V acuum pump oil level Fig. 2-32 V acuum pu m p The oil l evel of the v acuum pump must be checke d from ti…
Page 28 Vision XP+ VAC / XP+ / XP / XS
2 Maintenance
2.6 Vacuum Unit
Service Instructions
Version 1.3
2.6 Vacuum Unit
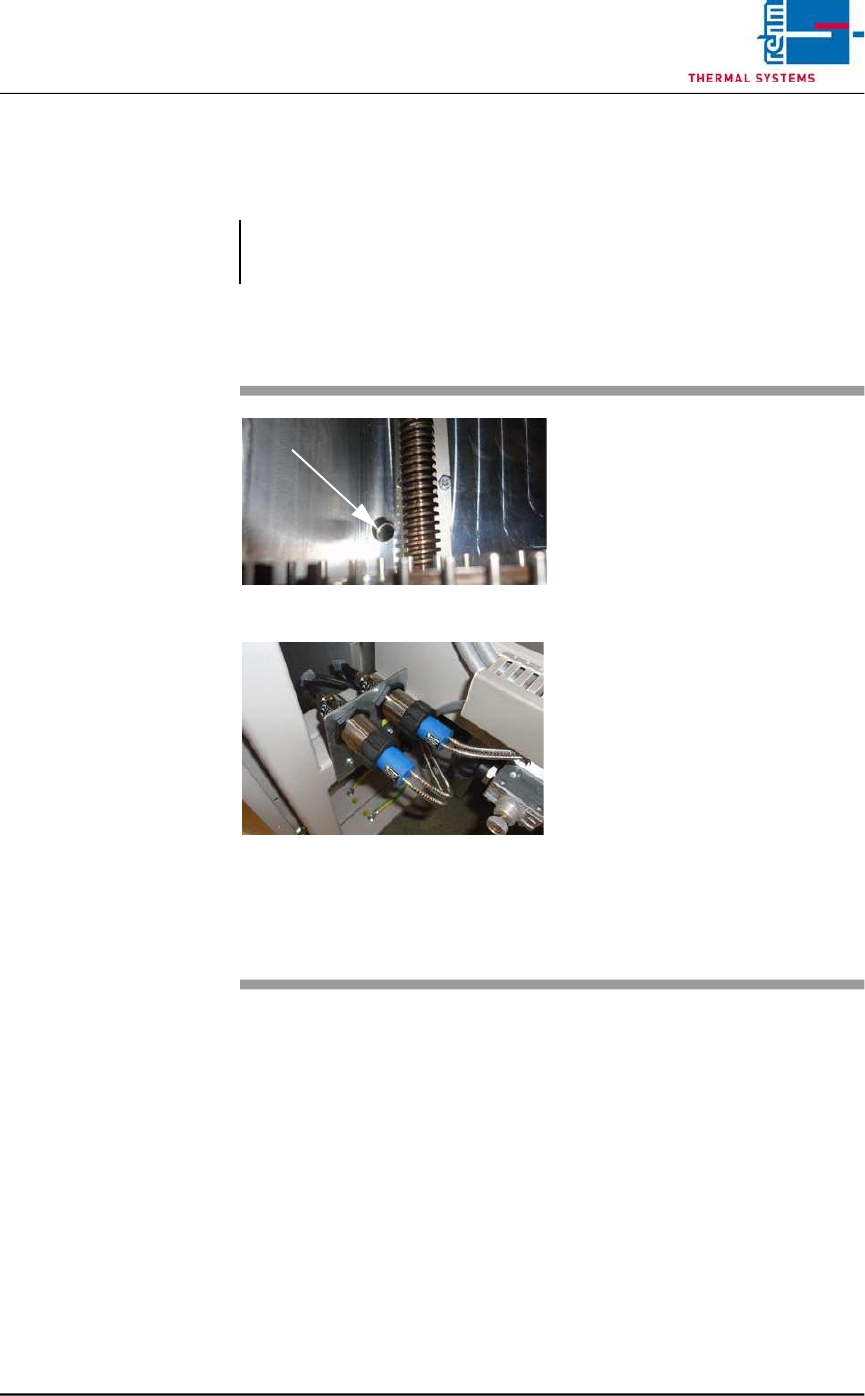
2.6.1 Sensors in the vacuum chamber
!
Note!
After the maintenance the chamber seal should be lubricated with
vacuum grease.
Fig. 2-30 Sensors in the vacuum chamber
Fig. 2-31 Sensors in the vacuum chamber
The sensors for the vacuum unit are
located at the back of the machine.
These sensors should be checked
from time to time to examine the
degree of dirt.
Consumables, tool:
• Oven cleaner CF 1
• Cleaning cloths
• Vacuum cleaner
Procedure:
1. The transport system in the
vacuum chamber must be
moved apart.
2. Clean the viewing area and the
vacuum chamber with a
suitable cleaning cloth.
3. Suck any dirt from the chamber
using a vacuum cleaner.
Vision XP+ VAC / XP+ / XP / XS Page 29
2 Maintenance
2.6 Vacuum Unit
Service Instructions
Version 1.3
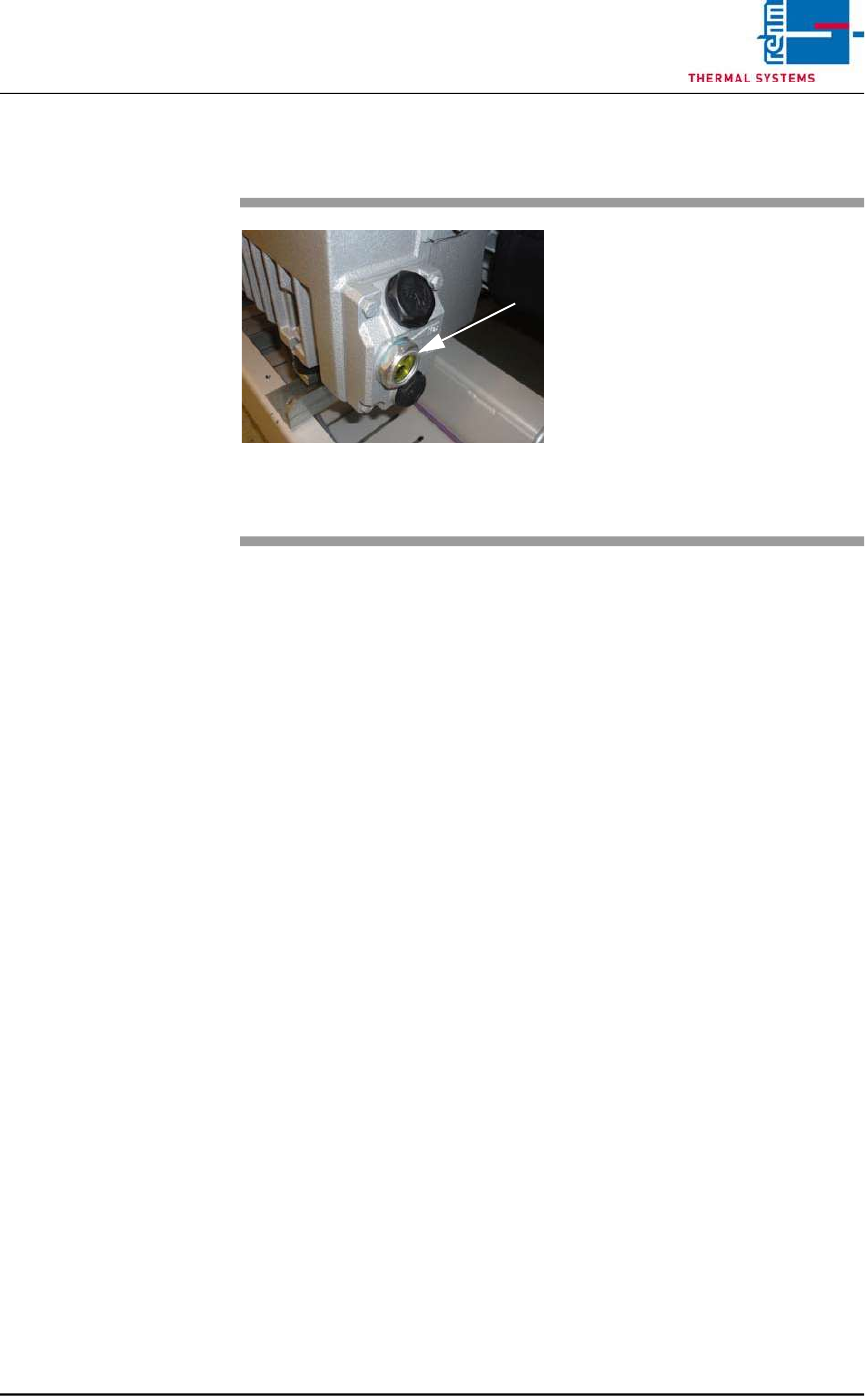
2.6.2 Vacuum pump oil level
Fig. 2-32 Vacuum pump
The oil level of the vacuum pump
must be checked from time to time.
Consumables, tool:
• Oil
Procedure:
1. Check the oil level of the
vacuum pump. This may not
fall below the min.
2. Pour in suitable oil for the
vacuum pump.
Page 30 Vision XP+ VAC / XP+ / XP / XS
2 Maintenance
2.6 Vacuum Unit
Service Instructions
Version 1.3
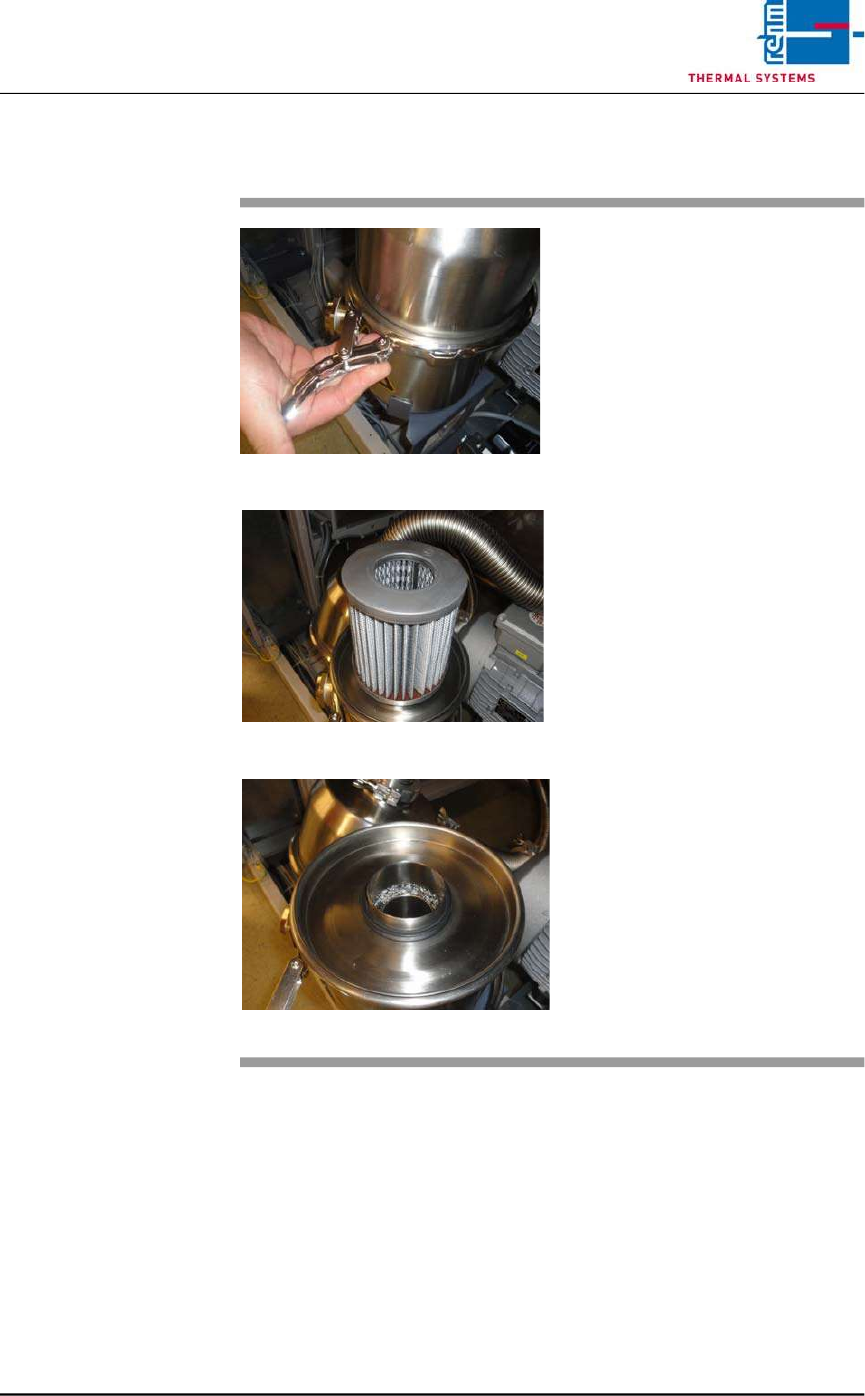
2.6.3 Vacuum pump filter
Fig. 2-33 Filter Vacuum pump
Fig. 2-34 Filter Vacuum pump
Fig. 2-35 Filter Vacuum pump
The filter container in front of the
vacuum pump must be opened from
time to time and the filter cleaned.
Consumbales, tool:
• Cleaning agent
• Cleaning cloth
• Cleaning bath
Procedure
1. The clamping ring of the filter
container must be opened.
The lid can be removed.
2. If the paper filter is dirty, it
must be replaced.
3. Lay the fabric filters in a
suitable cleaning agent for
cleaning.
4. After cleaning, put everything
back together and close the
clamping ring of the filter
container.