speedline 680SD Pump .pdf - 第13页
. . . . . 680SD BRUSHL ESS SERVO PUM P Checki ng Lift Height Ope rati on and Main tenance Gui de 11 Che cking Li ft He ight Procedur e T o check lift height: 1. Adjust the air p ressure knob so that the air press ure gau…

680SD BRUSHLESS SERVO PUMP
Initial Lift Height Adjustment
10 680SD Brushless Servo Driven Pump
Attention
The numbers on the scale ring range from zero (0) to .025" in .001" increments. The
gap you set will depend on the material you are dispensing and the process. The gap
is preset at the factory for .010".
10. Adjust the scale ring to the appropriate gap (lift height).
11. Tighten the red lock screw.
.
.
.
.
.
680SD BRUSHLESS SERVO PUMP
Checking Lift Height
Operation and Maintenance Guide 11
Checking Lift Height
Procedure To check lift height:
1. Adjust the air pressure knob so that the air pressure gauge reads 15-20 PSI.
2. Perform a Purge Cup Position calibration. Make sure the purge Z-height is .5 in.
above the Weight Scale purge cone or purge cup so that the material stream is
easily observed.
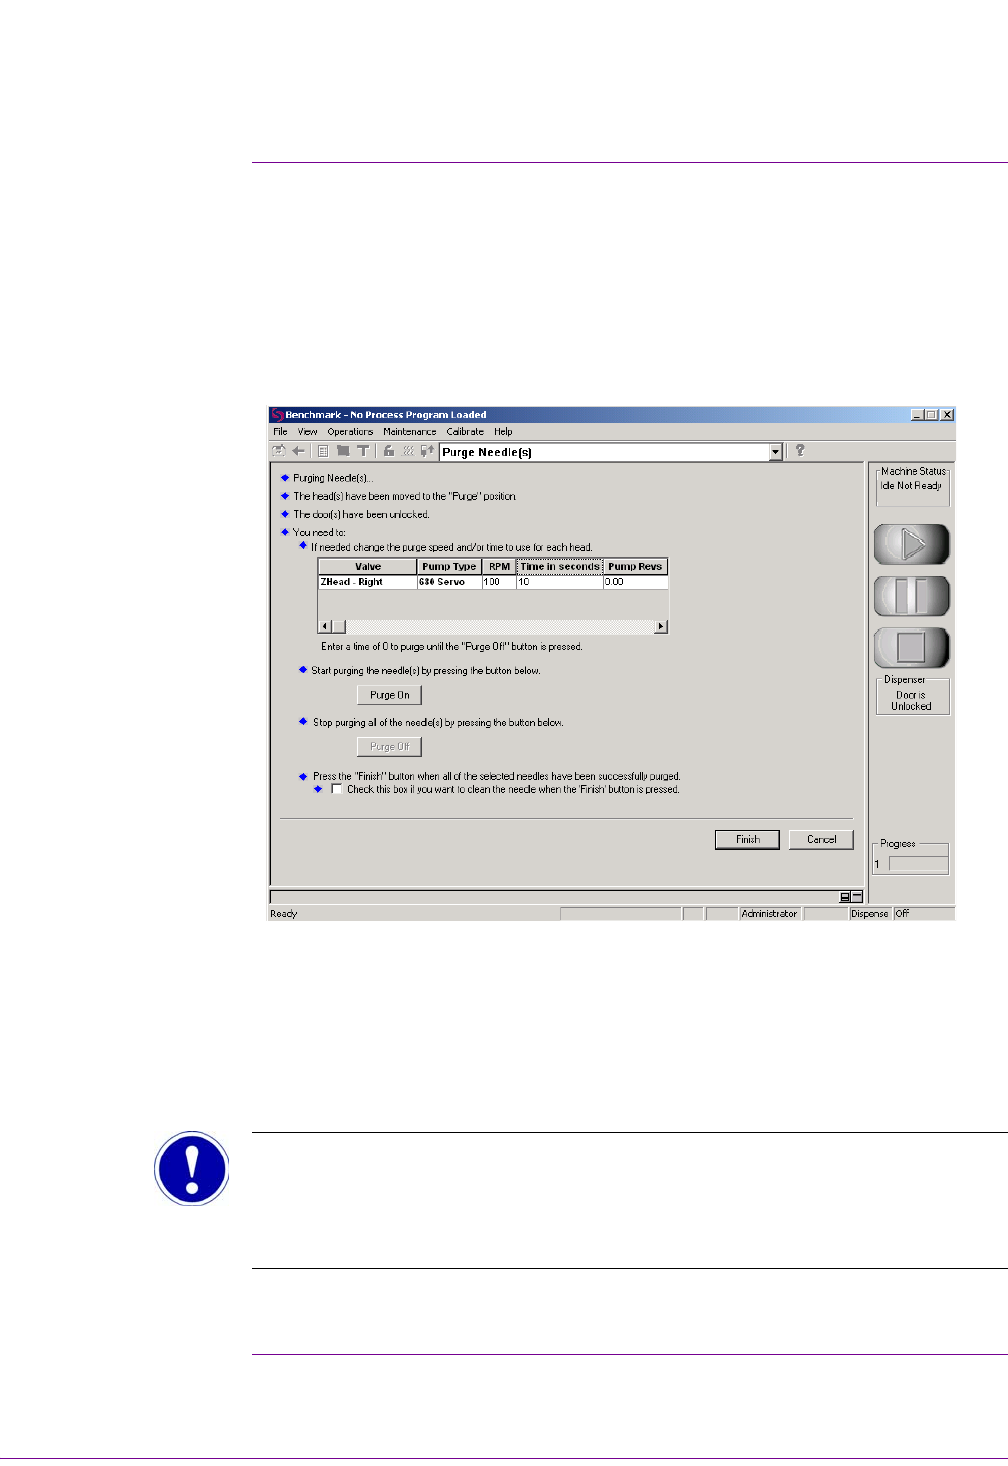
3. From the main Benchmark screen select: Maintenance > Purge Needle. The
Purge Needle(s) screen displays (Figure 3).
Figure 3
4. Select Pump Type 680 Servo. The head will move to the Purge position.
5. Select the appropriate Valve.
6. Set the RPM to 100-200.
7. Set the time to 15-20 seconds.
8. Select the Purge On button.
Attention
When the Purge On button is selected the pump begins to operate. The leadscrew is
lifted from the needle, allowing the flow of material through the needle.
9. Observe the needle to verify proper volume.

680SD BRUSHLESS SERVO PUMP
Fine Tuning Lift Height
12 680SD Brushless Servo Driven Pump
Fine Tuning Lift Height
Introduction If material flow through the pump is either insufficient or excessive after purging, you
will need to adjust the lift height in order to achieve the correct volume of material.
Procedure Adjust the lift height as follows:
1. While selecting the Purge On button, rotate the adjustment ring clockwise (to
decrease volume) or counter-clockwise (to increase volume) until satisfactory
flow is achieved.
2. When the desired volume is achieved, rotate the adjustment an additional ½ turn
and then back to the desired setting to eliminate any backlash.
3. Tighten the lock screw.