00197455-01_IM_TX150SS8_en.pdf - 第39页
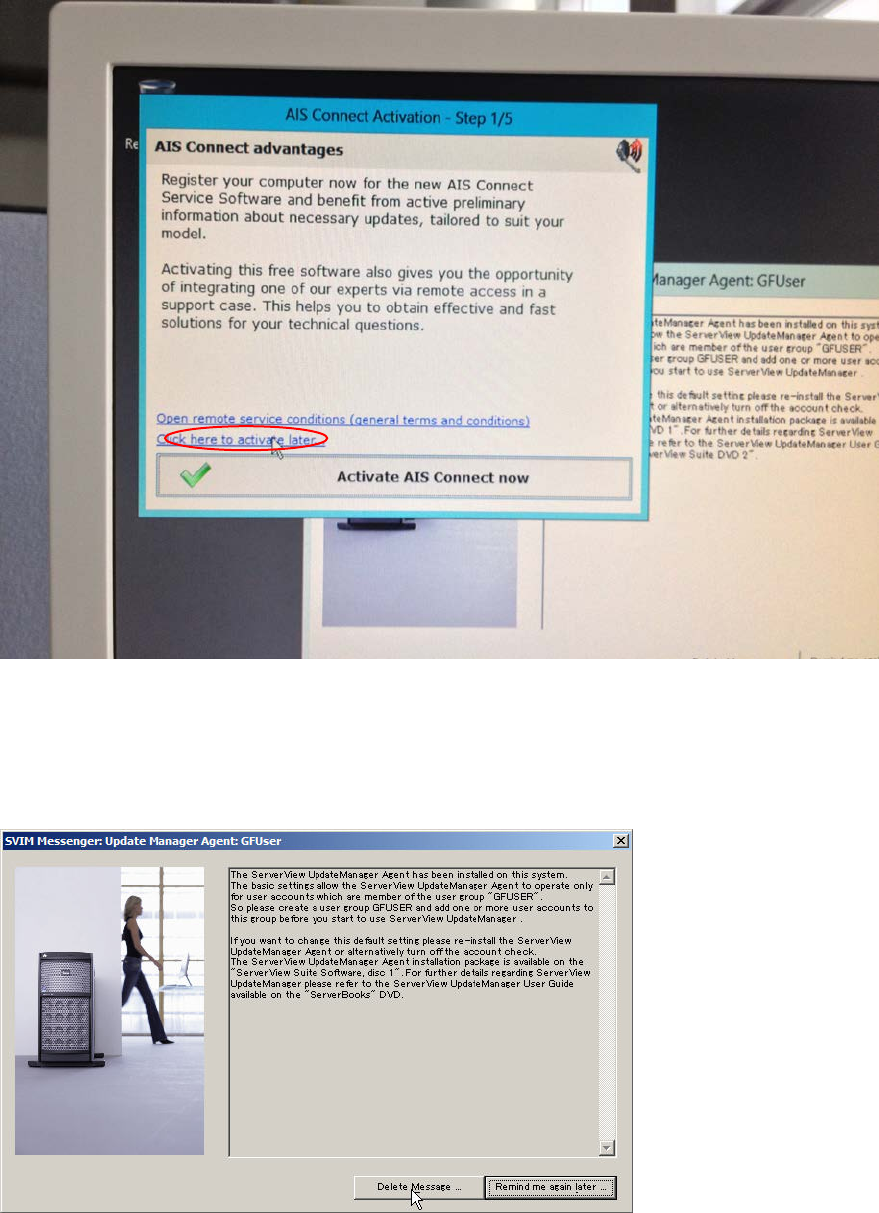
Installing Prim ergy TX 150 S8 with W indows S erver 20 12 07/2012 Edit ion 39 After log in and som e prepa ration, th e follo wing screen s wil l appear (ra ndom order) . Figure 3- 27 : Reminder messages ► Click at the …
Installing Primergy TX150 S8 with Windows Server 2012 07/2012 Edition
38
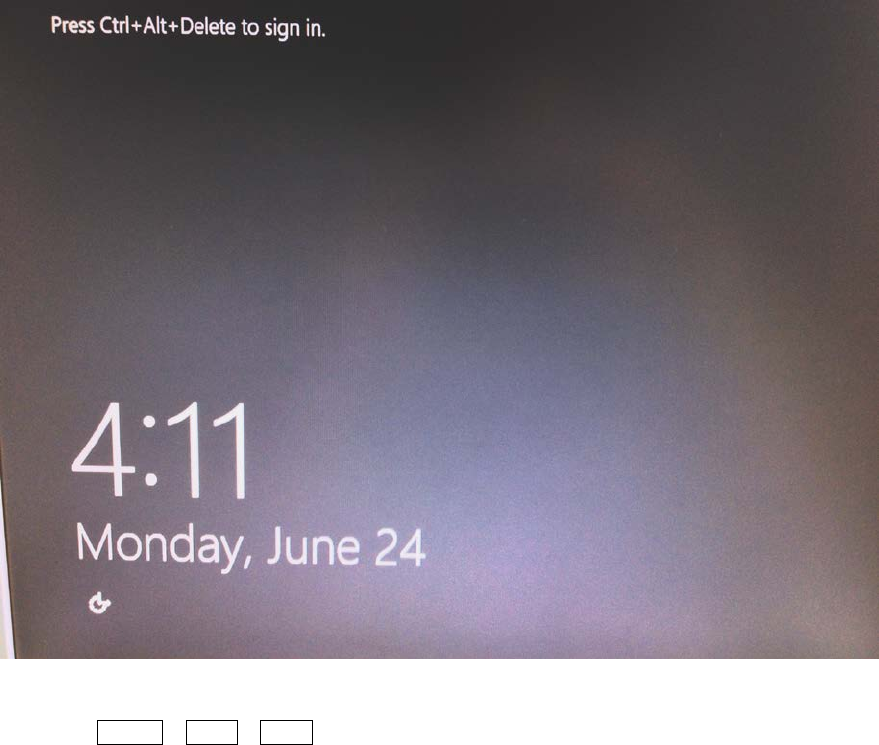
Thereafter the logon screen will appear.
Figure 3-26: Windows Logon Screen
► Press CTRL + ALT + DEL to log on and log in with the administrator account and the
password you have configured.
Installing Primergy TX150 S8 with Windows Server 2012 07/2012 Edition
39
After login and some preparation, the following screens will appear (random order).
Figure 3-27: Reminder messages
► Click at the Click here to activate later… line to close the window.
The following window might appear.
Figure 3-28: SVIM Messanger message
► Click the Delete Message button.
The basic installation steps are now completed. Continue with the following chapter.
Installing Primergy TX150 S8 with Windows Server 2012 07/2012 Edition
40
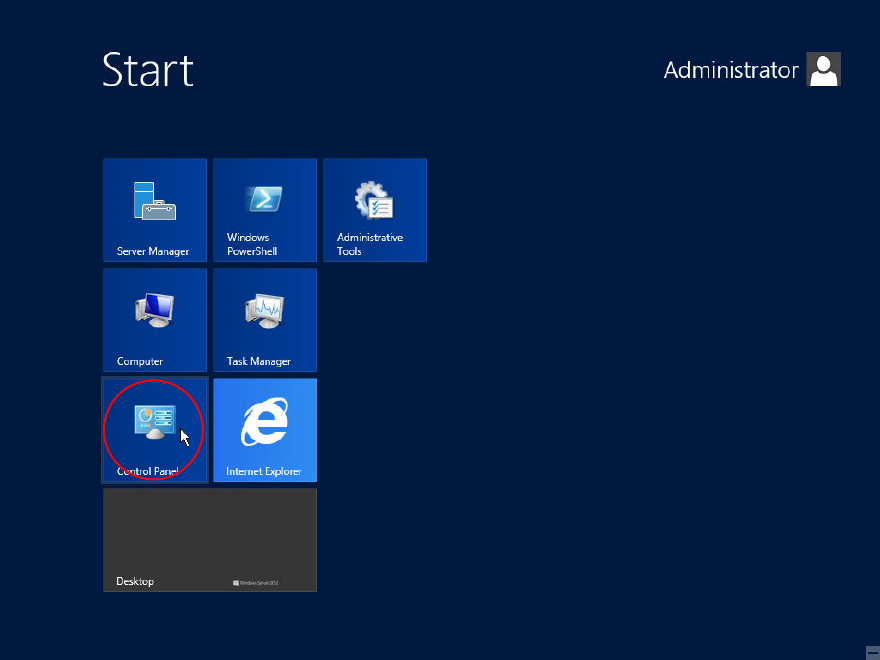
4 Additional Finishing Steps
4.1 Uninstalling Fujitsu Automated Immune System (AIS)
Since the features of the Fujitsu Automated Immune System (AIS) are not used, it should be
uninstalled.
Figure 4-1: Opening Control Panel
► Press the Windows button on your keyboard and click at Control Panel.
The Control Panel appears.