00197455-01_IM_TX150SS8_en.pdf - 第8页
Installing Prim ergy TX 150 S8 with W indows S erver 20 12 07/2012 Edit ion 8 ► After the BIO S sc ree n is di spla yed , press the → key (right a rrow ) m ultiple tim es to sel ect the Boot optio n . Figure 2-3 : Boot s…
Installing Primergy TX150 S8 with Windows Server 2012 07/2012 Edition
7
4) Additional onboard LAN connection (not used)
5) USB 2.0 connectors
6) USB 3.0 connector (use this connector for your USB 3.0 devices for enhanced
performance)
7) Power connector
2.2 Used Network Connections
► Before you begin, please ensure that you have connected the SIPLACE LAN network cable
(usually IP range 172.22.x.x) to the (onboard) network adapter and removed all other network
cable connections.
2.3 BIOS Settings
Some boot devices need to be removed from the boot order.
► Press the power button of the server.
After a couple of seconds, some boot information will be displayed.
► Immediately after the first text is displayed, press the F2 key multiple times to enter the BIOS.
It may take about 45 seconds, until the BIOS screen is displayed.
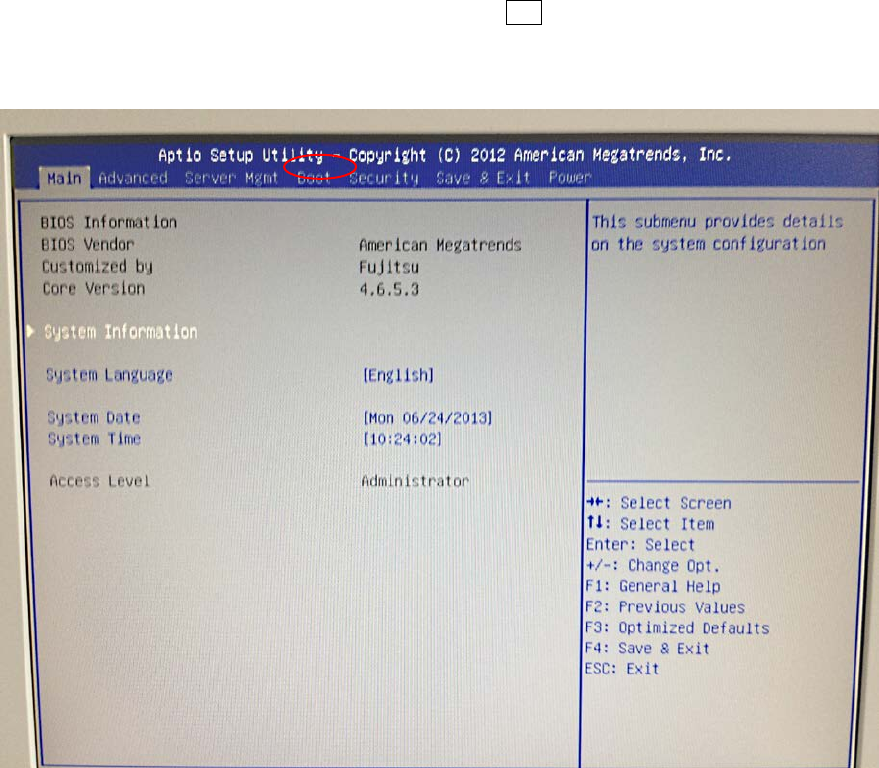
Figure 2-2: Initial BIOS screen
Installing Primergy TX150 S8 with Windows Server 2012 07/2012 Edition
8
► After the BIOS screen is displayed, press the → key (right arrow) multiple times to select the
Boot option.
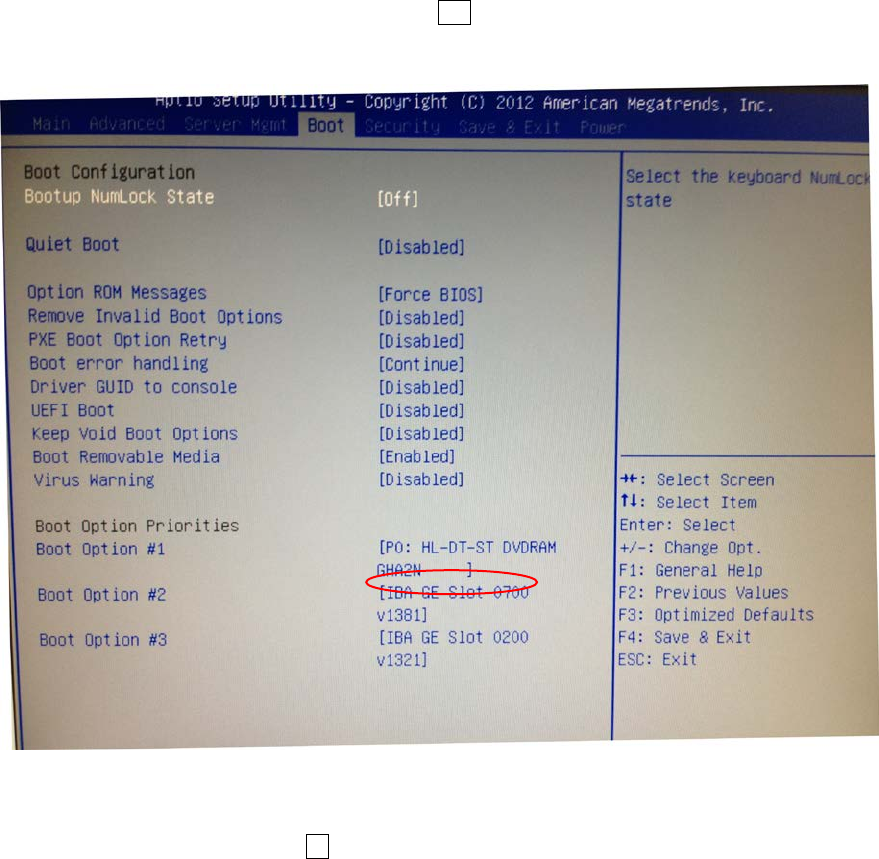
Figure 2-3: Boot screen
► On the Boot screen, press the ↓ key (down arrow) multiple times until the boot option IBA GE
Slot 0700 v1381 is highlighted.
Installing Primergy TX150 S8 with Windows Server 2012 07/2012 Edition
9
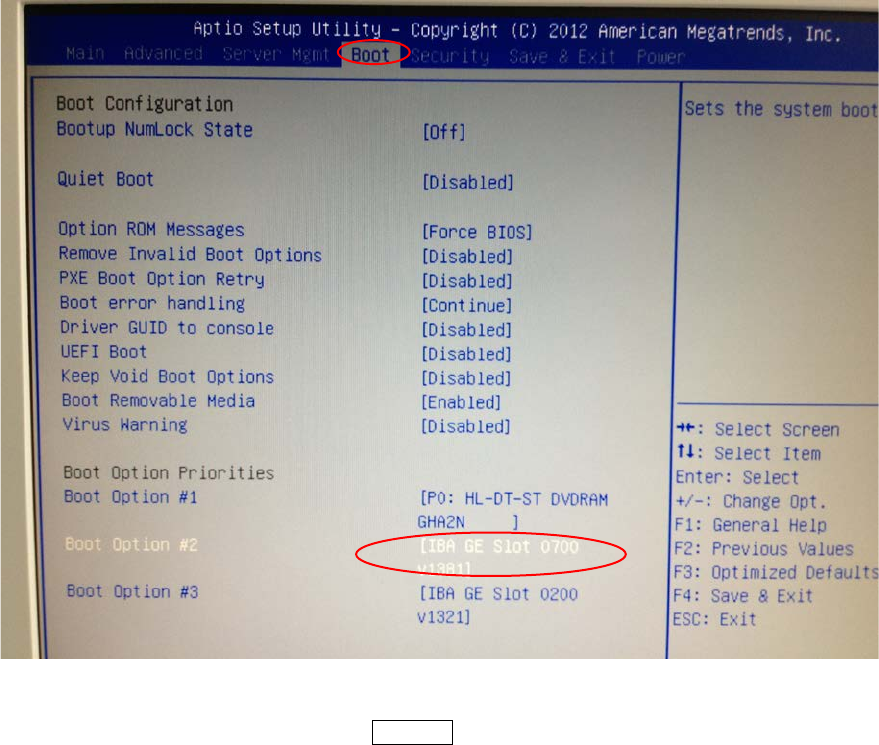
The screen should look like this:
Figure 2-4: Boot option “IBA GE Slot 0700 v1381” selected
► With the device highlighted, press the ENTER key.