TR7600 SIII_Series_Installation_en_v_2_0_2.pdf - 第12页
Test Research, Inc . TR7600 SI II Series U ser Guide – Installatio n 2 2 I NSTALL A TION P ROCE SS 2.1 System Delivery Th e system information is listed b elow: 1) The c ontainer is 115 inches long x 89 inc hes deep x …

Test Research, Inc.
1 TR7600 SIII Series User Guide – Installation
1 INTRODUCTION
This manual can be applied to TR7600 SIII.
1.1 Objectives
After you finish reading this manual, you should be able to:
Understand requirements for the system installation.
Prepare the system installation.
Finish the system installation.
1.2 Overview
The whole process of installation includes:
1) System Delivery
2) Container Unpacking
3) Check Accessories
4) Uninstall Mounting Brackets
5) Install X-ray Tube
6) Install Three Color-Light Tower
7) Install Air Supply Cable
8) Install Monitor
9) Input/Output Signal Port (SMEMA)
10) Power Installation
11) Tube Warm Up
12) X-ray Radiation Measurement
Test Research, Inc.
TR7600 SIII Series User Guide – Installation 2
2 INSTALLATION PROCESS
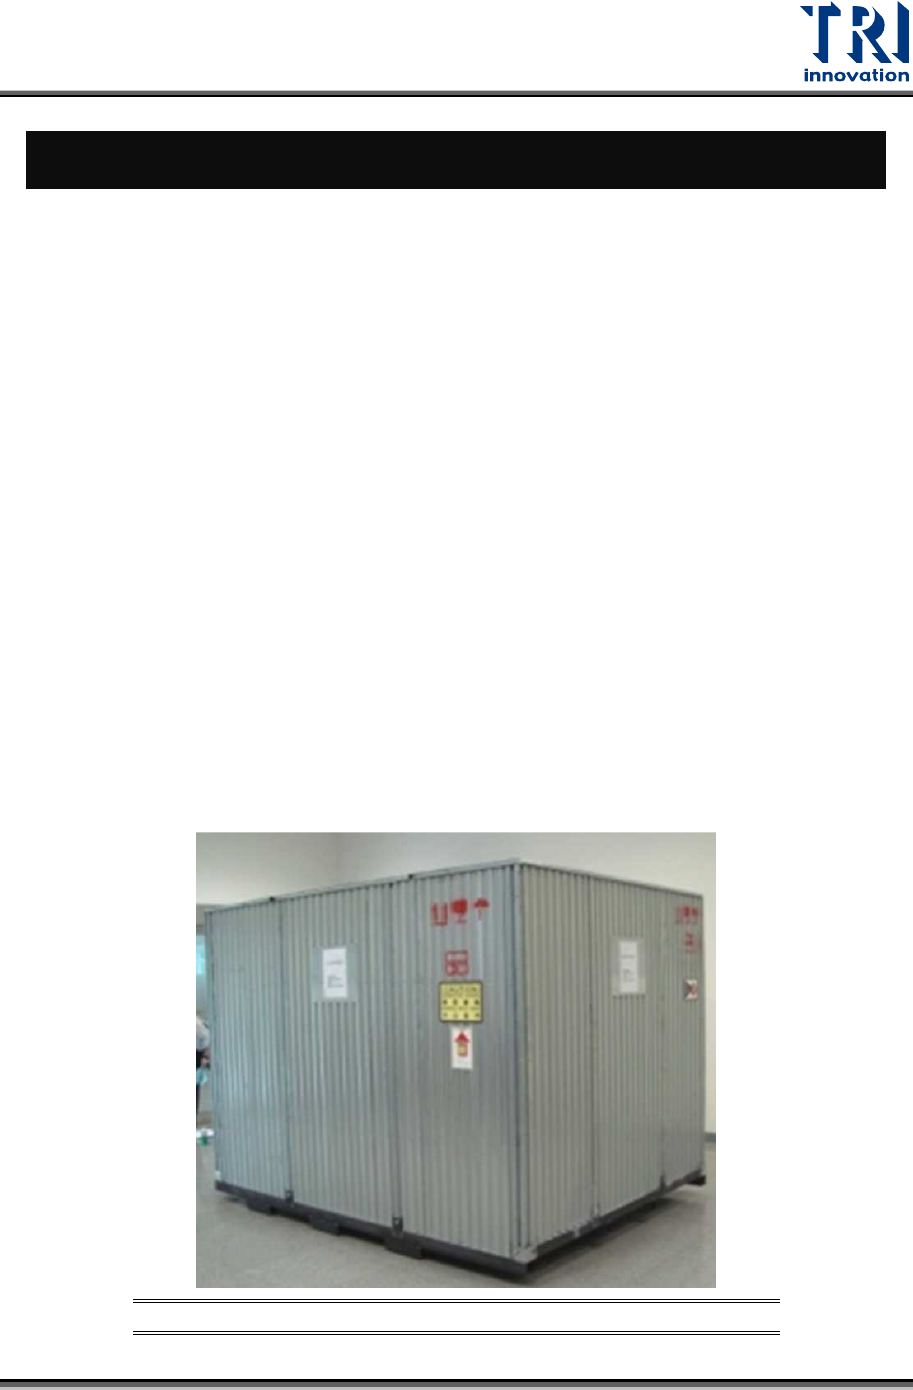
2.1 System Delivery
The system information is listed below:
1) The container is 115 inches long x 89 inches deep x 89 inches high (2.90m x 2.26m x
2.25m).
2) The weight of the machine is 4,000 kg (9920 pounds).
3) The total weight of the container that carries the machine and other accessories is
4,980 kg (10,979 pounds).
The Forklift requirements are listed below:
1) A fork lift with tines at least 230 centimeters (90 inches) long and rated for lifting at
least 6,000 kilograms (13,228 pounds) is needed to unload and move the system.
2) Desired open pathway would be 97 inches high x 120 inches wide. (2.45m x 3.0m) to
allow for turns.
Important Notes:
1) It is customer responsibility to provide services to move the system.
2) You can only insert two forks into the slots at the longer sides of the container
to move the machine out of the container.
Figure 1: Shipping Container
Test Research, Inc.
3 TR7600 SIII Series User Guide – Installation
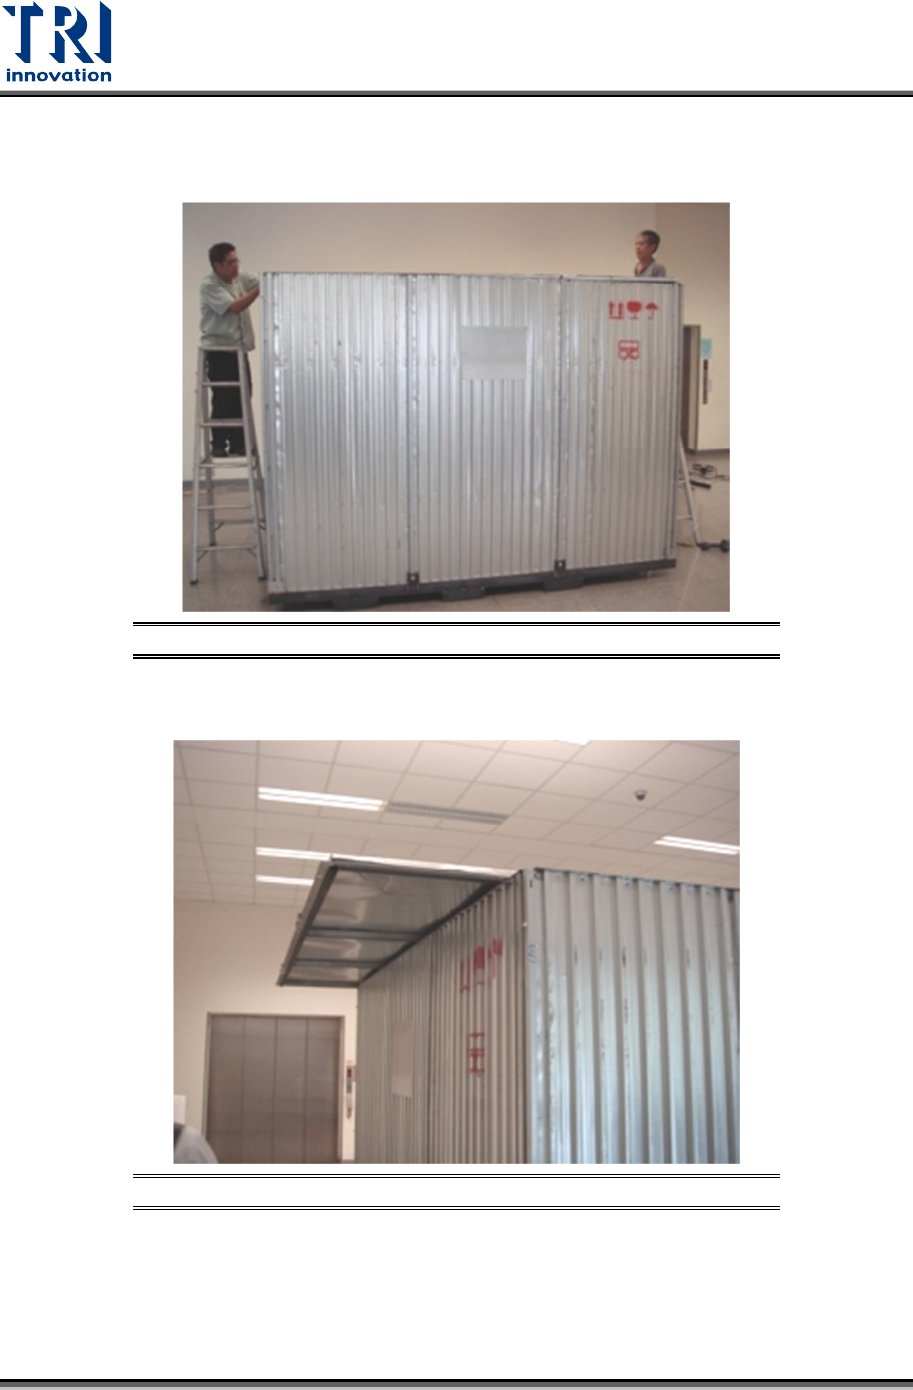
2.2 Container Unpacking
1) First, please release the screws and remove the roof of the container.
Figure 2: Unpack the Container
2) Watch corners and do not get cuts.
Figure 3: Remove the Roof