TR7600 SIII_Series_Installation_en_v_2_0_2.pdf - 第19页
Test Research, Inc . 9 TR7600 SIII Ser ies User G uide – Installa tion 14) Note that the X-ray tu be should only be set down as demonstrated b elow. Figure 14: Keep the X-ray T ube Facing Up and Handle Carefully 15) Use …
Test Research, Inc.
TR7600 SIII Series User Guide – Installation 8
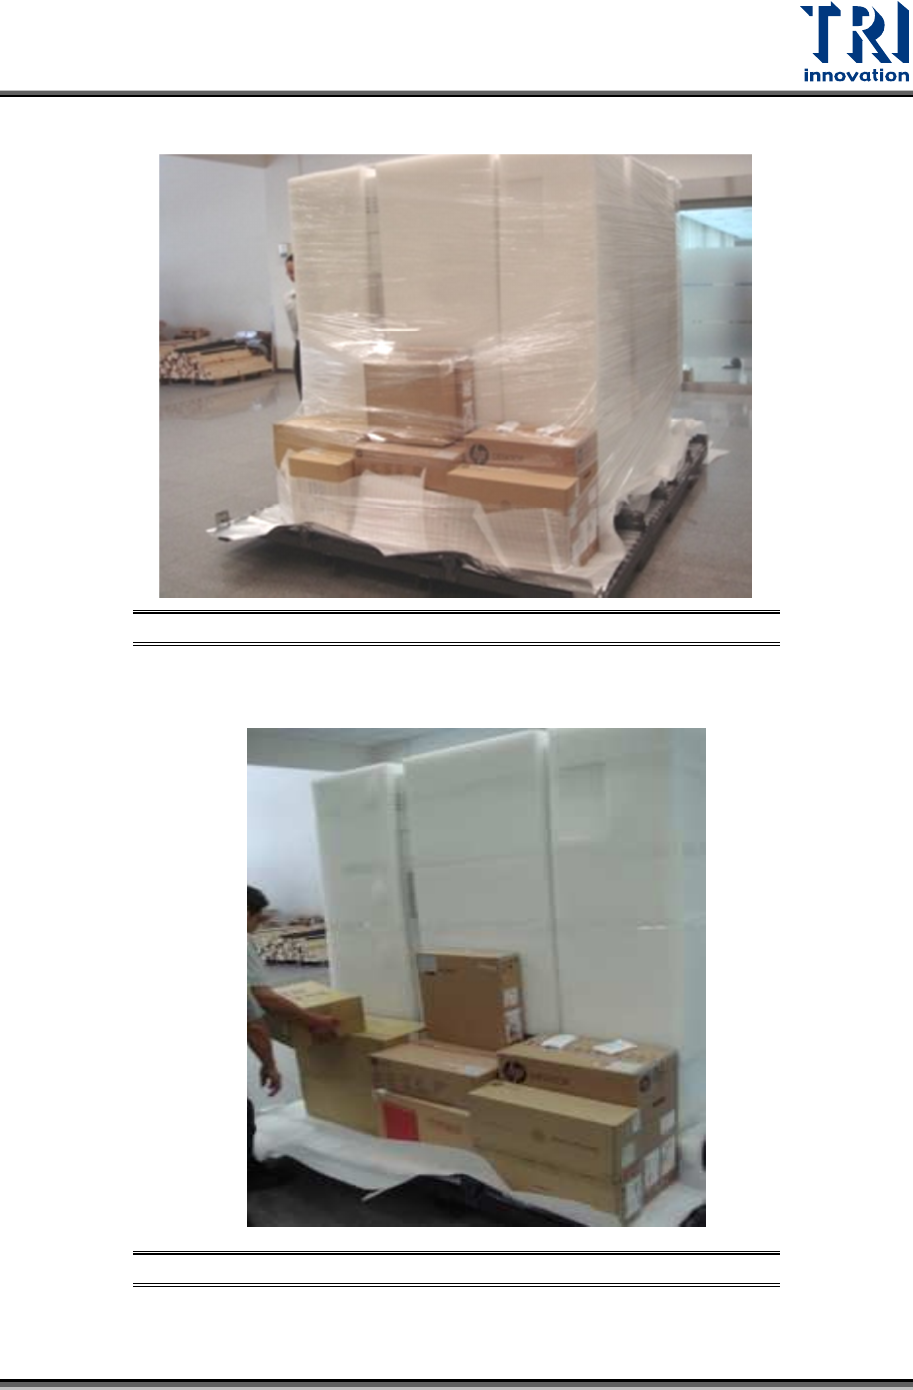
12) Remove the second layer of packing materials.
Figure 12: Remove the Second Layer of Packing Materials
13) Unload X-ray tube, monitor and all accessories carefully.
Figure 13: Unload All Accessories
Test Research, Inc.
9 TR7600 SIII Series User Guide – Installation
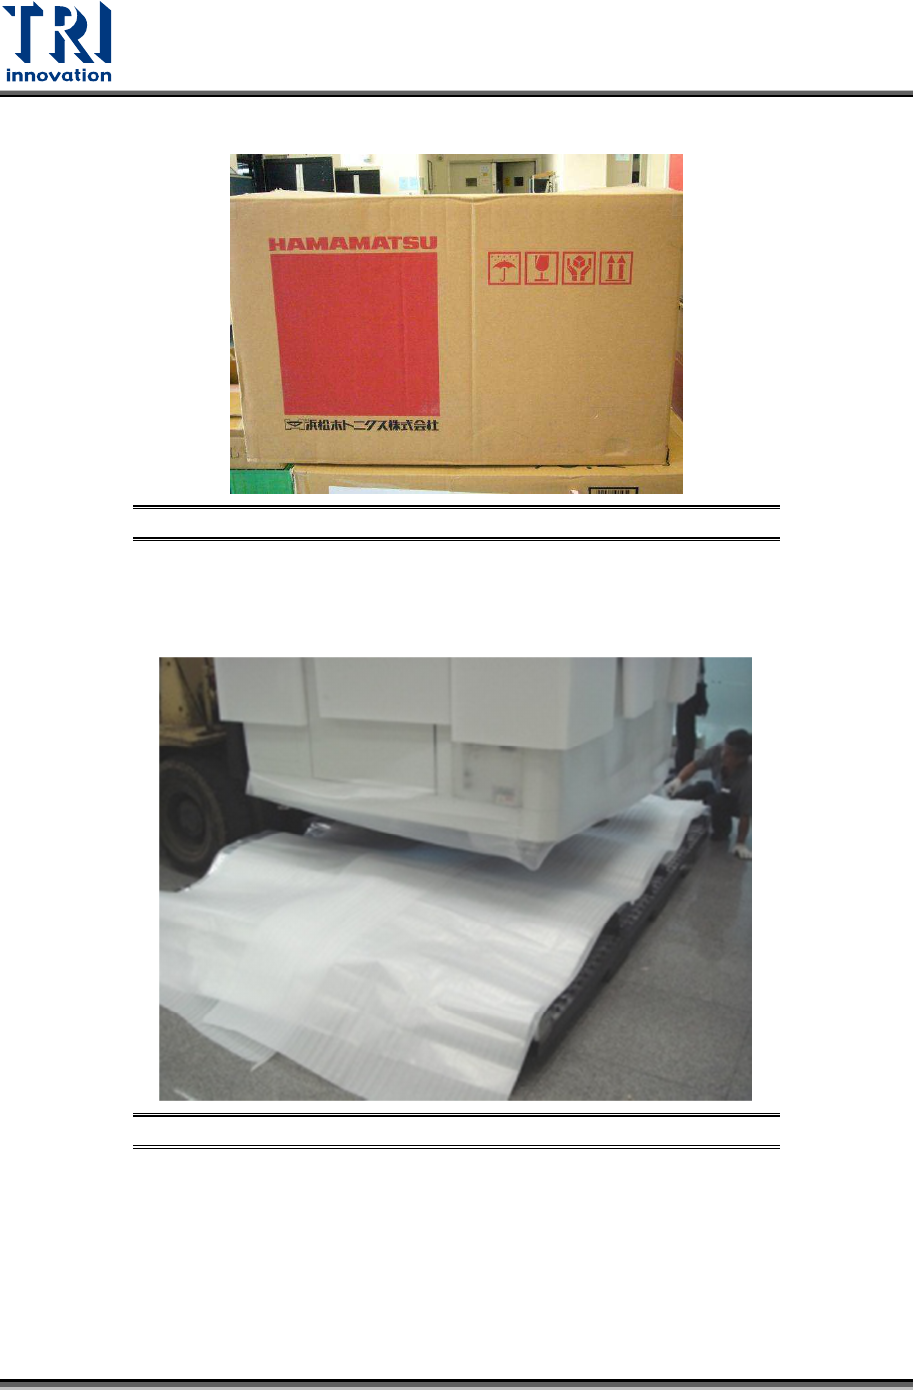
14) Note that the X-ray tube should only be set down as demonstrated below.
Figure 14: Keep the X-ray Tube Facing Up and Handle Carefully
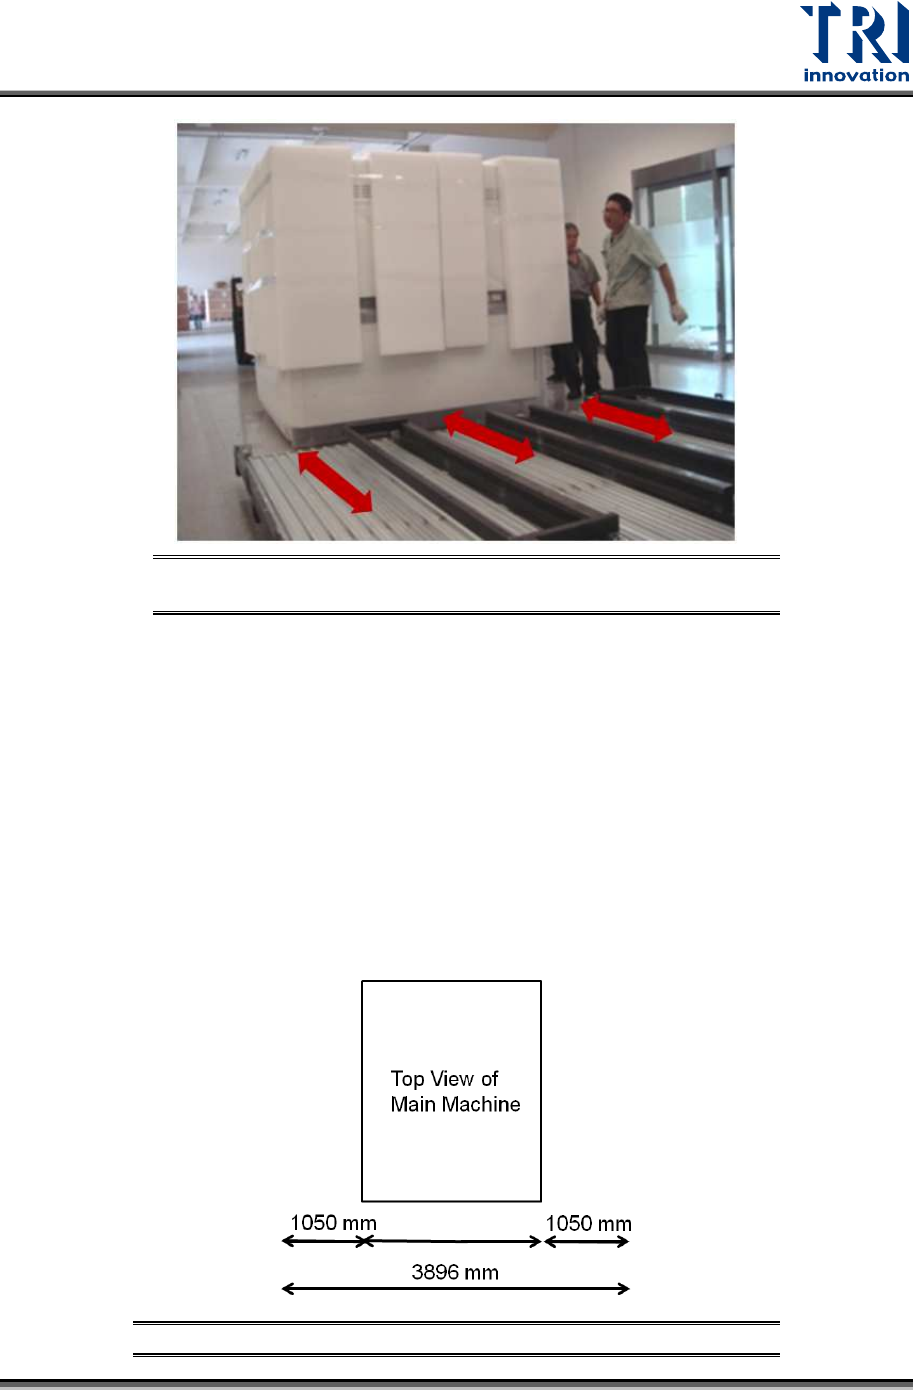
15) Use a fork lift to remove the main machine. You have to watch the direction that allows
you to insert the forks into the slots.
Figure 15: Remove the Machine
Test Research, Inc.
TR7600 SIII Series User Guide – Installation 10
Figure 16: Palette Slots Allow Fork to Be Inserted in One
Direction
16) Then put the machine in the right position.
Size of the main machine is W57.9in. × D83.1in. × H77.8in. (1.470m × 2.110m ×
1.975m) which does not include the height of signal tower of 20.1in. (0.51 m).
You should reserve a space that is at least 154 inches wide × 176.5 inches deep
× 98.4 inches high (3.89m × 4.48m × 2.5m) for daily operation.
If you want to put the repair station next to the main machine, you should
reserve a space that is at least 188.8 inches wide × 176.5 inches deep × 98.4
inches high (4.79 m × 4.48 m × 2.5 m) for daily operation.
Additionally, you can also adjust the reserved space according to your upstream and
downstream machines.
Figure 17: Reserved Space for Daily Operation
1470 mm