00193893-04.pdf - 第93页
SIPLACE HF Series Head Reconfiguration Kits 2 Retrofit in structions - SIPLACE HF seri es head reconfiguration kits 05/2006 Edition 93 2.5.4 Replacing the placement head 2 Wear an ESD armban d for the whole time you are …
2 Retrofit instructions - SIPLACE HF series head reconfiguration kits SIPLACE HF Series Head Reconfiguration Kits
05/2006 Edition
92
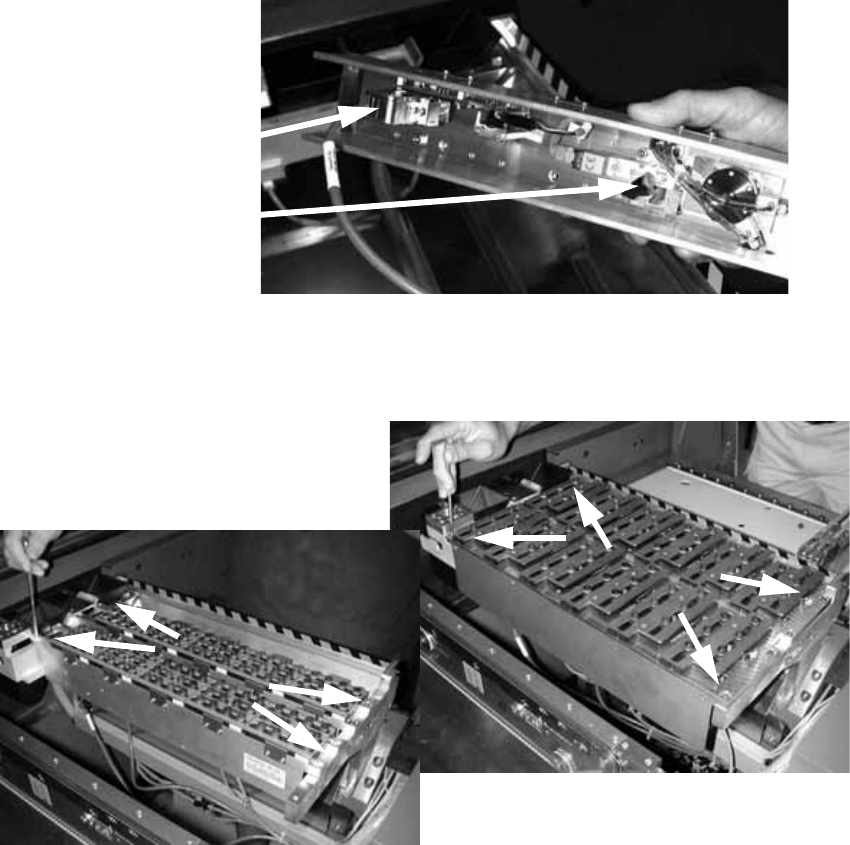
: Plug the cables and the compressed air hose into the C&P head nozzle changer.
2
2
: Insert the new C&P head nozzle changers and fix each in place with four screws.
2
2
With the C&P 12 placement head, an optional third nozzle changer may be fitted on the opposite
feeder area. It is installed and connected up in the same way. 2
2
2
2
2
2
Cable
Compressed air connector
C&P 12 nozzle changer
C&P 6 nozzle changer
SIPLACE HF Series Head Reconfiguration Kits 2 Retrofit instructions - SIPLACE HF series head reconfiguration kits
05/2006 Edition
93
2.5.4 Replacing the placement head
2
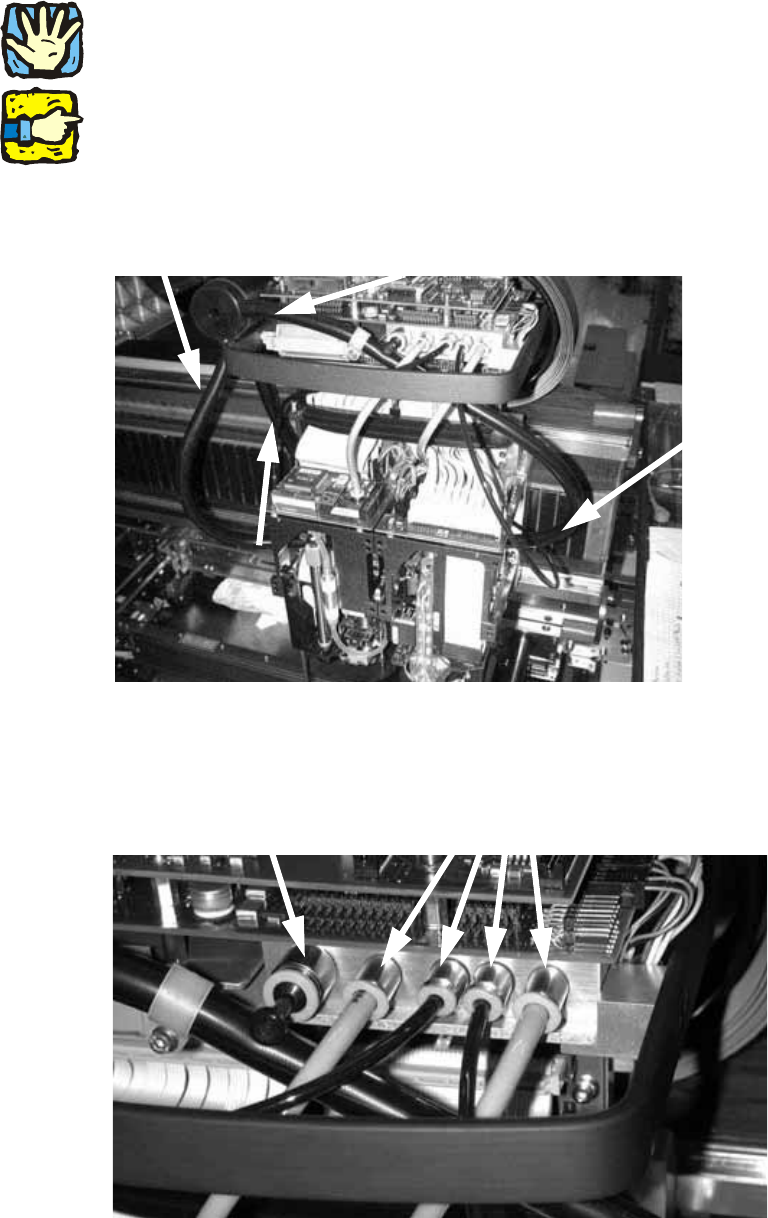
Wear an ESD armband for the whole time you are working on the placement head and servos. 2
2
2
The conversion is easiest to carry out from locations 2 and 4. 2
2
2
: Disconnect the exhaust air hoses.
2
2
: Detach these hoses and the blanking plug.
2
Blanking plug
Hoses
2 Retrofit instructions - SIPLACE HF series head reconfiguration kits SIPLACE HF Series Head Reconfiguration Kits
05/2006 Edition
94
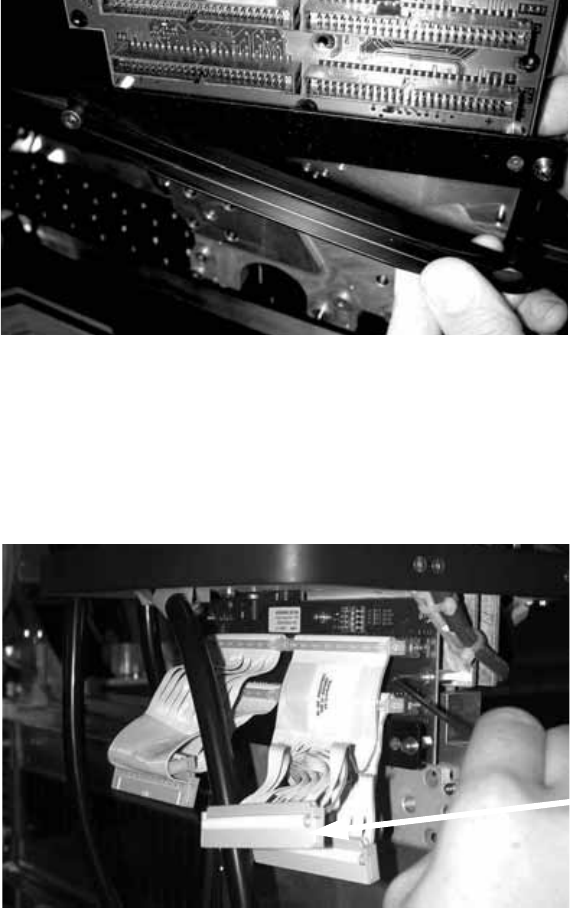
: Open the strain relief clip (pushbutton).
2
2
: Unscrew the entire strain relief.
2
: Detach the four ribbon cables from the TwinHead (photograph below).
2
2
2
2
2
2
2
2
Plug