00195425-01.pdf - 第100页
5 U ni nsta lla ti on In stal la tio n a nd C o nf igur atio n G uide SIP LACE E xpl ore r 5. 1 S t ar t Mod if y D ial og Ed iti on 05 /2 00 7 EN 100 5. 1 St ar t Modi fy D ial og → Open the SIPLACE Expl orer 2.2 - Inst…

Installation and Configuration Guide SIPLACE Explorer 5 Uninstallation
Edition 05/2007 EN
99
5 Uninstallation
SIPLACE Explorer V2.2 has a modify dialog for uninstallation purposes. This can be started from
the Windows menu. There will then be three uninstallation procedures at your disposal: 5
– Modify
Use this function if you want to add individual features to the current SIPLACE Explorer
V2.2 or if you want remove installed features from the current SIPLACE Explorer V2.2.
(see page 101)
–Repair
Use this function if the current installation of SIPLACE Explorer V2.2 no longer functions
properly or if individual features have been unintentionally removed. This option recovers
the previous setup.
(see page 103)
–Remove
Use this function if you want to completely remove SIPLACE Explorer V2.2 from your
computer.
(see page 105)
5 Uninstallation Installation and Configuration Guide SIPLACE Explorer
5.1 Start Modify Dialog Edition 05/2007 EN
100
5.1 Start Modify Dialog
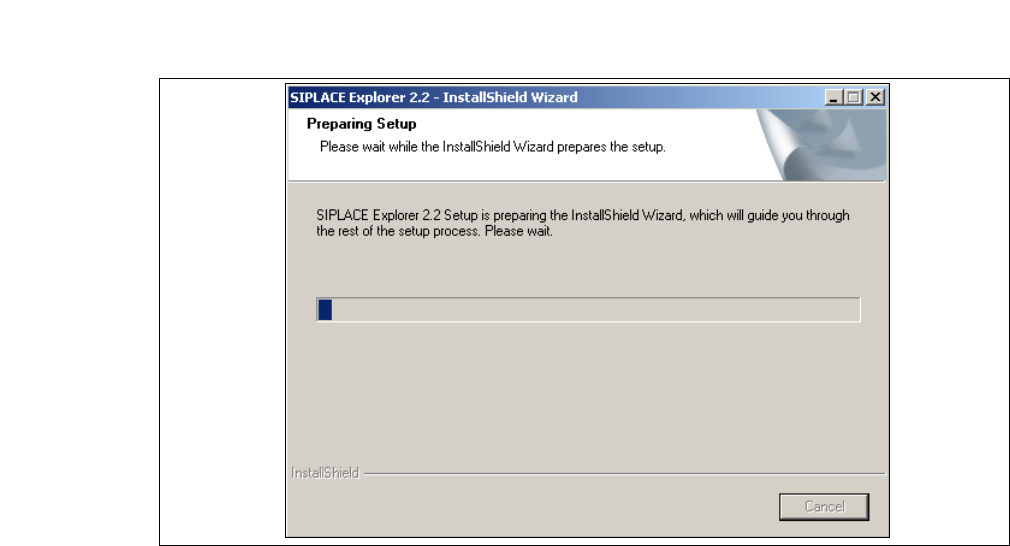
→ Open the SIPLACE Explorer 2.2 - InstallShield Wizard via the Windows menu
Start → Programs → SIPLACE Explorer 2.2 → Modify-Uninstall.
→ The SIPLACE Explorer 2.2 InstallShield Wizard will be prepared.
5
Fig. 5 - 1 SIPLACE Explorer 2.2 - install shield wizard
→ The welcome screen will appear. Select the process you wish to perform.
Installation and Configuration Guide SIPLACE Explorer 5 Uninstallation
Edition 05/2007 EN 5.2 Modify
101
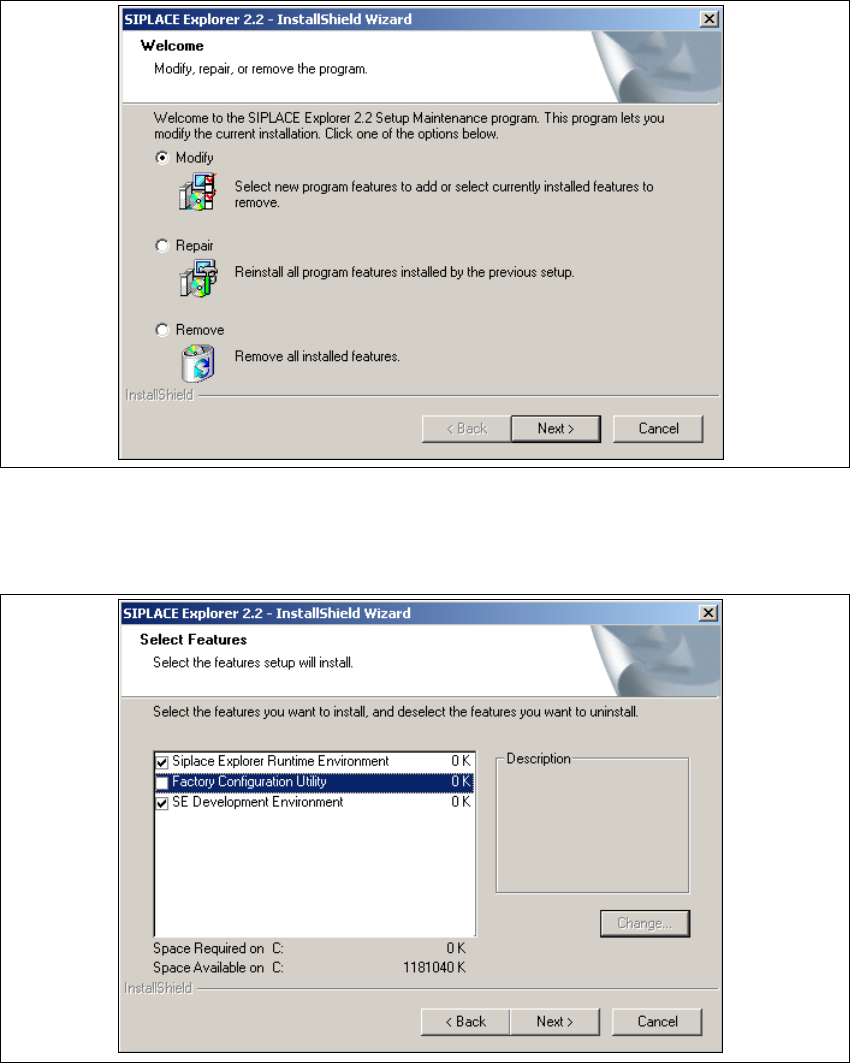
5.2 Modify
5
Fig. 5 - 2 SIPLACE Explorer 2.2 - install shield wizard
→ Click on Modify and then on Next to continue.
→ You will see the Select Features dialog box.
5
Fig. 5 - 3 SIPLACE Explorer 2.2 - install shield wizard
→ Now select the features you wish to remove, by disabling the relevant checkbox next to the
feature(s). The checkbox must be enabled if you wish to install the feature.
→ Once you have selected the required installation option, click on the Next button to continue.