00193687-04.pdf - 第32页
3 In stal la tio n des S IPLAC E Expl ore r Inst all atio ns - und Konfi gu rat ions anle itun g SI PLA CE Exp lor er 3. 1 E rst inst allat ion v on S IPL ACE Exp lorer 2.0 SP 1 Au sga be 12 /2 005 DE 32 → W ählen Sie je…
Installations- und Konfigurationsanleitung SIPLACE Explorer 3 Installation des SIPLACE Explorer
Ausgabe 12/2005 DE 3.1 Erstinstallation von SIPLACE Explorer 2.0 SP1
31
3
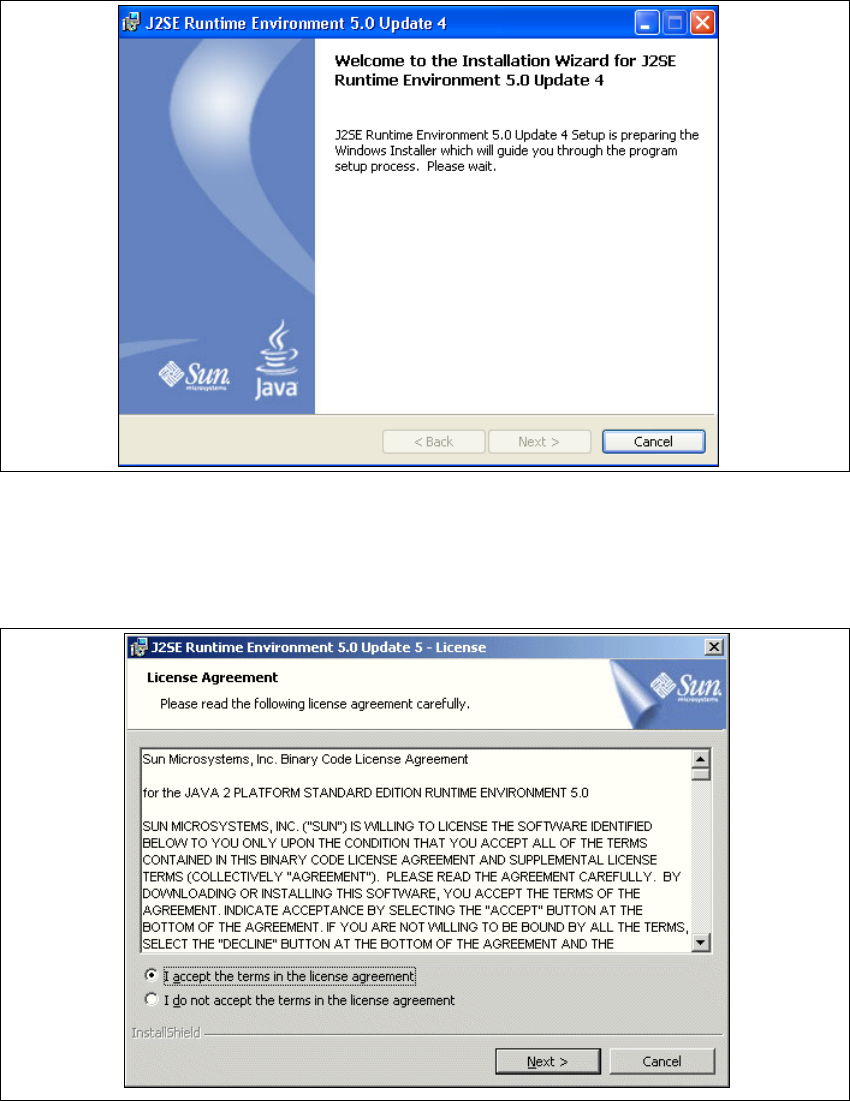
Abb. 3 - 6 Java 2SE Setup - Willkommen im SIPLACE Explorer
→ Beenden Sie alle anderen Programme und klicken Sie dann auf Next (Weiter).
→ Lesen Sie die Lizenzbestimmungen. Wenn Sie zustimmen, I accept ... anklicken, ansonsten I
do not accept ...
. Wenn Sie I do not accept ... anklicken, wird die Installation beendet.
3
Abb. 3 - 7 Java 2SE Setup - Lizenzvereinbarungen
→ Klicken Sie auf Next (Weiter), die Installation wird fortgeführt.
3 Installation des SIPLACE Explorer Installations- und Konfigurationsanleitung SIPLACE Explorer
3.1 Erstinstallation von SIPLACE Explorer 2.0 SP1 Ausgabe 12/2005 DE
32
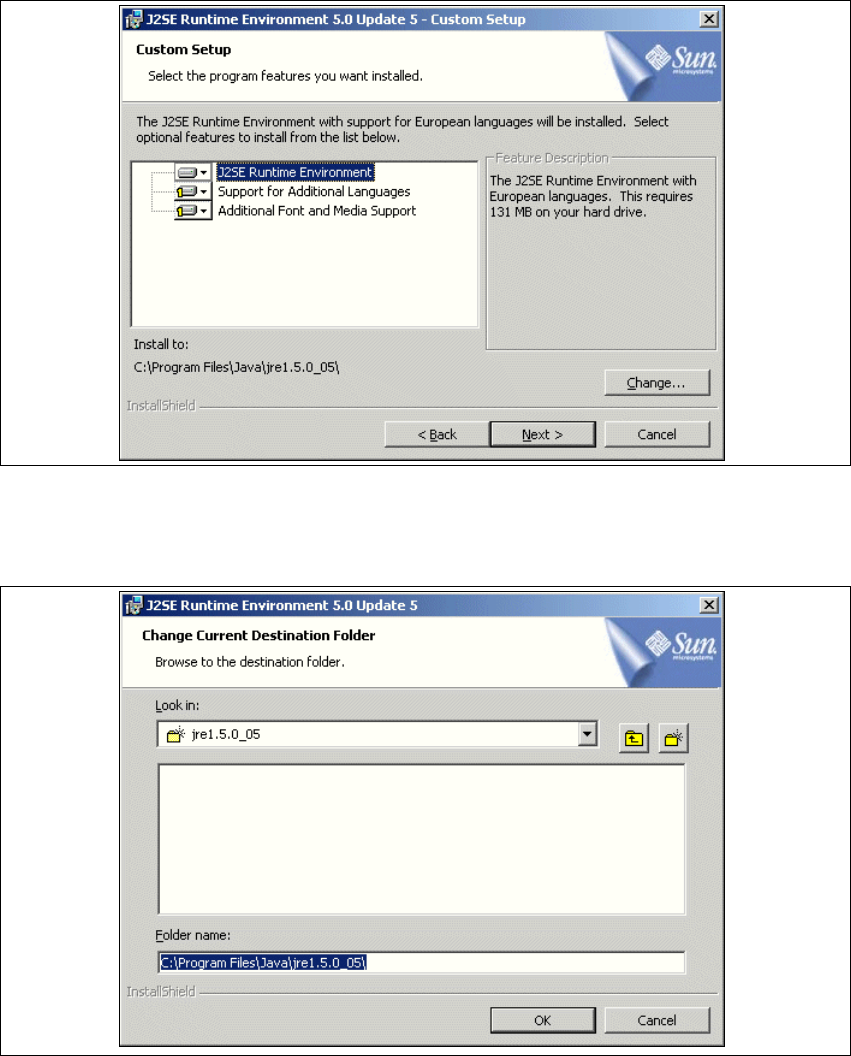
→ Wählen Sie jetzt die gewünschten Installationsoptionen aus und geben Sie den Ordner an, in
dem Sie die Anwendung installieren möchten. Der standardmäßig eingestellte Ordner ist
C:\Program Files\Java\jre1.5.0_05\. Diesen können Sie nach Bedarf auch ändern.
3
Abb. 3 - 8 Java 2SE Setup - Benutzerdefinierte Installation
→ Sie können die Standardeinstellung des Installationsordners durch Betätigung der
Schaltfläche
Change (Ändern) verändern.
. 3
Abb. 3 - 9 Java 2SE Setup - Zielordner wählen
→ Geben Sie den gewünschten Ordner an und klicken Sie OK, um Ihre Auswahl zu bestätigen.
Installations- und Konfigurationsanleitung SIPLACE Explorer 3 Installation des SIPLACE Explorer
Ausgabe 12/2005 DE 3.1 Erstinstallation von SIPLACE Explorer 2.0 SP1
33
→ Um die Auswahl des Zielordners zu bestätigen, klicken Sie im Dialogfenster Custom Setup
(Benutzerdefinierte Installation) die Schaltfläche Next (Weiter) an.
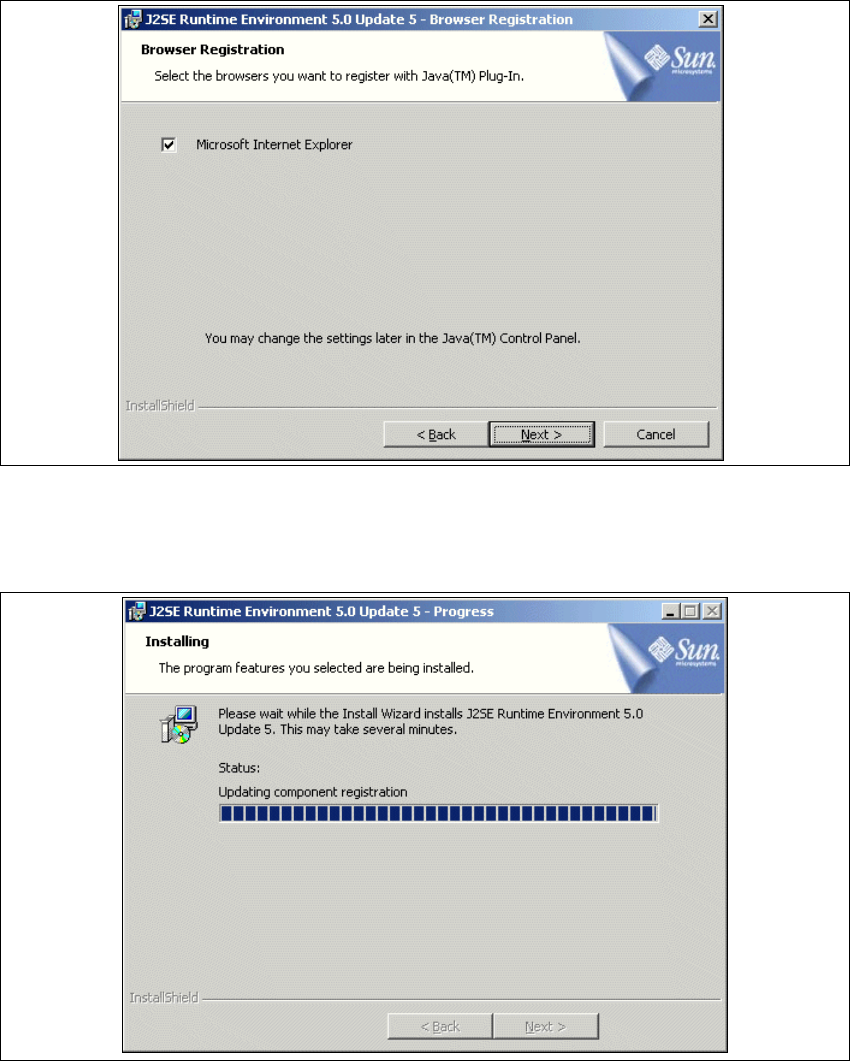
→ Das Dialogfenster Browser Registration (Browser-Anmeldung) wird angezeigt. Wählen Sie
hier den Standard-Browser für die Anwendung aus.
3
Abb. 3 - 10 Java 2SE Setup - Dialogfenster 'Browser Registration' (Browser-Anmeldung)
→ Wählen Sie den Browser aus, indem Sie das entsprechende Ankreuzfeld aktivieren.
→ Klicken Sie Install (Installieren), der eigentliche Installationsvorgang von Java 2 JRE beginnt.
3
Abb. 3 - 11 Java 2SE Setup - Installation
→ Es werden alle ausgewählten Installationsoptionen nacheinander installiert.