ACT - Accuracy Check Tool User Manual.pdf - 第170页
ACT - Accurac y Check Tool / Us er Man ual 06/2015 Edition 82 6 Installing the AC T on Stations wit h Station Software 605.xx ► Place the CD provided with the packag e in the machine drive. Figure 6-1: CD drive on the s …
ACT - Accuracy Check Tool / User Manual 06/2015 Edition
81
5.3 Restrictions
Tray in Conveyor for ACT for X-tables only
The Tray in Conveyor for ACT option is only possible for machines with X-tables.
The option cannot be set up for S-tables.
Reason:
– Station software 60x is not equipped with the new functions.
– Station software 70x cannot operate S-tables.
Possible: X-series S, SX-series, DX-series, X-series with X-tables.
Not possible: D-series, X-series with S-tables.
Number and position of the components in the tray
Feeding the tray In front of Board or Behind Board (see the Position on Conveyor parameter) is
only possible with SX1/2 and DX1/2 machines.
► Make sure that the components are correctly inserted into the tray.
► Adapt the tray description, because pickup will only be possible from a few rows.
ACT - Accuracy Check Tool / User Manual 06/2015 Edition
82
6 Installing the ACT on Stations with Station
Software 605.xx
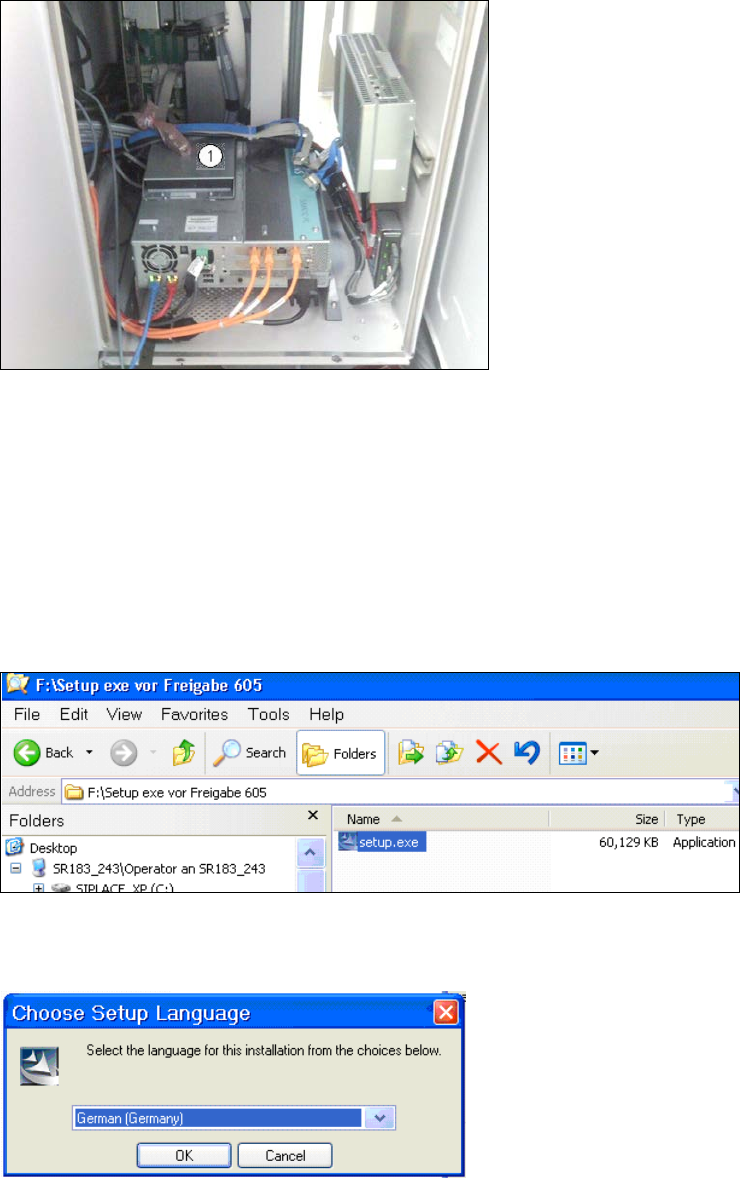
► Place the CD provided with the package in the machine drive.
Figure 6-1: CD drive on the station
Key:
(1) Station CD drive.
► Switch on the SIPLACE placement station.
► Log on to the station computer as administrator.
(Keep the Shift key pressed as soon as the Windows logo is displayed).
► Insert the USB stick into the station computer or insert the CD into the drive.
Figure 6-2: Double-clicking the setup.exe file on the CD
► Double-click on the setup.exe file.
Figure 6-3: Installation program with prompt to enter language
ACT - Accuracy Check Tool / User Manual 06/2015 Edition
83
► Enter the required language (German or English).
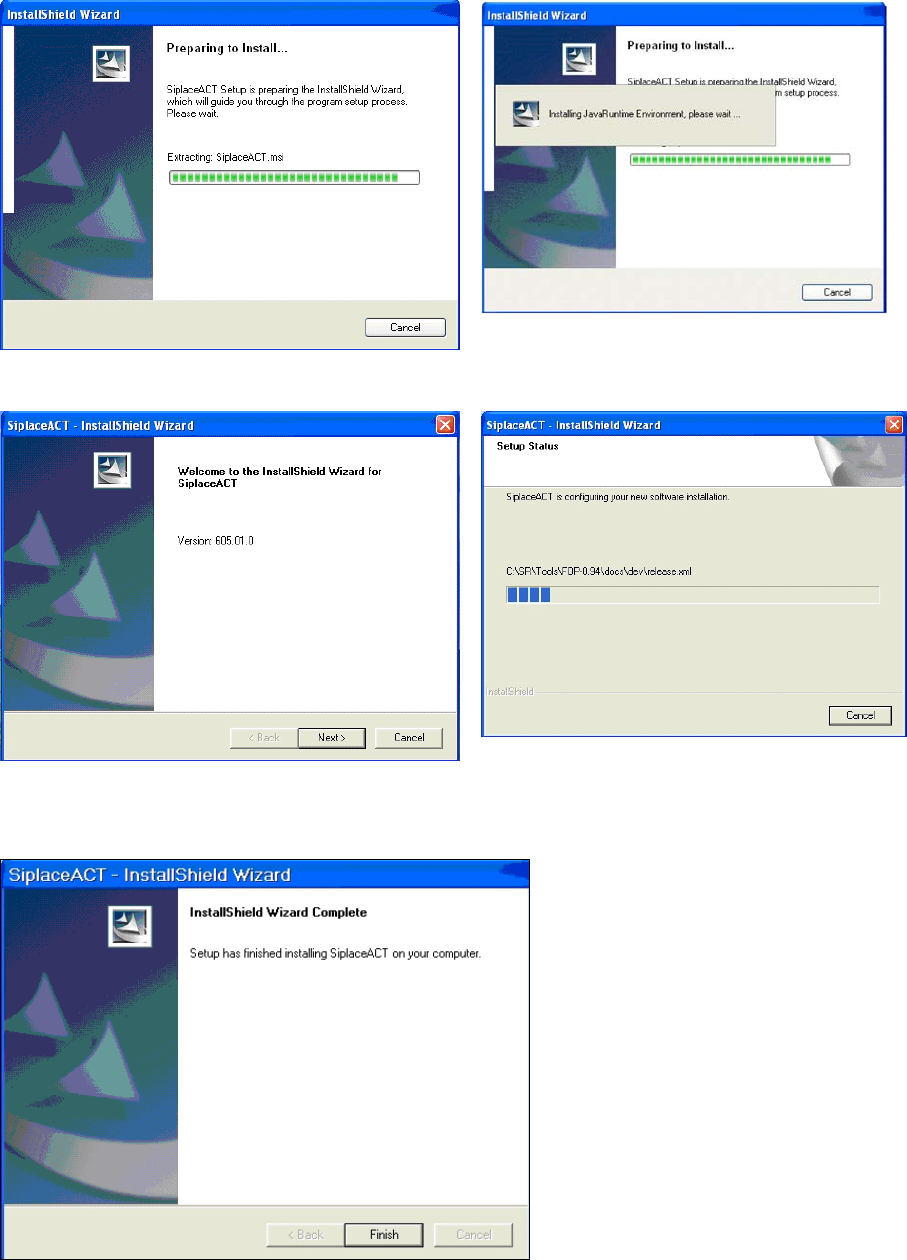
The installation is prepared.
Figure 6-4: Preparing to install ACT
Figure 6-5: Installation: Clicking Next
► Click Next.
Figure 6-6: Completing the ACT installation