00195424-01.pdf - 第126页
Anh ang Inst all atio ns- u nd Konf igu rat ions anle itun g SI PLAC E E xplo rer Bu ndle d We b S erver Inst all atio n Au sgabe 05/ 200 7 DE 126 → Das Dial ogf e nst er Brow ser Registration (Browser-Anmeldung ) wird g…
Installations- und Konfigurationsanleitung SIPLACE Explorer Anhang
Ausgabe 05/2007 DE Bundled Web Server Installation
125
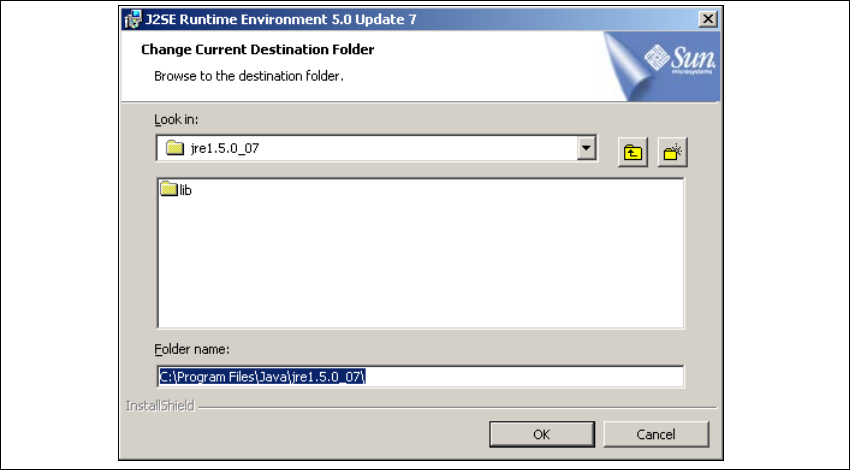
→ Sie können die Standardeinstellung des Installationsordners durch Betätigung der
Schaltfläche Change (Ändern) verändern. Das Dialogfenster Change Current Destination
Folder wird geöffnet.
. 5
Abb. 5 - 35 Java 2SE Setup - Zielordner wählen
→ Geben Sie den gewünschten Ordner an und klicken Sie OK, um Ihre Auswahl zu bestätigen.
→ Um die Auswahl des Zielordners zu bestätigen, klicken Sie im Dialogfenster Custom Setup
(Benutzerdefinierte Installation) die Schaltfläche Next (Weiter) an.

Anhang Installations- und Konfigurationsanleitung SIPLACE Explorer
Bundled Web Server Installation Ausgabe 05/2007 DE
126
→ Das Dialogfenster Browser Registration (Browser-Anmeldung) wird geöffnet. Wählen Sie
hier den Standard-Browser für die Anwendung aus.
5
Abb. 5 - 36 Java 2SE Setup - Dialogfenster 'Browser Registration' (Browser-Anmeldung)
→ Wählen Sie den Browser aus, indem Sie das entsprechende Ankreuzfeld aktivieren.
→ Klicken Sie Next (Weiter), der eigentliche Installationsvorgang von Java 2SE beginnt.
5
Abb. 5 - 37 Java 2SE Setup - Installation
→ Es werden alle ausgewählten Installationsoptionen nacheinander installiert.
Installations- und Konfigurationsanleitung SIPLACE Explorer Anhang
Ausgabe 05/2007 DE Bundled Web Server Installation
127
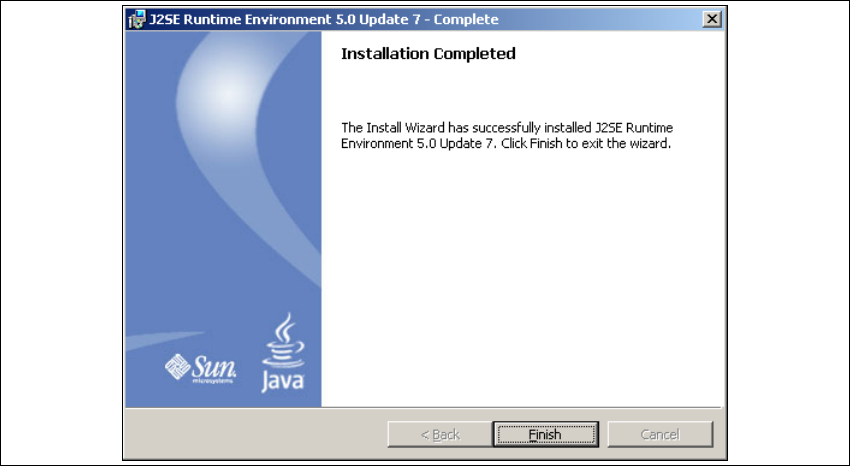
→ Wenn die Installation beendet ist, öffnet sich das Dialogfenster Installation Completed.
5
Abb. 5 - 38 Java 2SE Setup - Installation beendet
→ Klicken Sie auf Finish.
5