00193688-04.pdf - 第128页
5 D ei nsta lla ti on In st al la tio n an d Co nf ig ura tio n Gui de SIP LAC E Ex pl ore r 5. 2 Mo di fy Ed iti on 12 /2 00 5 EN 128 → Deinstallation wil l be per formed. T he Se tu p Stat us dial og box show s you whi…
Installation and Configuration Guide SIPLACE Explorer 5 Deinstallation
Edition 12/2005 EN 5.2 Modify
127
5.2 Modify
5
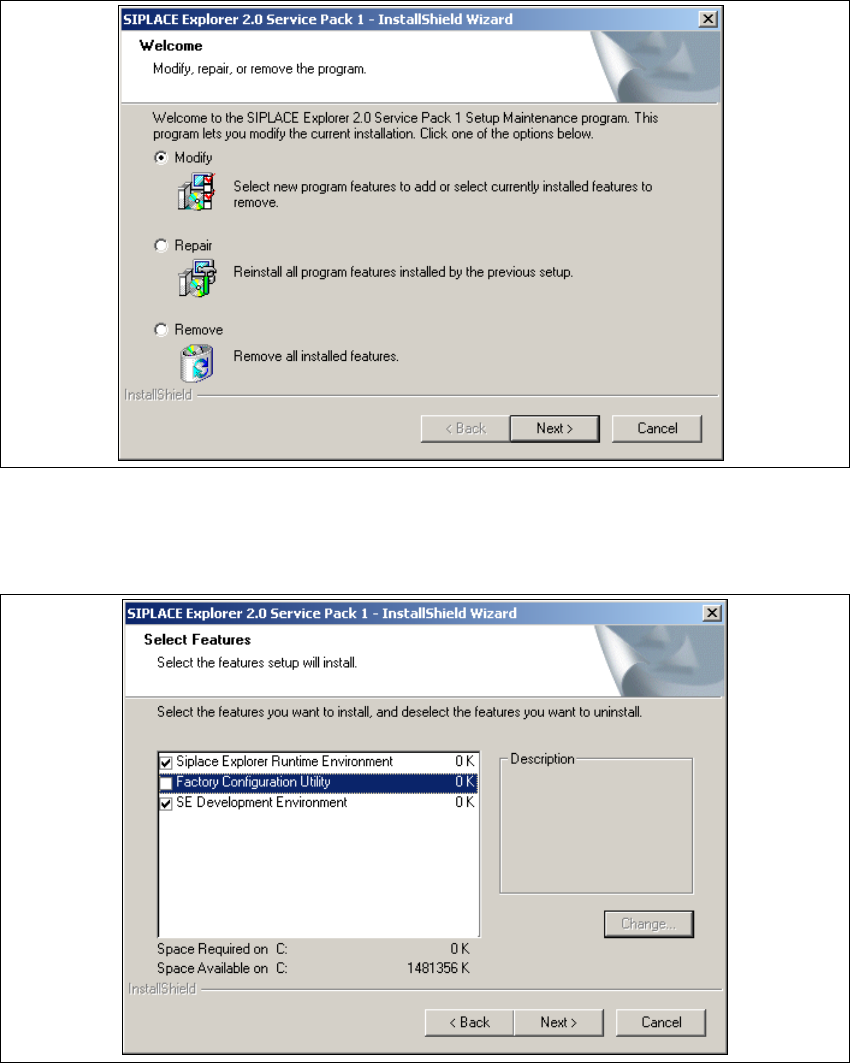
Fig. 5 - 2 SIPLACE Explorer 2.0 SP1 - install shield wizard
→ Click on Modify and then on Next to continue.
→ You will see the Select Features (installation options) dialog box.
5
Fig. 5 - 3 SIPLACE Explorer 2.0 SP1 - install shield wizard
→ Now select the features you wish to remove, by disabling the relevant checkbox next to the
feature(s). The checkbox must be enabled if you wish to install the feature.
→ Once you have selected the required installation option, click on the Next button to continue.
5 Deinstallation Installation and Configuration Guide SIPLACE Explorer
5.2 Modify Edition 12/2005 EN
128
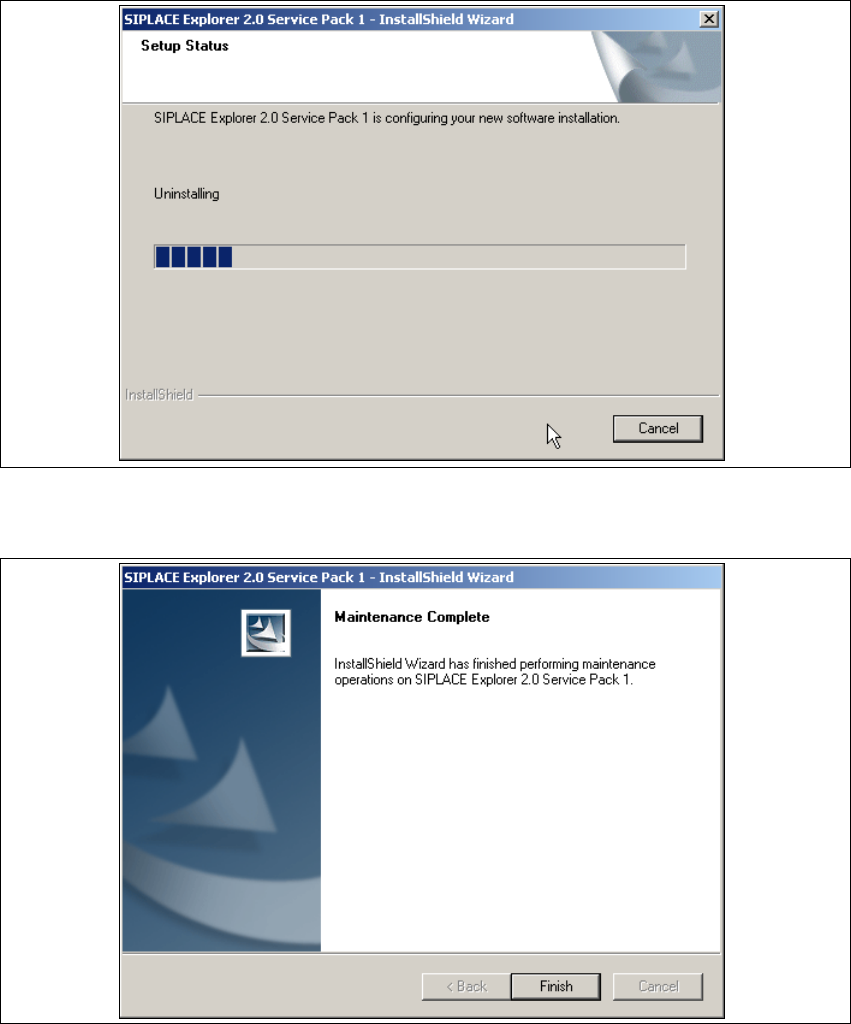
→ Deinstallation will be performed. The Setup Status dialog box shows you which features will
be deinstalled or installed.
5
Fig. 5 - 4 SIPLACE Explorer 2.0 SP1 - install shield wizard
→ SIPLACE Explorer 2.0 SP1 deinstallation/installation has been completed.
5
Fig. 5 - 5 Modify complete
→ Click on Finish to close the SIPLACE Explorer 2.0 SP1 - InstallShield Wizard.
Installation and Configuration Guide SIPLACE Explorer 5 Deinstallation
Edition 12/2005 EN 5.3 Repair
129
5.3 Repair
5
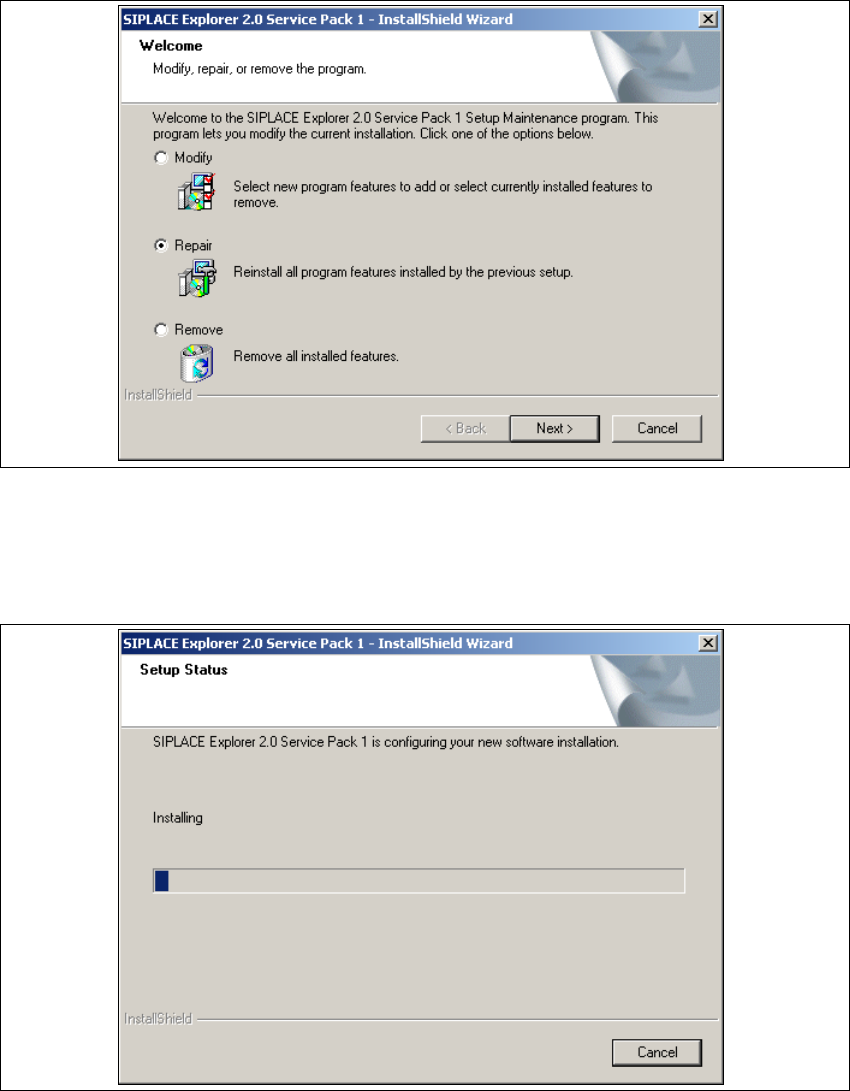
Fig. 5 - 6 SIPLACE Explorer 2.0 SP1 - install shield wizard
→ Click on Repair and then on Next to continue.
→ The recovery process will be performed. The Setup Status dialog box shows you which
features will be deinstalled or installed.
5
Fig. 5 - 7 SIPLACE Explorer 2.0 SP1 - install shield wizard