00193688-04.pdf - 第31页
In st alla tio n an d Co nf igur at ion G uide SI P LACE E xpl ore r 3 I ns tal li ng SIP LAC E Ex plor er Edi tio n 12 /200 5 EN 3.1 In iti al In stal la tio n of S IPL ACE E xpl ore r 2. 0 SP1 31 3 Fig. 3 - 6 Java 2 SE…
3 Installing SIPLACE Explorer Installation and Configuration Guide SIPLACE Explorer
3.1 Initial Installation of SIPLACE Explorer 2.0 SP1 Edition 12/2005 EN
30
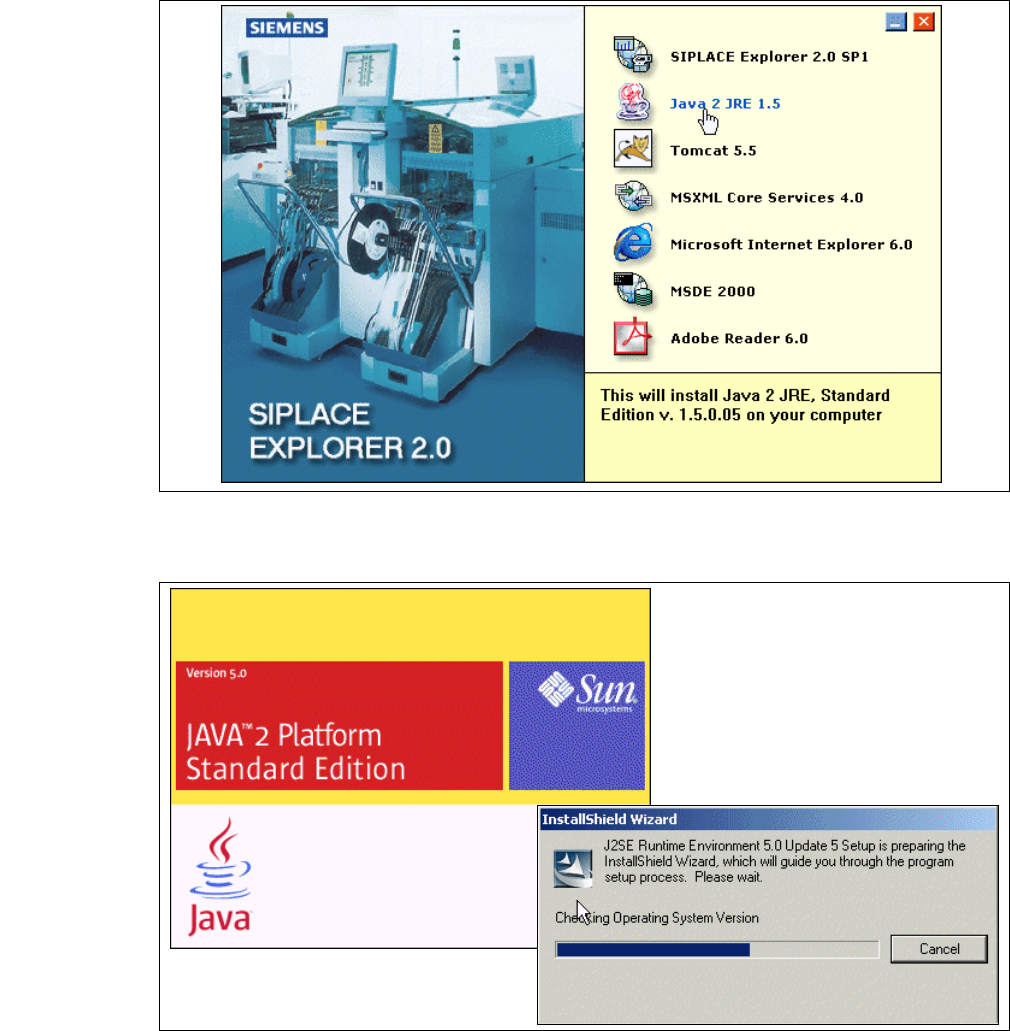
→ The Start screen will appear.
3
Fig. 3 - 4 SIPLACE Explorer setup - Start screen
→ Select Java 2 JRE 1.5. You will be guided through the Java 2 JRE installation procedure.
3
Fig. 3 - 5 Install shield wizard - preparing the installation

Installation and Configuration Guide SIPLACE Explorer 3 Installing SIPLACE Explorer
Edition 12/2005 EN 3.1 Initial Installation of SIPLACE Explorer 2.0 SP1
31
3
Fig. 3 - 6 Java 2SE setup - welcome to SIPLACE Explorer
→ Exit all other programs and then click on Next.
→ Read the license agreement. If you agree with the conditions, click I accept ..., otherwise, click
on
I do not accept .... If you select I do not accept ..., the installation procedure will be
terminated.
3
Fig. 3 - 7 Java 2SE setup - license agreement
→ Click on Next, to continue the installation procedure.
3 Installing SIPLACE Explorer Installation and Configuration Guide SIPLACE Explorer
3.1 Initial Installation of SIPLACE Explorer 2.0 SP1 Edition 12/2005 EN
32
3
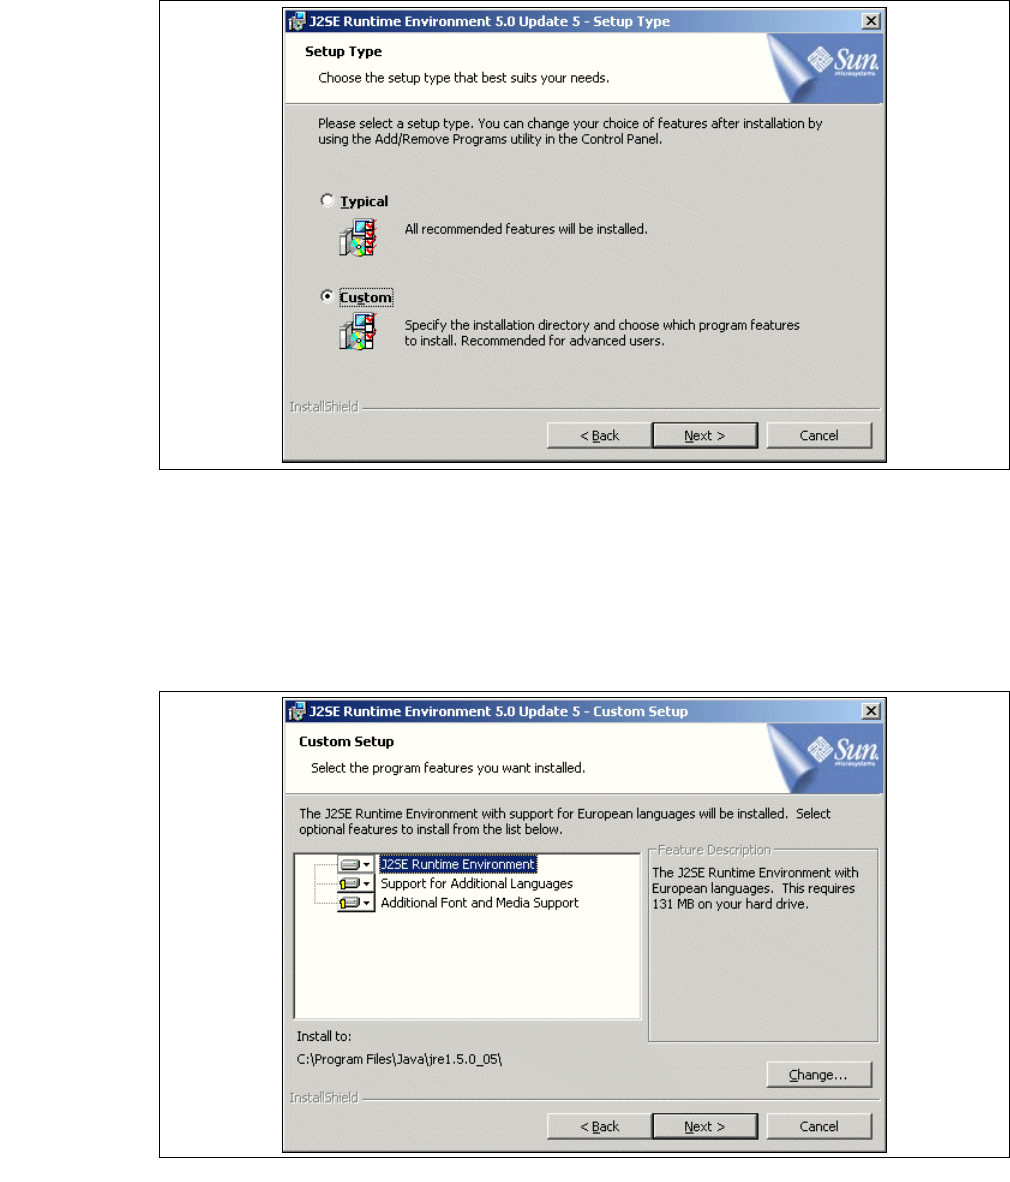
Fig. 3 - 8 Java 2SE setup - Setup Type
→ Enter Custom as the setup type.
→ Click on Next, to continue the installation procedure.
→ Now select the required installation option and specify the folder in which you wish to install the
application. The default folder is
C:\Program Files\Java\jre1.5.0_05\. This can be altered if
necessary.
3
Fig. 3 - 9 Java 2SE setup - user-defined installation
→ You can alter the default installation folder by using the Change button.