00197197-02-IM SetupCenter 5.1.pdf - 第24页
Installation Hardware Installation Datalogic Scanner’s Cradle BC-8030-BT (Bluetooth) 24 Installation Manual SIPLACE Setup Center 5.1 4.2.3.1 Connect cradle via RS-232 The device may be configured to a different interface…
Installation
Datalogic Scanner’s Cradle BC-8030-BT (Bluetooth) Hardware Installation
Installation Manual SIPLACE Setup Center 5.1 23
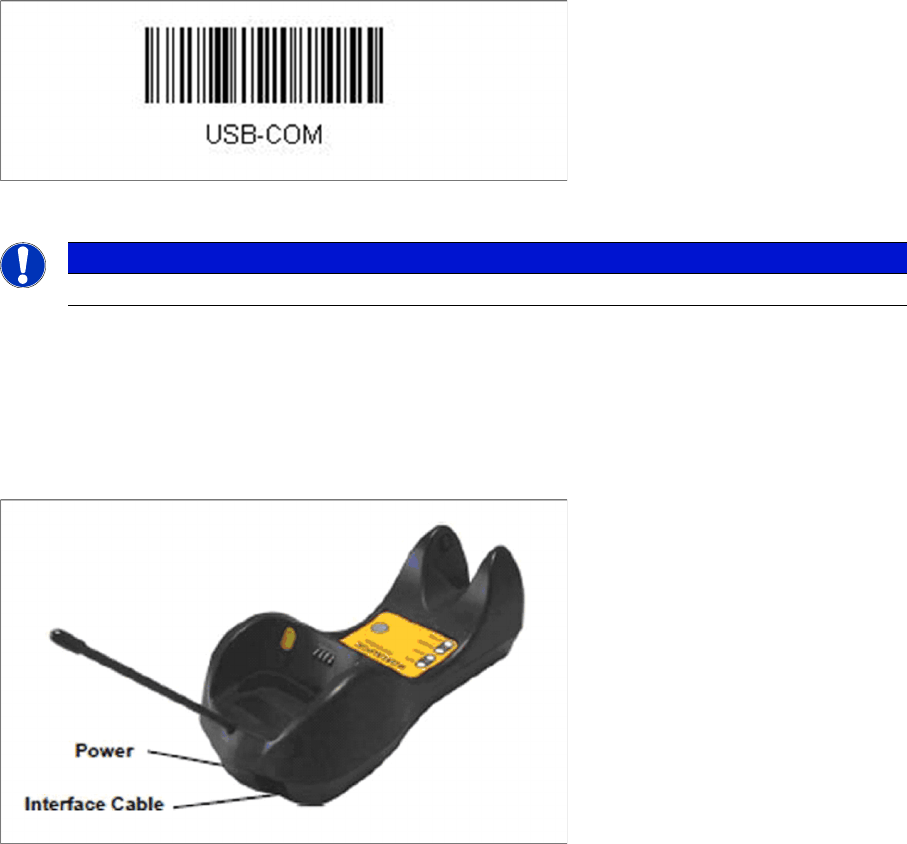
► Scan the barcode "USB-COM" to set the interface to USB.
The cradle is now ready for use with Setup Center.
The communication over the USB-COM interface requires at least the firmware version 610001601 for
the scanner cradle.
4.2.3 Datalogic Scanner’s Cradle BC-8030-BT (Bluetooth)
The Datalogic scanner’s cradle BC-8030-BT needs to be connected to the Setup Center PC. The cradle
incorporates a multi-standard interface, which can be connected via USB or RS-232 to a PC.
See also
4.3 Software Installation [ ➙ 47]
NOTICE
USB-COM interface
Installation
Hardware Installation Datalogic Scanner’s Cradle BC-8030-BT (Bluetooth)
24 Installation Manual SIPLACE Setup Center 5.1
4.2.3.1 Connect cradle via RS-232
The device may be configured to a different interface ex factory, the following steps switch to RS-232
port.
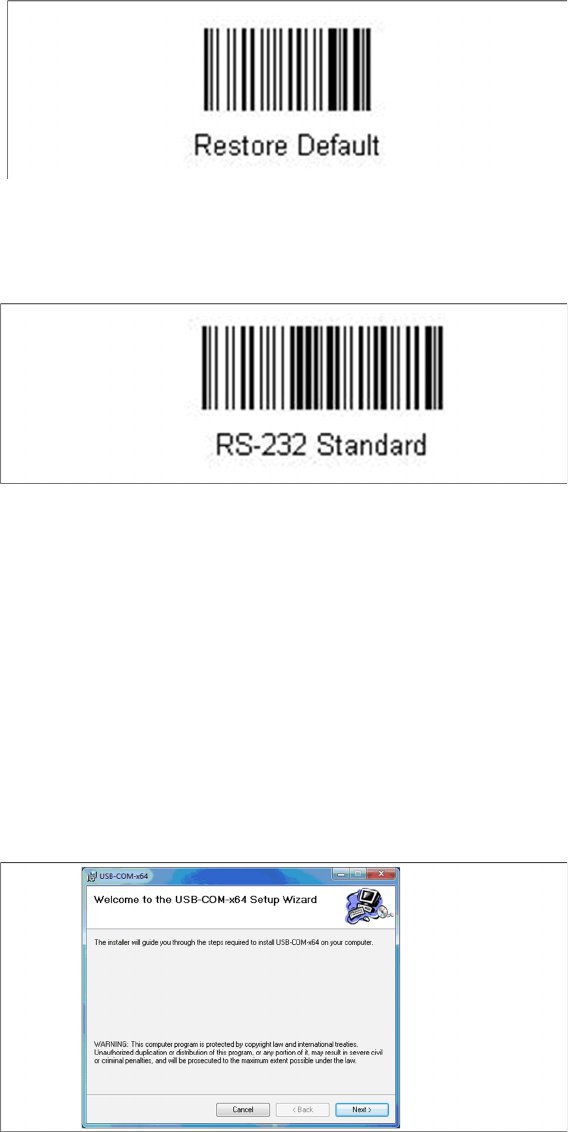
► Please scan the following barcodes in the order they are printed:
► Scan the “Link by Contact” – Barcode from the cradle and put the scanner into the cradle.
⇨ The scanner is now registered on the cradle.
► Scan the barcode "RS-232 Standard" to set the interface to RS-232.
The cradle is now ready for use with Setup Center.
4.2.3.2 Connect cradle via USB
Installation of the USB-COM driver
Step 1
The installation packages for 32 bit and 64 bit operating systems are located in the “\3rdparty install
-
er\Datalogic\USB-COM Driver” directory of the Setup Center installation CD.
► Choose the appropriate installation package for your operating system.
Step 2
► Click Next.
Installation
Datalogic Scanner’s Cradle BC-8030-BT (Bluetooth) Hardware Installation
Installation Manual SIPLACE Setup Center 5.1 25
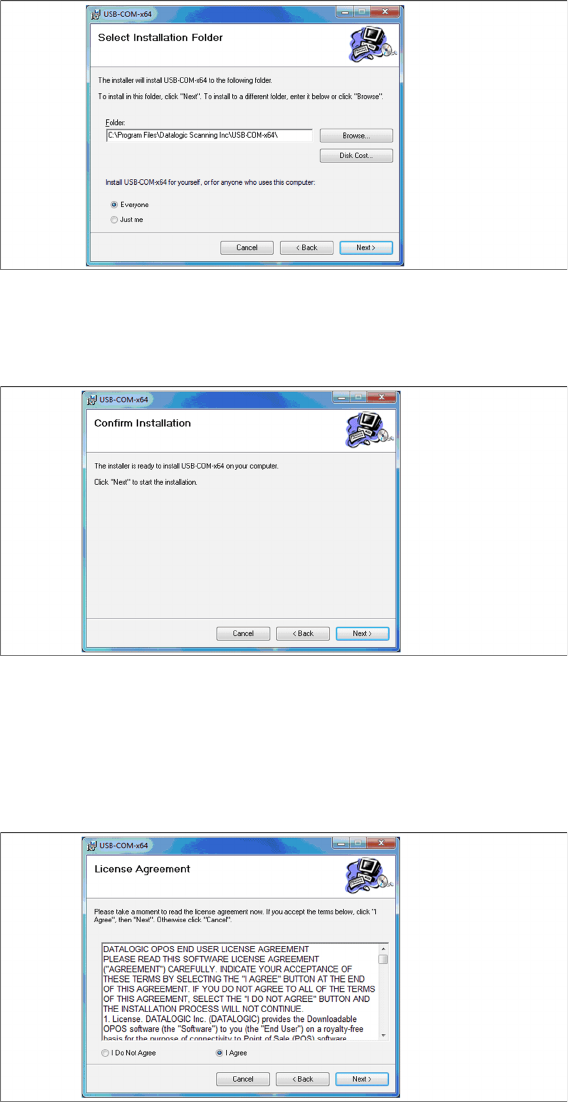
Step 3
► The Select Installation Folder dialog box prompts you to enter the name of the folder in which the
software should be installed. The system suggests a default destination folder for you.
► However, you can click the Browse button to open a dialog box in which you can enter or select the
path you want to use. If the folder you specify does not exist, it is created after having accepted a
confirmation dialog.
► Select the option Everyone.
► Click Next.
Step 4
► Click Next.
Step 5
► Read the license agreement relating to use of this software and select I Agree to accept the license
agreement.
► Click Next.