00197197-02-IM SetupCenter 5.1.pdf - 第81页
Installation Datalogic Scanner Co nnection Steps to Perform After Installation Installation Manual SIPLACE Setup Center 5.1 81 ► Activate the s canner by p u shing the laser trigger. ► Then select " firmware upgrade…

Installation
Steps to Perform After Installation Datalogic Scanner Configuration
80 Installation Manual SIPLACE Setup Center 5.1
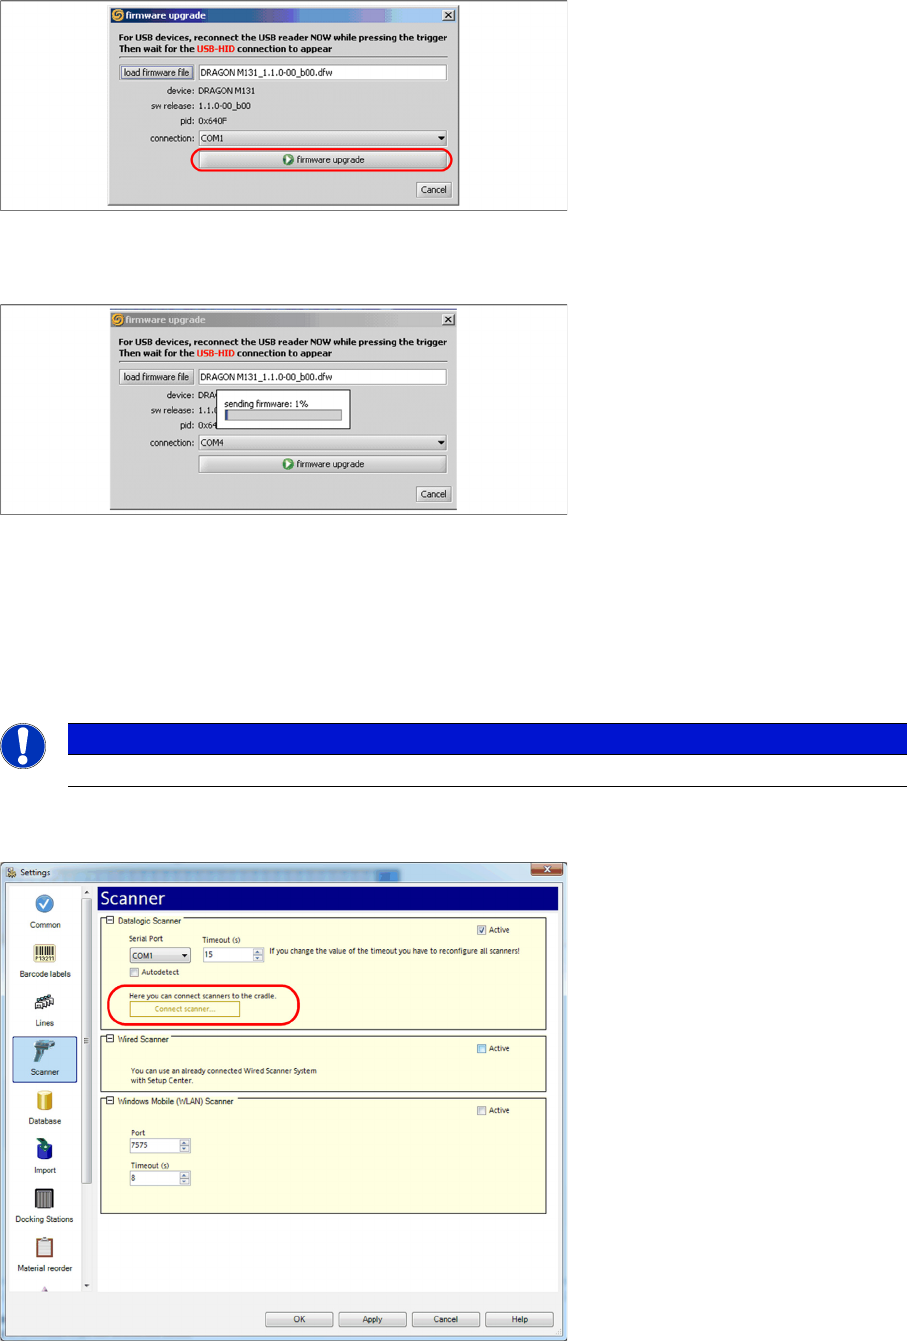
► Select "firmware upgrade" from the menu "Tools".
► Select "load firmware file" in the dialog box.
► Open the folder where the firmware version 1.1.0-00_ b00 for the Datalogic Dragon M131 is stored
(standard path "C:\Program Files\Datalogic\Aladdin\resource\ConfigRepository\DRAGON
M131_1.1.0 00_ b00").
► Choose the right COM port at which the cradle is connected. This was already found out automati
-
cally at the beginning.
Installation
Datalogic Scanner Connection Steps to Perform After Installation
Installation Manual SIPLACE Setup Center 5.1 81
► Activate the scanner by pushing the laser trigger.
► Then select "firmware upgrade" to start the transfer of the new firmware version to the scanner.
► Exit the "Datalogic Aladdin", if the transfer is completed.
4.4.4 Datalogic Scanner Connection
New scanners and scanner base stations require the setup once before the first use.
This doesn’t necessarily need to happen after the Installation of SIPLACE Setup Center, but it is recom
-
mended. The Scanner configuration is independent from the software installation.
You can setup up one or more scanner by Setup Center. To configure scanner, ensure that the Datalogic
Cradle is connected with the Setup Center computer.
► Open the setting dialog for scanner in Setup Center configuration.
► Click “Connect scanner…” to begin.
NOTICE
The scanner powers off after a period of inactivity. Pulling the trigger will power the scanner on.
Installation
Steps to Perform After Installation Datalogic Scanner Connection
82 Installation Manual SIPLACE Setup Center 5.1
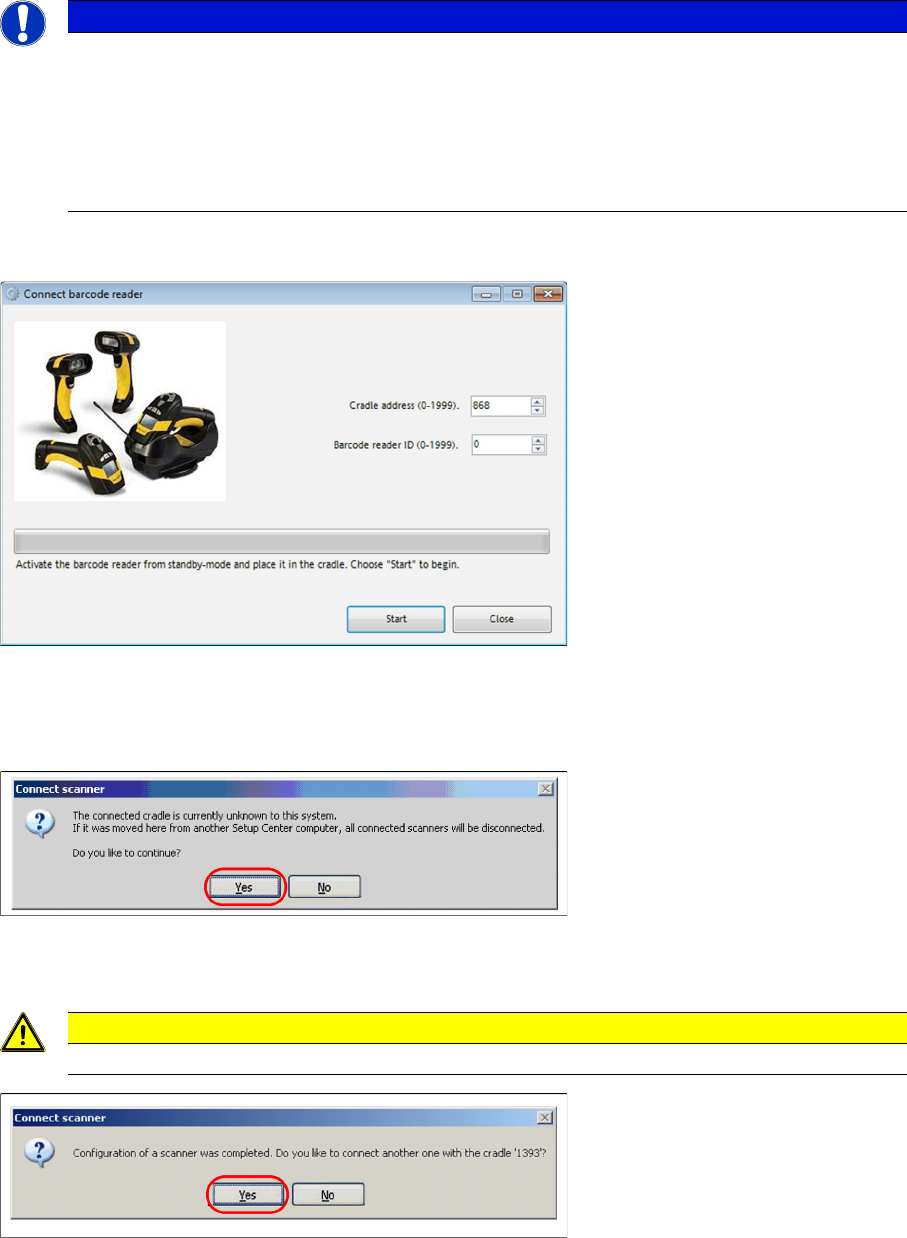
4.4.4.1 Narrowband Scanner
By first configuration of a scanner by this Setup Center, the cradle address is set by random.
► Click the barcode trigger-key on scanner one time to activate it from standby-mode.
► Put the scanner into the cradle and click “Start” to set up the scanner.
By first configuration the cradle is unknown for Setup Center.
► Validate the message with “Yes” to continue.
► Remove the scanner from cradle and press the “Enter”-key on scanner to check the connection to
Setup Center.
► Click “Yes” to connect another scanner with Setup Center.
NOTICE
If the button is disabled, Setup Center was not able to detect a cradle on startup.
► In this case, ensure the connection to a serial port and restart Setup Center.
► Alternatively you can manually change the port, where the cradle is connected, by removing
the “Autodetect” checkbox.
After changing, click “Apply” to take over the new port.
Click “Connect Scanner…” to continue.
CAUTION
Configure each scanner again, if you moved the cradle from another Setup Center computer.