00197197-02-IM SetupCenter 5.1.pdf - 第70页
Installation Software Installation Setup Center 70 Installation Manual SIPLACE Setup Center 5.1 Step 2 ► Choose the che ckbox in the Select features dialog box. ► The Descriptio n field displays deta iled informati on to…
Installation
Setup Center Software Installation
Installation Manual SIPLACE Setup Center 5.1 69
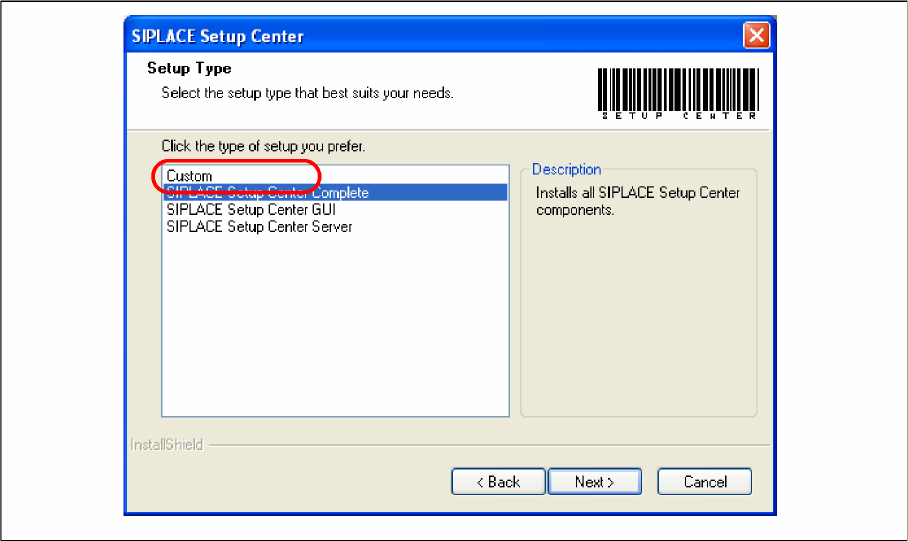
Setup Type - Custom
Step 1
► Run through the steps in chapter "General Settings".
► Select the Custom setup type.
► Click Next.
Installation
Software Installation Setup Center
70 Installation Manual SIPLACE Setup Center 5.1
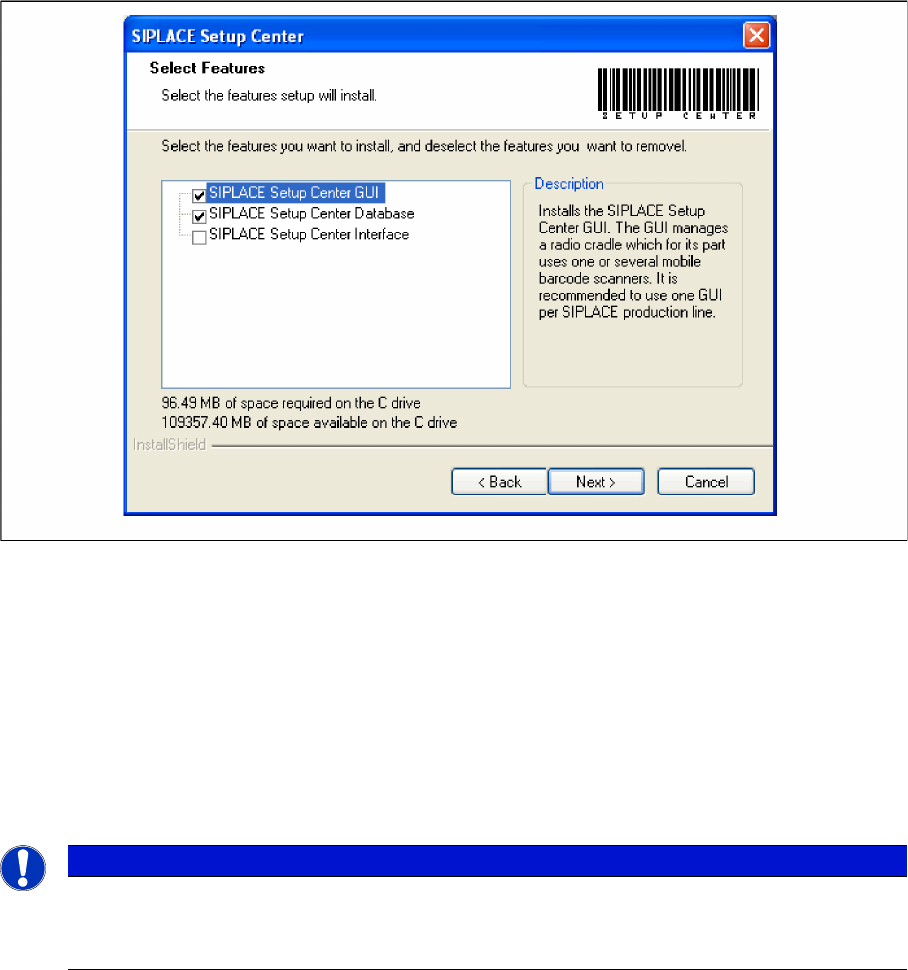
Step 2
► Choose the checkbox in the Select features dialog box.
► The Description field displays detailed information to the selected feature.
► Click Next.
4.3.1.3 Forced Setup Verification
The software CD "SIPLACE Setup Center 3.3" contains the activation of the forced setup verification and
the component level indicator.
The following settings can be configured during the installation at the SIPLACE station:
▪ Configuration of the Splice detection (If not X-machine)
▪ Deactivation of Fill Level Control for “empty running tracks” and Activation for "Filling level correction"
▪ Activation of locked tracks without scanning
▪ Traceability data creation
NOTICE
Activation of forced setup verification and the component level indicator at the station software
70x is set by SIPLACE Pro.
► It is not necessary to activate using the activation CD.
Installation
Setup Center Software Installation
Installation Manual SIPLACE Setup Center 5.1 71
Installing Forced Setup Verification and CLI
The dialog boxes shown below will be displayed during the installation procedure.
Step 1
► Insert the SIPLACE Setup Center installation CD into the CD-ROM drive. The installation routine
starts automatically.
► You can also start the installation by running the Autorun.cmd program located in the root directory
on the installation CD.
► This starts the user-controlled installation of SIPLACE Setup Center; you are prompted to select the
installation language.
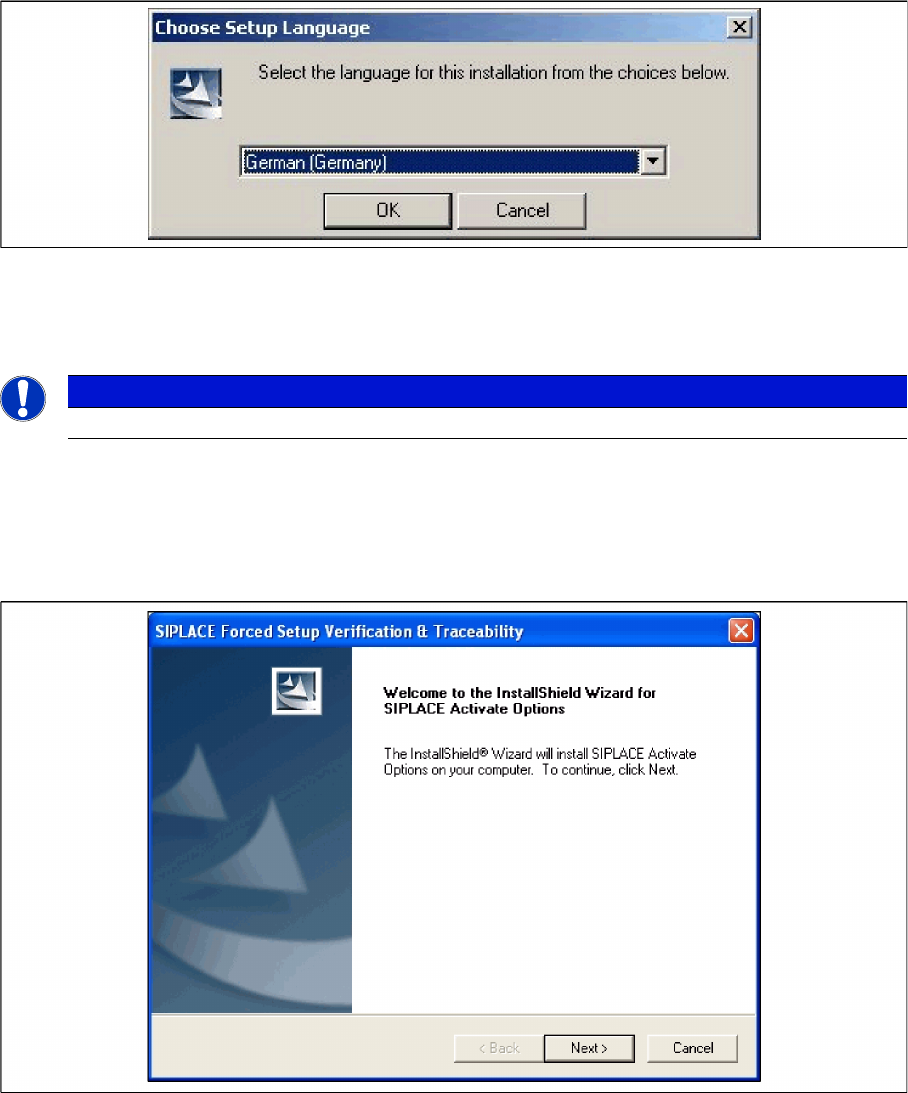
"Choose setup language" dialog box
► Select the language you want.
► Click OK.
Step 2 Welcome dialog
► Log on as administrator to the station PC.
► Place the product CD in your CD-ROM drive.
► The Start screen appears.
NOTICE
This decision only relates to the language used during the installation routine!