IT Feeder Manual-45Series(English V2.0)Ver5.pdf - 第75页
Specifications And T echnic al Drawing & PartList F E ED ER CHI P or ano th er mat er ial B e fo re i n st al l in g t h e F e ed er Aft er ins ta lli ng the F e ed er 4-3

Samsung Intelligent Feeder System
4.3. Inspection and maintenance
4.3.1. Inspection Method
Preparation (IT Feeder Ass’y)
Connect the Cable connector of IQ Feeder Jig to the RF-ID Reader, and connect
the Cable connector of the RF-ID Reader to the RS232 Port of the computer.
Supply power (AC220V) and turn on the Power.
Run the IQ Feeder inspection program in the computer.
Prepare the IQ Feeder to be inspected in the IQ Feeder Jig.
Preparation (IT Feeder Base Ass’y)
Connect the cable between the IQ system controller and the RS232 port of the
computer and supply power(AC220V).
Run the IQ Feeder Base inspection program in the computer.
Connect the Car Ext Cable of the IT Feeder Base Ass’y to be inspected to the IT
Feeder Base1 connector of the IT Feeder System Controller.
Inspection (IT Feeder Ass’y)
Install the IQ Feeder to be inspected in the IT Feeder Jig.
Click on the ID Reader button in the PC.
Check whether the ID number is displayed on the screen.
Inspection (IT Feeder Base Ass’y)
Install the Master ID Feeder in the slots 1 - 6.
Check if the feeders installed in the slots 1 - 6 are identified by colors on the PC
monitor (The slot showing no color change is defective and the switch is not
working properly).
Check if the IDs installed in the slots 1,2,3,4,5, and 6 are identified by numbers
on the monitor. (Check if there are any duplicated IDs or missing IDs. These are
defective.)
Install the Master ID Feeder to the slots 7~12 and repeat the second and third
procedures.
Repeat the procedures to check all 48 slots.
4.3.2. Maintenance
Here only the most important matters that might cause functional difficulties are
described and other precautions for handling are the same as those for general ASS’Ys.
Take extra precautions so that chips or other contaminants are not left between the ball
and bush that works as the switch, and clean up the surface of the feeder base with air
before installing the feeder. Be sure not to exert any undue impact on the area where the
RF-ID is to be attached.
4-2
Specifications And Technical Drawing & PartList
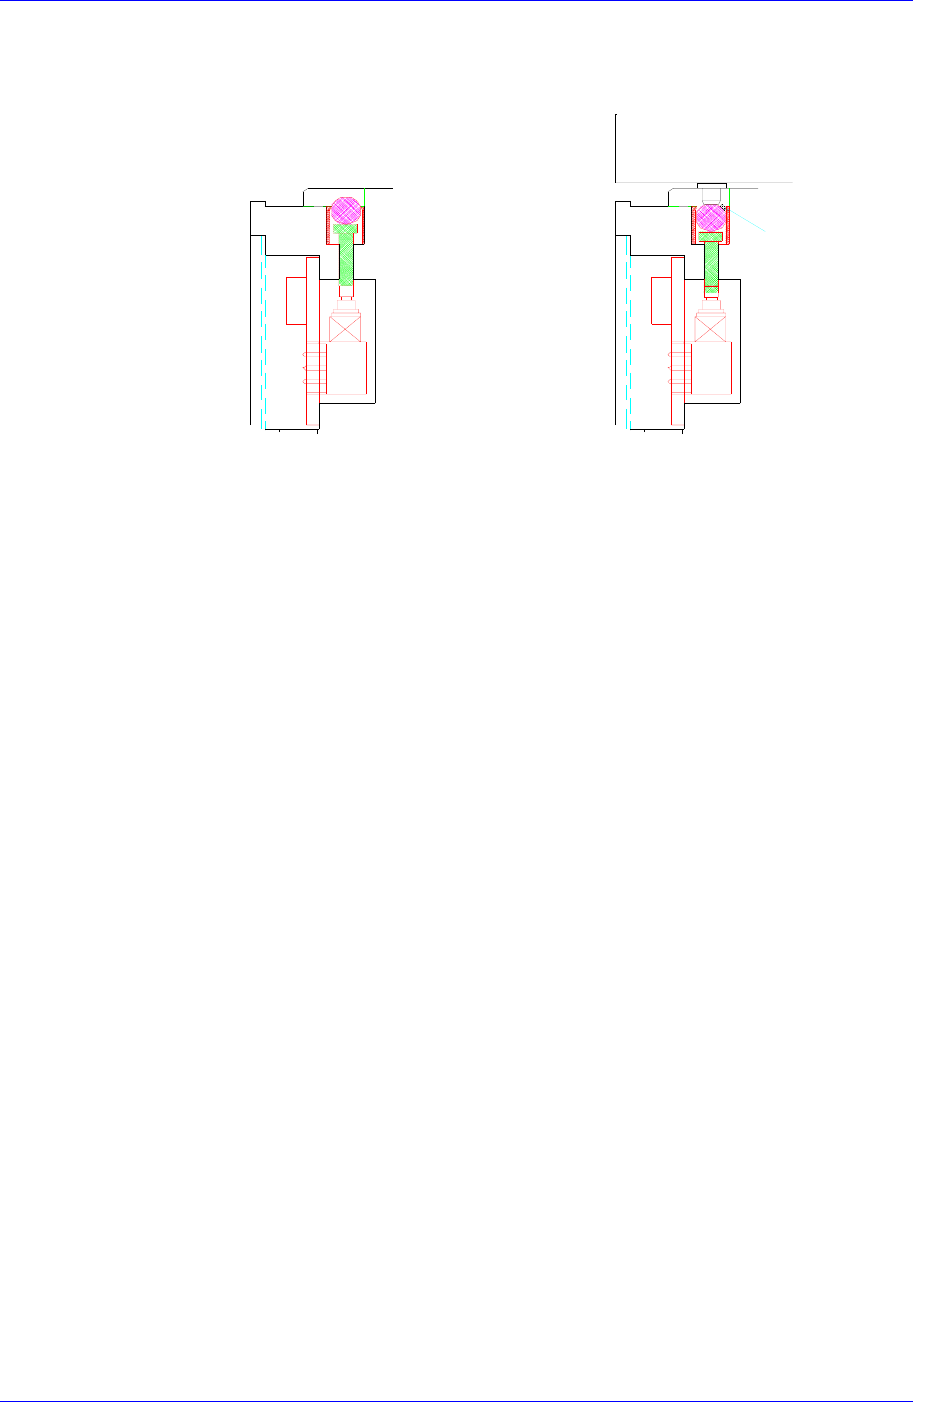
FEEDER
CHIP or another
material
Before installing the
Feeder
After installing the
Feeder
4-3
Samsung Intelligent Feeder System
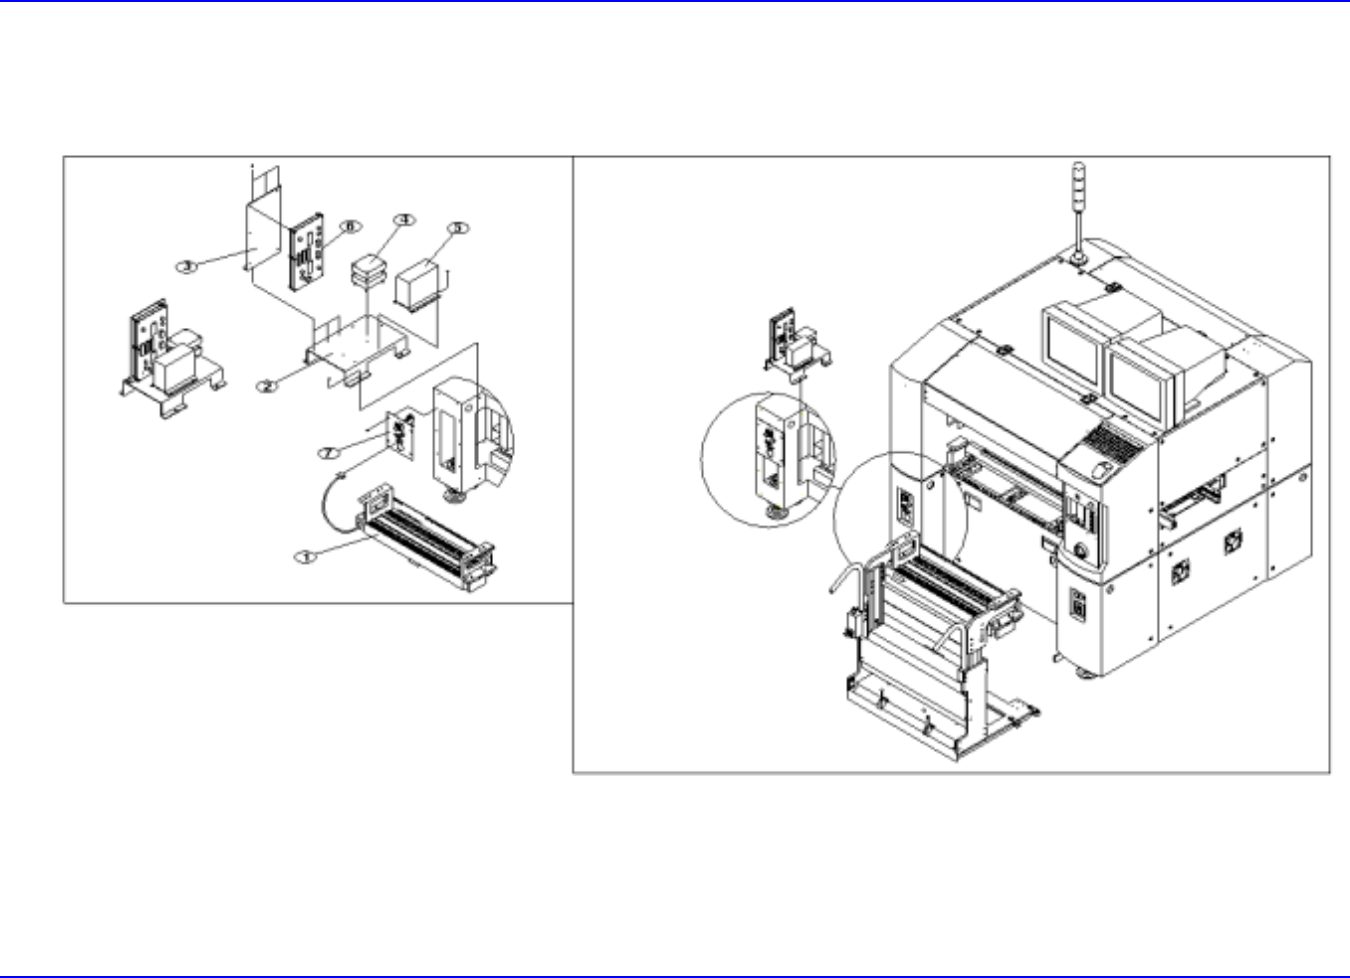
4.4. Technical Drawings & PartList
4.4.1. IT Feeder 1 Ass’y
4-4