M3plus_MaintenanceManual_e.pdf - 第41页
3- 2 3 Periodic maintenance items Checking the mo vement of spring-action parts Step 6 Spring-action at nozzle tip 5 Lubricate the spring-action parts. Using a precision screwdriver or similar tool with a pointed tip, ap…

3-1
Periodic maintenance items
3
1. Weekly or biweekly inspection
Inspect and clean the nozzles weekly or biweekly as explained below.
1.1 Cleaning a nozzle
If solder adheres to a nozzle tip, the nozzle may be mistaken for a component or other problems may occur. If
nozzle spring-action is poor or the nozzle tip is nicked, pickup errors tend to occur frequently. To prevent these
troubles, check the nozzle condition and keep the nozzles clean.
1
Remove the nozzle from the head.
e
Always first press the emergency stop button and
then remove the nozzle from the head.
c
CAUTION
When the machine is equipped with a nozzle station, make
sure that the nozzles are returned to the nozzle station.
2
Blow air onto the nozzle tip.
Use an air blow gun to blow air onto the nozzle
tip.
43300-5E-20
3
Clean the nozzle hole.
Pass the nozzle cleaning wire through the nozzle
hole and clean the nozzle hole. While holding both
ends of the wire with fingers as shown or using a
custom handle, gently move the nozzle back and
forth.
43301-5E-20
4
Blow air onto the nozzle tip again.
After removing the cleaning wire, blow air onto the
nozzle tip with the air blow gun.
43302-5E-20
Cleaning a nozzle
Step 3
Custom
handle
Nozzle
Nozzle cleaning wire
Air blow
Step 4
Nozzle
Air blow gun
Air blow
Step 2
NozzleAir blow gun
3-2
3
Periodic maintenance items
Checking the movement of spring-action parts
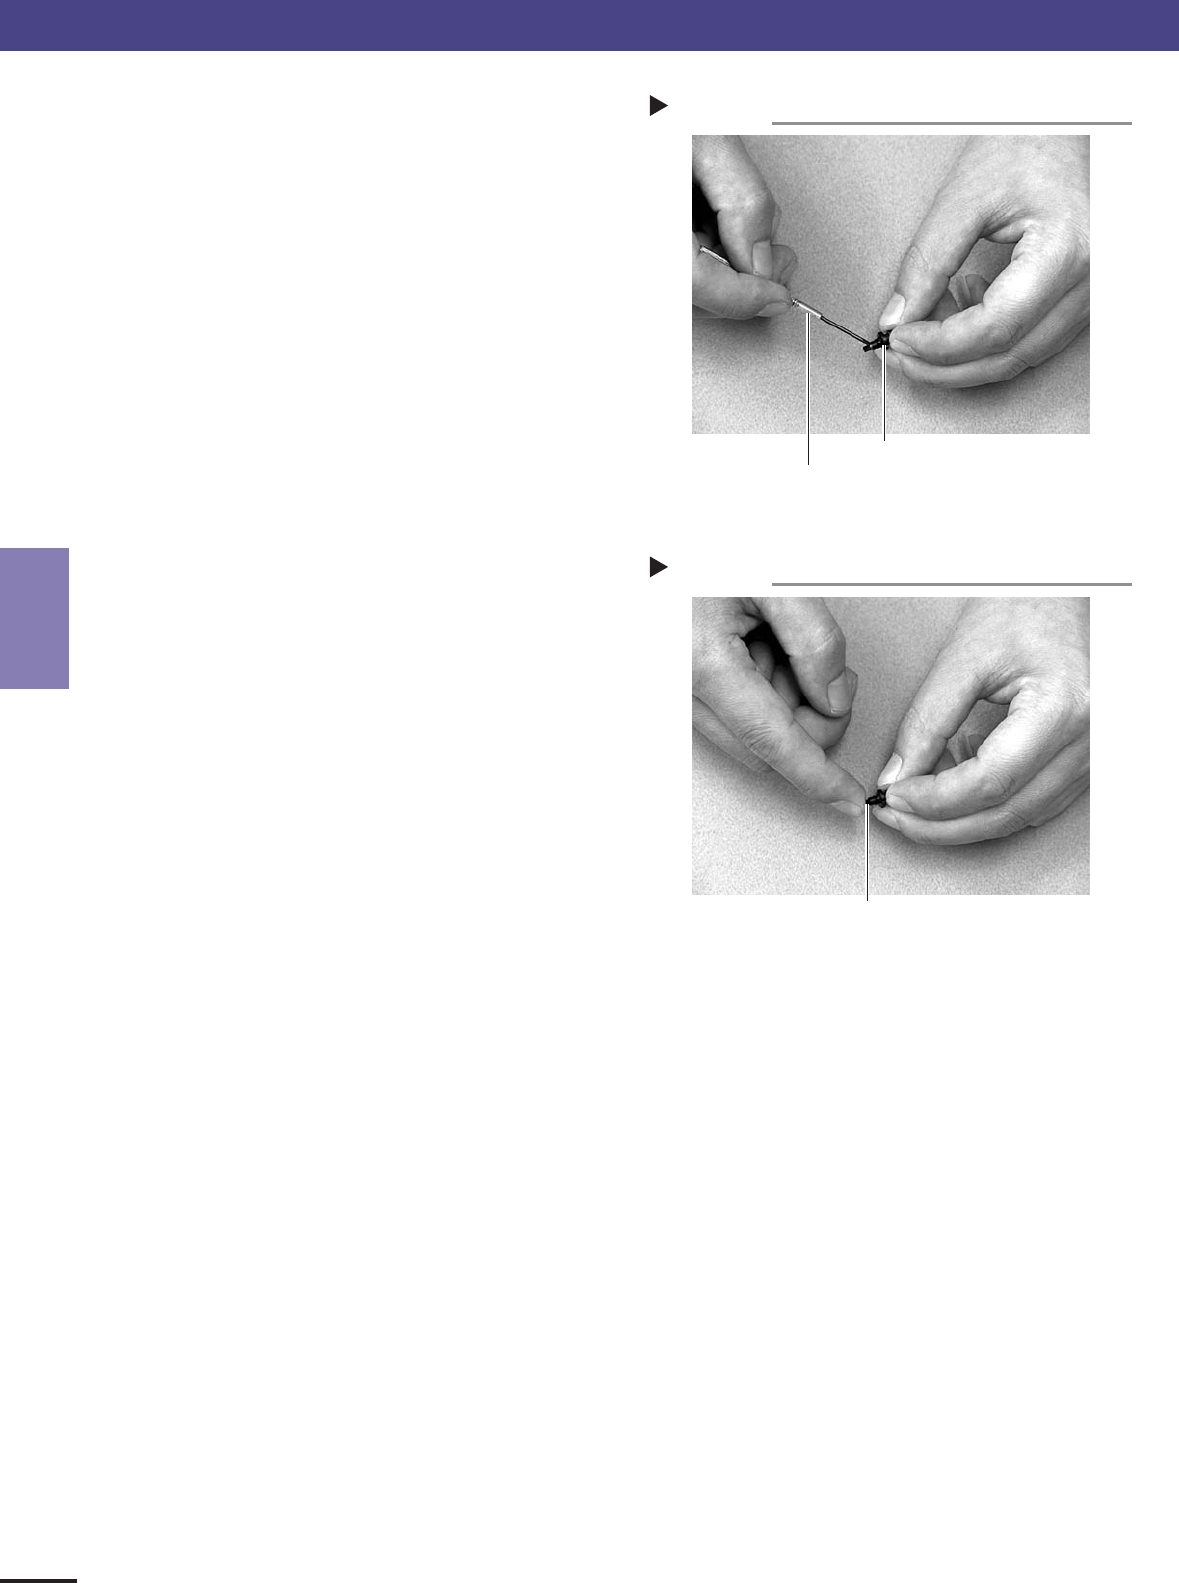
Step 6
Spring-action at nozzle tip
5
Lubricate the spring-action parts.
Using a precision screwdriver or similar tool with a
pointed tip, apply a small amount of turbine oil to
inside the spring-action parts.
43303-5E-20
6
Push the nozzle tip to move the spring-
action parts.
Push the nozzle tip several times so the turbine oil
spreads inside.
43304-5E-20
7
Wipe away excess oil.
Wipe clean around the nozzle with cleaning paper
or cloth that does not leave dust or residue.
8
Return the nozzle to the original position.
When the nozzle was on the nozzle station, place
it back there.
Lubricating the spring-action parts
Step 5
Nozzle
Precision screwdriver
(with a small amount of turbine oil applied)
1. Weekly or biweekly inspection

3-3
3
Periodic maintenance items
1.2 Inspecting ball screws and linear guides of each axis
Inspect the ball screws and the linear guides on the X, Y and W axes. Check the following points.
Checkpoints
1. Any foreign matter adhering to the ball screws and linear guides?
Check if any fallen chips have adhered to the X and Y axis ball screws and/or X, Y and W axis linear guides.
2. Do the ball screws and linear guides have the correct amount of grease?
Check if grease has flowed off or splattered in the air failing to adhere. Also check if grease has discolored or hardened.
3. Any abnormal sounds from the ball screws?
Press the emergency stop button. Then check for any abnormal sounds while pressing the head assembly or conveyor
table by hand along the X-axis or Y-axis back and forth.
Countermeasures
Dealing with problems found above
1. Ball screws and linear guides may be damaged when chips and other material bite into them. If chips are adhering, wipe
them off along with the grease or remove with tweezers, etc.
2. Apply grease while referring to “2.2 Cleaning and greasing the X and Y axis ball screws” and “2.3 Cleaning and
greasing the X, Y and W-axis linear guide rails” explained later on in this manual.
3. Consult your i-PULSE dealer when abnormal sounds occur even after trying the countermeasures in the above steps 1
and 2.
1. Weekly or biweekly inspection