M3plus_MaintenanceManual_e.pdf - 第49页
3- 10 3 Periodic maintenance items 2. Monthly or bimonthly inspection 2.6 Cleaning the signal contact point. Since signal contact point of feeder plate may become dirty from adhesion of dust,oil,etc., we recommend you pe…
3-9
3
Periodic maintenance items
2.5 Cleaning the camera lens
The camera lens may become dirty sue to dust and dirt, we recommend periodic cleaning as explained below.
1
Press the emergency stop button.
e
The machine must be in emergency stop to ensure
safety during work.
2
Remove all feeders from the feeder plate.
The camera lens cannot be cleaned while feeders
are installed on the feeder plate. Remove all
feeders from the feeder plate.
43340-5E-20
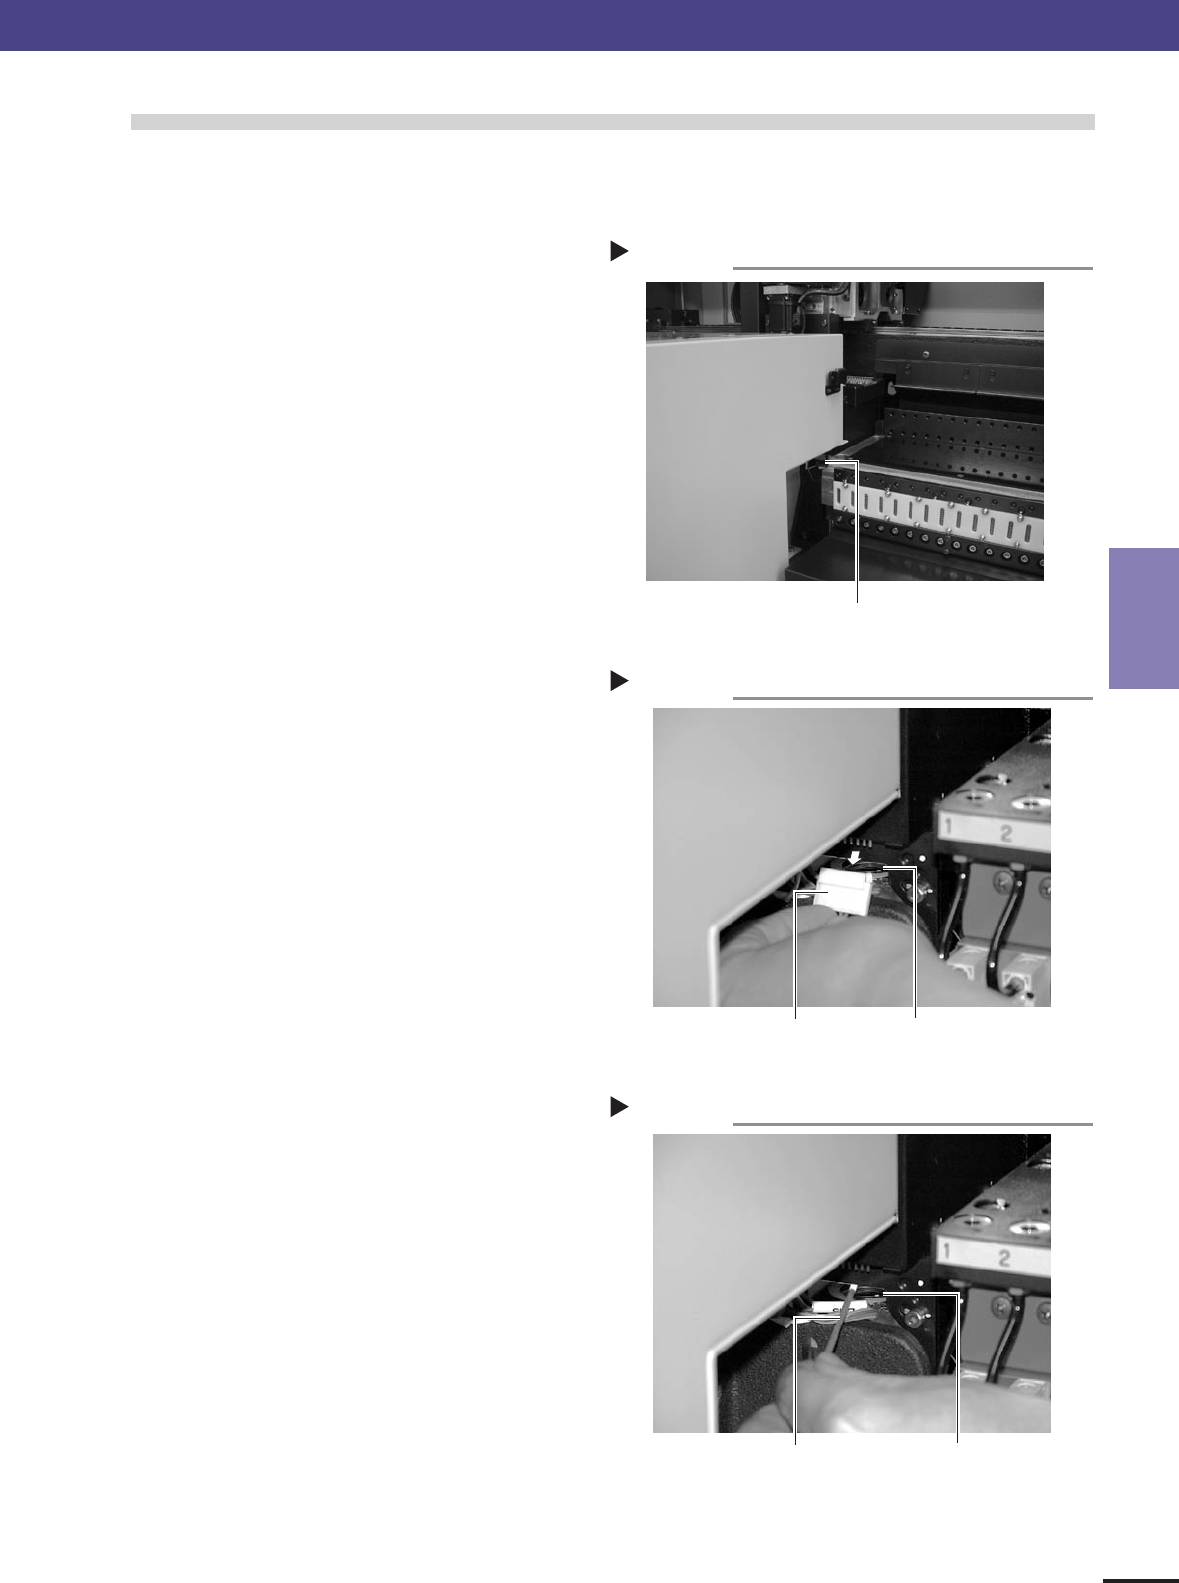
3
Detach the connector and check the lens.
Detach the connector (CN7) located at the front
right of the camera unit. Illuminate the camera
from the top with a pen light or flashlight. You will
see the camera lens.
43341-5E-20
4
Clean the camera lens.
1. Use a blow brush to blow air onto the lens to
remove dust buildups.
2. Apply several drops of lens cleaner to a cotton
swab and wipe off the lens.
43342-5E-20
5
Reattach the connector.
Reattach the connector (CN7) to the original
position.
2. Monthly or bimonthly inspection
Cleaning the lens
Step 4
Camera lensCotton swab stick
applied with lens cleaner liquid
Removing the connector
Step 3
Camera lensConnector (CN7)
Removing the feeders
Step 2
Camera unit
3-10
3
Periodic maintenance items
2. Monthly or bimonthly inspection
2.6 Cleaning the signal contact point.
Since signal contact point of feeder plate may become dirty from adhesion of dust,oil,etc., we recommend you
periodical cleaning.
n
NOTE
Since it may cause loose connection even if dirt is not visible when signal contact point of feeder plate or feeder is touched with a hand or
something, as for such a case, we recommend you cleaning each time.
1
Turn off the power supply of the
machine.
In order to work safely, please be sure to turn off
the power supply of a machine.
2
Remove the feeder from feeder plate.
Since you cannot work unless the feeders are
removed, please remove all feeders.
43343-5E-20
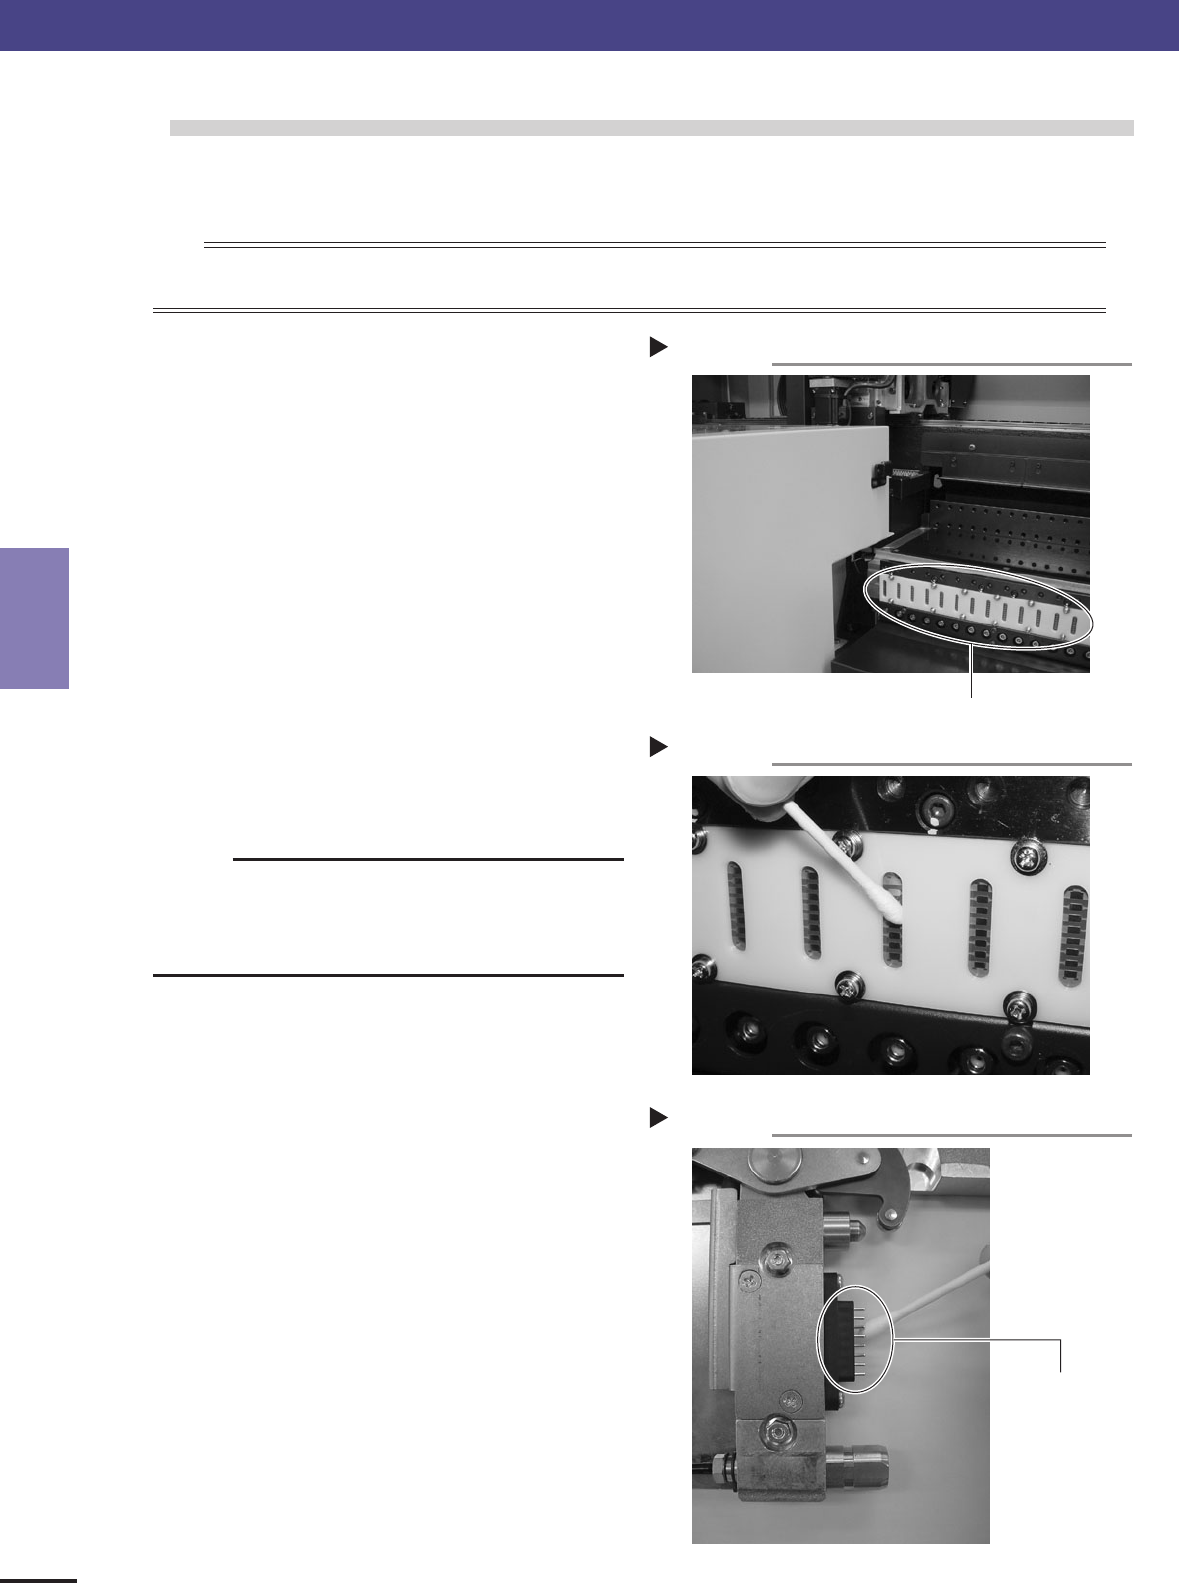
3
Clean the signal contact point of feeder
plate.
Please clean dust and dirt gently by the dry swab
or nonwoven wiper etc.
c
CAUTION
Please do not use organic solvent, such as thinner, benzine
and acetone, or alchol, aqueous detergent, etc. Moreover, be
careful not to damage a contact surface with sharp things,
sandpaper,etc., such as a knife and a driver.
43344-5E-20
4
Signal contact point of feeder should be
cleaned if needed.
Please clean feeder which faults, such as
abnormalities in communicatiion by loose
connection, owing to dirt,etc. by the same method
as feeder plate.
43345-5E-20
Signal Contact Point 2
Step 3
Signal Contact Point 1
Step 2
Signal Contact Point
Signal Contact Point of Feeder
Step 4
Signal Contact Point
3-11
3
Periodic maintenance items
3. 6-month inspection
3.1 Cleaning and replacing the ejector filter
Although depending on the air supply conditions and operating time, ejectors should be inspected once every 6
months. Use an air blow gun to remove dust buildups when small. We recommend replacing the air filter if heavy
dust deposits are found.
1
Press the emergency stop button.
e
The machine must be in emergency stop to ensure
safety during work.
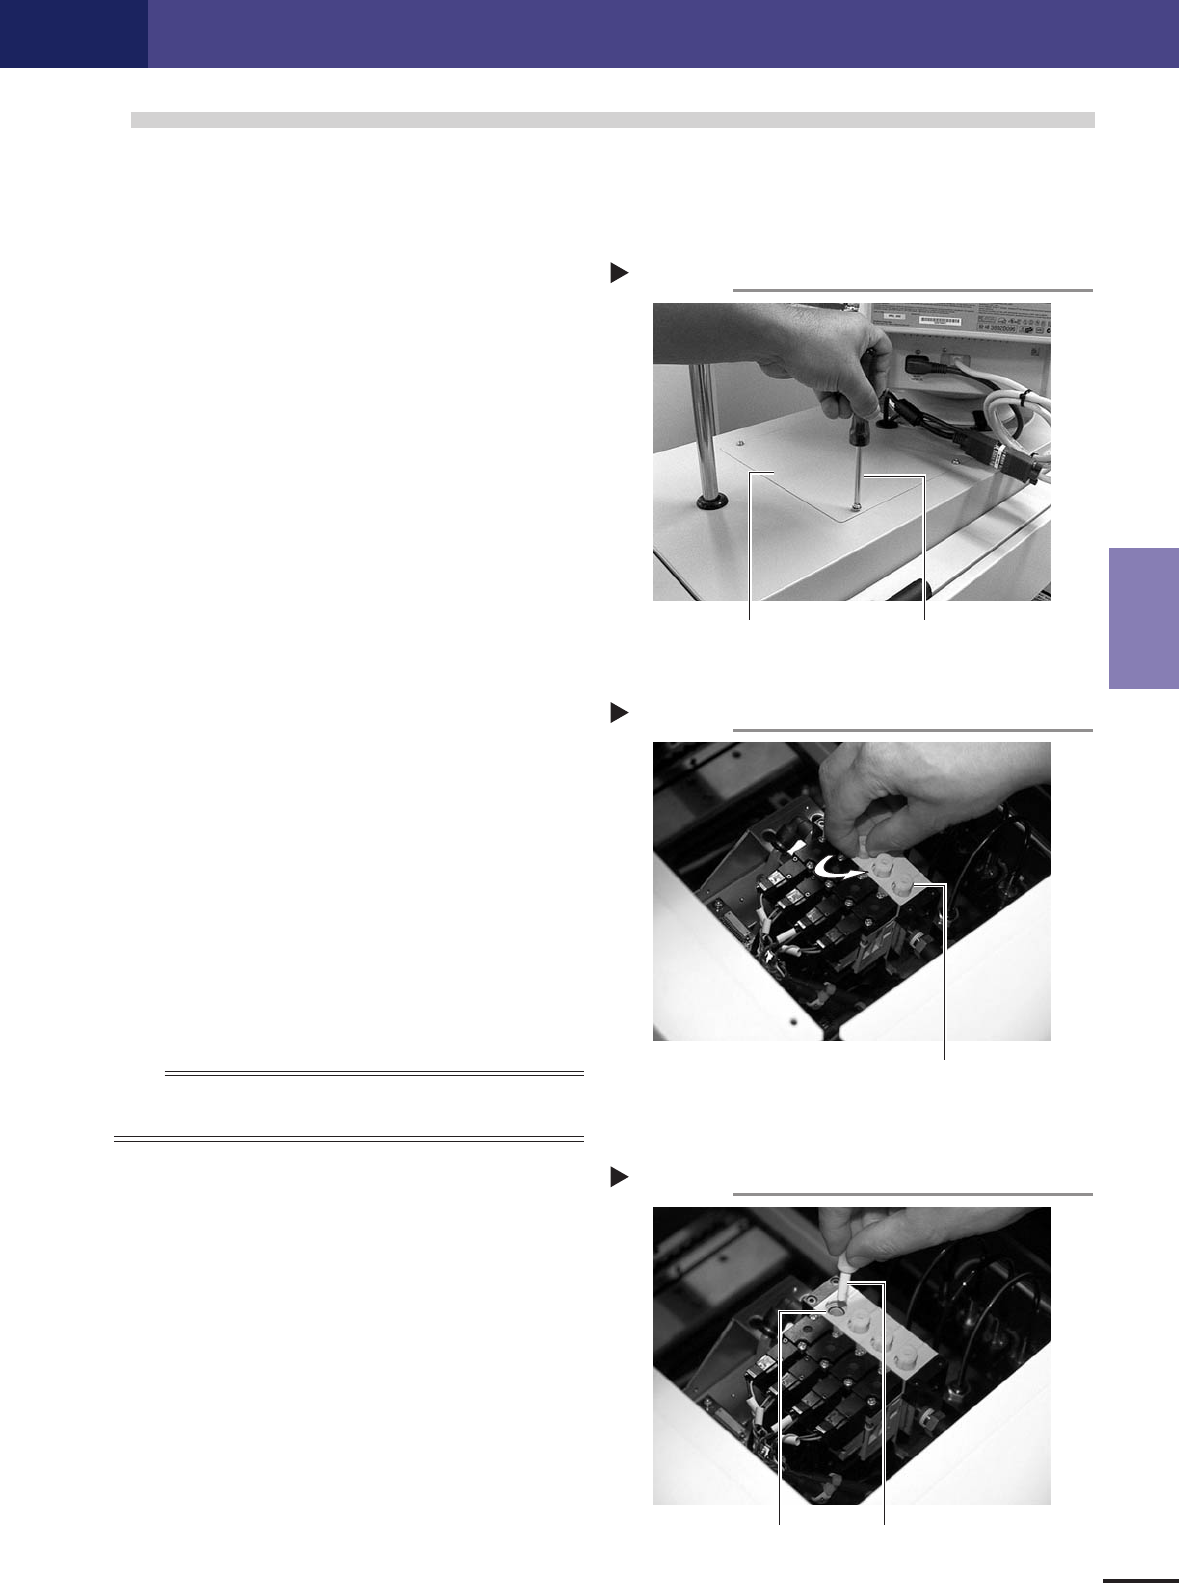
2
Open the maintenance cover.
Use a Phillips screwdriver to loosen the screws
securing the maintenance cover to the top of the
machine and remove the maintenance cover.
43330-5E-20
3
Take out the filter.
Loosen and remove the filter cap by hand, then use
tweezers to take the air filter out of the ejector.
43331-5E-20
4
Clean the air filter.
When there is only a little dust in the filter, use an
air gun to blow it away and return the filter to the
original position.
5
Replace the air filter as necessary.
If there are heavy dust deposits in the filter or the
filter has discolored, replace it with a new filter.
n
NOTE
As a general guide, the filters should be replaced once every 6 months,
although this actually depends on the operating time.
6
Reattach the filter cap.
Screw the filter cap back into the original position.
Do not forget to fit the O-ring inside the ejector.
43332-5E-20
7
Reattach the maintenance cover.
Use the Phillips screwdriver to reattach the
maintenance cover to the top of the machine.
Opening the maintenance cover
Step 2
Phillips screwdriver
Maintenance cover
Removing the filter cap
Step 3
Filter cap
Inserting the filter
Step 6
Filter fitted into the cap
O-ring