ASM_Guide To Adhesive Dot Dispensing_Stinger_en_0321_online.pdf - 第38页
2 STINGER, A GUIDE TO ADHESIVE DOT DISPENSING 2.3 SOFTWARE INTERFACE 38 GUIDE TO ADHESIVE DOT DISPENSING STINGER 03/2021 2.3.7 Setup Sites Exiting the create page displays the Setup Sites page. Sites are created until al…
2 STINGER, A GUIDE TO ADHESIVE DOT DISPENSING
2.3 SOFTWARE INTERFACE
GUIDE TO ADHESIVE DOT DISPENSING STINGER 03/2021 37
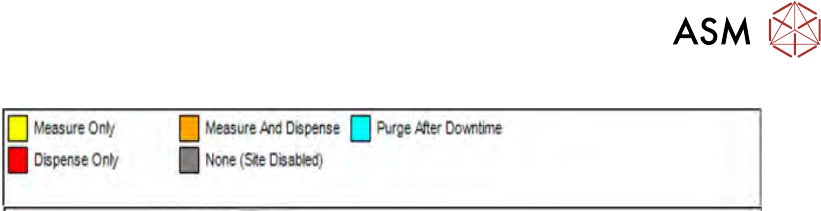
The Dispense and Measure options are: None (grey) - site measurement is disabled; Measure
Only (yellow) - the laser measures the site at the given co-ordinates to output height corrections;
Dispense Only (red) - adhesive is dispensed at the programmed dispense gap; and Measure and
Dispense (amber) - the site is measured by laser to give height corrections before dispensing
takes place. There is also an option to place sites where a purge operation can take place. Purge
After Downtime sites are programmed as sacrificial sites, and are used to clear the nozzle of any
adhesive, which may have hardened after a downtime period; the sites are denoted by a blue
rectangle; they are the first sites to be added.
Navigation controls are available on the create site page these include:
●
Zoom In - Control zooms in to selected site one step at a time
●
Zoom Out - Reverses the zoom in levels in single steps
●
Full Zoom Out - Zooms out to top level in a single step
●
Load Image - Loads a Bitmap (.bmp) or extended Gerber Image (.gbx)
●
Hide Image / Show Image - Hiding the image leaves the programmed sites displayed
without the product data image. A useful feature to quickly assess how many sites are set
to: dispense only; measure only; or dispense and measure.
6. Select Accept.
7. When a site has been placed and adjusted select Confirm to save settings and exit the create
sites page. Or, select Cancel
to exit the page without saving.

2 STINGER, A GUIDE TO ADHESIVE DOT DISPENSING
2.3 SOFTWARE INTERFACE
38 GUIDE TO ADHESIVE DOT DISPENSING STINGER 03/2021
2.3.7 Setup Sites
Exiting the create page displays the Setup Sites page. Sites are created until all sites, which re-
quire either adhesive dots, measurement, or both have been programmed. In the setup sites page
each site can be edited by selecting the site, either from the image data or from the site ID/Site
Name table.
In the example below, site 11 has been selected. In the product image view it is shown highlighted,
the white rectangle toward the bottom right of the board image; the table confirms the selection of
the site as it is highlighted yellow in the table.
Purge 2
Purge 3
Purge 1
Site 11
11
These controls allow the user to scroll up and down through lengthy lists of programmed sites;
zoom into and out of areas of the product image and show or hide the product image, a useful fea-
ture when looking at the dispense mode for individual sites.
Using the site edit functionality, sites that have been created can be adjusted, deleted, and moved
up or down in the ID/Site Name table.
2 STINGER, A GUIDE TO ADHESIVE DOT DISPENSING
2.3 SOFTWARE INTERFACE
GUIDE TO ADHESIVE DOT DISPENSING STINGER 03/2021 39
1. Selecting Adjust Site allows adjustment to individual sites. The editable parameters which
were available in the create page are reproduced.
2. The site, or all sites, can be deleted if the Delete Site functionality is selected. The user can
opt to delete the current site or all sites.
3. Selecting Move Site Up/Move Site Down buttons allows the order in which measurements
are taken or where the adhesive is laid down to be altered. This can be useful when sites
have been added after the initial site creation; for example, it may be necessary to add more
sites to give a larger area for adhesion. To speed the deposition process up the sites can be
grouped together.
Further navigation controls are available where several sites have been programmed. Up/
Down and Page Up/Page Down; Zoom Controls; and Show/Hide Image options are available.
4. The Import/Export functionality allows the user to import and export data in a format that al-
lows the data to be manipulated in an external editing application or database.
5. Export data can be exported out of the application into a suitable editing program; once ed-
ited, it can be re-imported back into the site list using the Import functionality described above.
Import and Append data edited in the external application can be imported and added to the
list at the end of the current site list.
Import and Overwrite data in an external application can be imported and current sites are
overwritten.
The data is imported and exported to a path setup in the product directory; Maintenance\Ma-
chine Setup\Data Coms\Network\ Product Directory. The file is named the same name as
its current product file name and appended with.csv. The.csv stands for comma-separated
values a recognised spreadsheet format.
In the example shown, the dispense gap is zero (Figure 1. Row 2 Column G).
Where the data is edited in the Stinger software application and exported; the data in the.csv
file is as shown in Figure 2.
If the data is edited in the external application and saved, as shown in Figure 3, when impor-
ted back into the Stinger application, the data is automatically updated.
6. Select the site in the ID/Site Name table and confirm the change by selecting Adjust Site to
view the Dispense Gap (Figure 4).
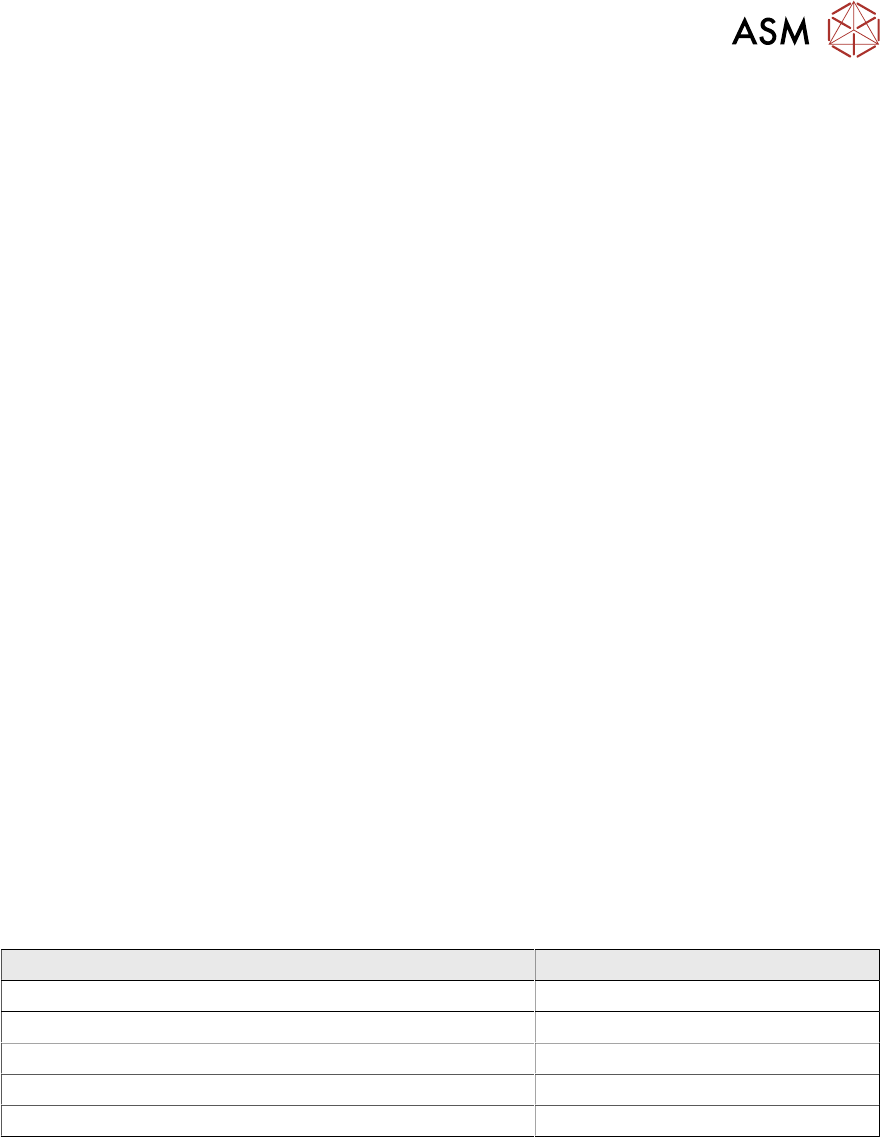
The dispense modes as shown in column F in the table are defined as integers 0 to 4 as fol-
lows:
Dispense Mode Integer
None 0
Measure Only 1
Dispense Only 2
Measure and Dispense 3
Purge After Downtime 4