ASM_Guide To Adhesive Dot Dispensing_Stinger_en_0321_online.pdf - 第47页
2 STINGER, A GUIDE TO ADHESIVE DOT DISPENSING 2.4 PRODUCT CHANGEOVER GUIDE TO ADHESIVE DOT DISPENSING STINGER 03/2021 47 13. Lift the assembly: auger, nozzle, syringe and air connector, up toward the auger drive gear. Al…

2 STINGER, A GUIDE TO ADHESIVE DOT DISPENSING
2.4 PRODUCT CHANGEOVER
46 GUIDE TO ADHESIVE DOT DISPENSING STINGER 03/2021
3. Select Unload Screen. Open the printhead cover and remove the screen. Close the printhead
cover and press the System
button to restore system power.
4. Select Maintain Stinger.
5. Open the cover; the camera axis is located at the front of the printer where the applicator can
be removed. If necessary, move the print carriage back to gain access to the print area.
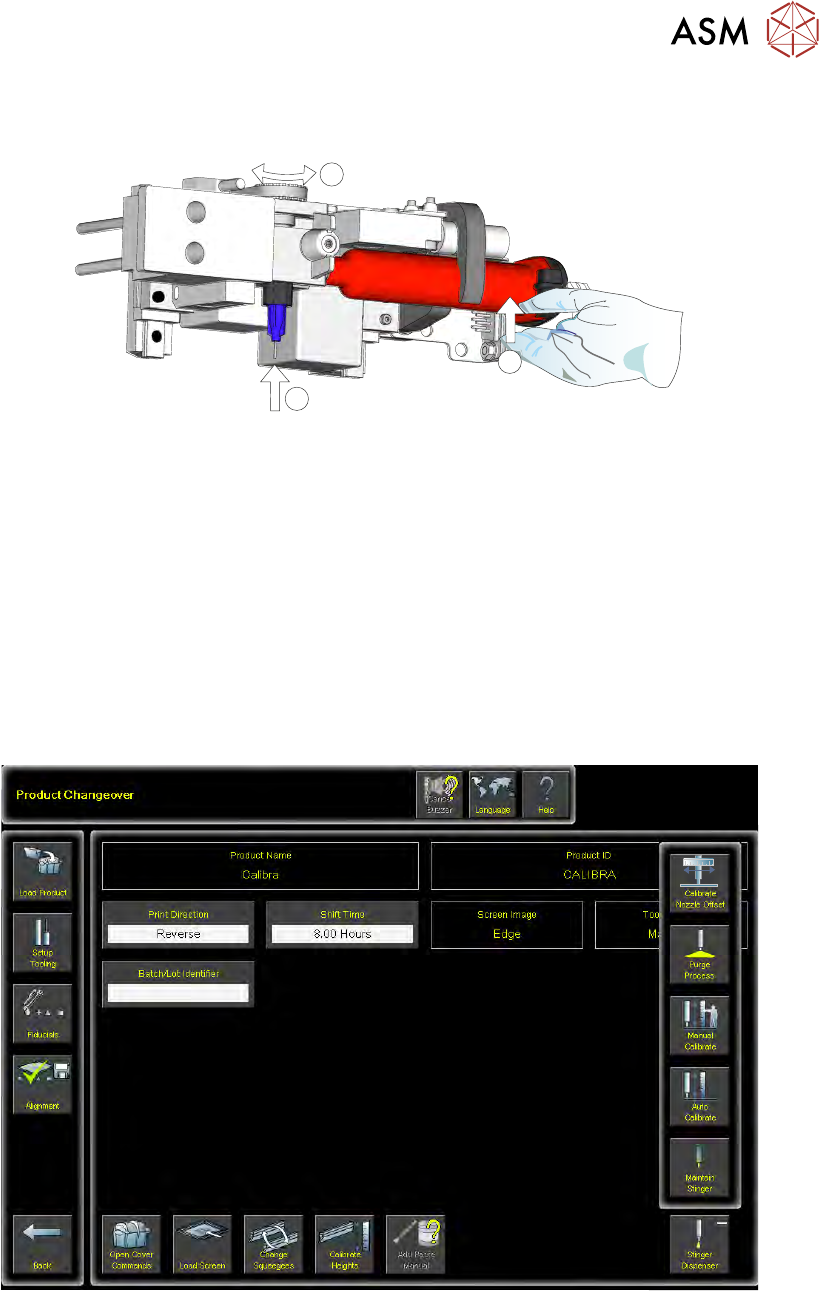
6. Slacken off the auger clamp screw (1).
1
2
3
5
4
6
7. Release the auger (5), nozzle (4) and syringe (2) as one assembly from the drive gear and the
‘C’ clamp.
8. Remove the pneumatic air connector (3) from the rear of the syringe assembly.
9. Store part-used assemblies in a refrigerator or dispose of the whole assembly in accordance
with any national, federal or local disposal regulations.
10. Remove the syringe sealing cap.
11. Fit a replacement auger and nozzle to the syringe.
12. Fit the pneumatic air connector to the rear of the syringe assembly.
2 STINGER, A GUIDE TO ADHESIVE DOT DISPENSING
2.4 PRODUCT CHANGEOVER
GUIDE TO ADHESIVE DOT DISPENSING STINGER 03/2021 47
13. Lift the assembly: auger, nozzle, syringe and air connector, up toward the auger drive gear.
Align the syringe with the ‘C’ clamp (2).
1
1
2
14. The auger engages with the square shaft of the drive motor, rotate the exposed portion of the
drive belt at the same time pushing the complete assembly upward, ensuring that it is in the
fully up position (1).
15. Check that the whole assembly is secure in the ‘C’ clamp.
16. Refit the in-line air connection.
17. Tighten the plastic auger clamp screw. Do not over tighten.
18. Remove the nozzle dust cap. Ensure that the nozzle assembly is in line with auger valve and
not bent or at an angle.
19. Select Load Board and load the calibrated test product as described in the Software Interface
section of this manual.
20. Navigate to the Product Changeover page.
21. Select Unload Screen.
22. Select Stinger Dispenser. An extended menu is shown.
23. Select Purge Process. The camera axis drives to the centre of the board.
2 STINGER, A GUIDE TO ADHESIVE DOT DISPENSING
2.4 PRODUCT CHANGEOVER
48 GUIDE TO ADHESIVE DOT DISPENSING STINGER 03/2021
There are two process types for purging - Standard Purge Process and Automatic Purge Process.
The standard process provides the facility to dispense material, directly onto the calibrated test
product, for an indefinite amount of time. This purges air pockets from the dispense head, or it is
used to empty a dispense head of material. The automatic process allows the purge to be carried
out at a purge station. The purge station also has a nozzle wipe facility.
The automatic purge process is used when a complete system purge is required; either at the start
or at the end of a production batch. As this process requires a large volume of material to be
purged, a purge station is used to collect it.
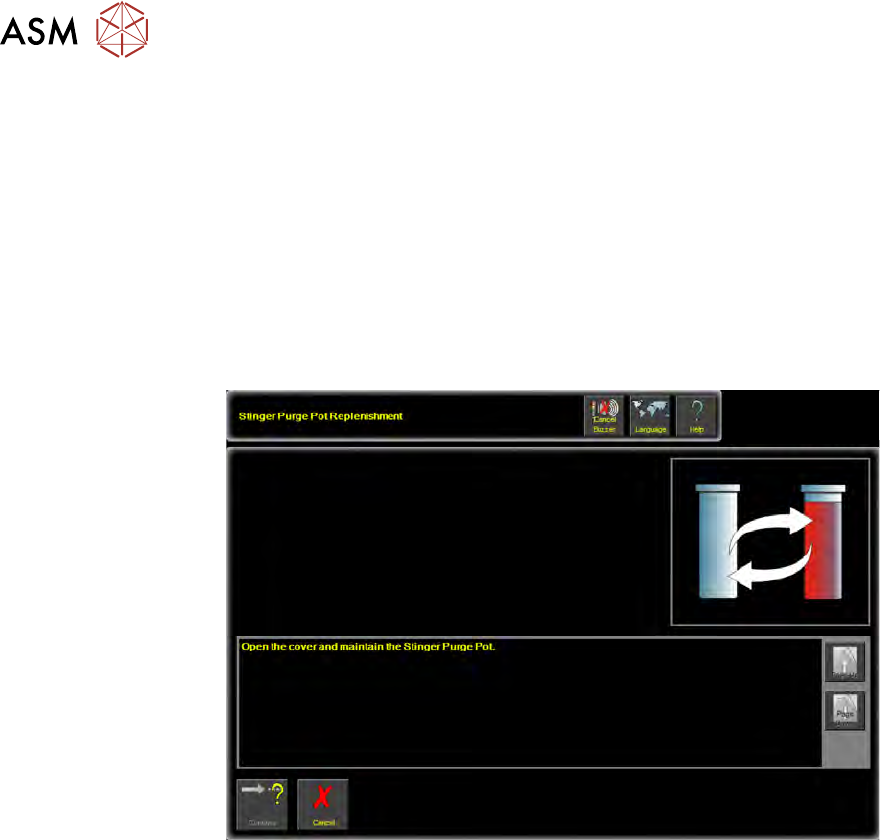
Purge station consumable monitoring is turned on in Maintenance\Machine Setup\Options
\Stinger Options\Stinger Consumable Monitoring.
When the pot is full an action panel is displayed reminding the user to replenish the pot.
NOTE
In product changeover, where hardware has been replaced, the laser unit needs to be recalibrated.
It is advised to carry out the manual calibration of Stinger heights, see appendix, prior to performing
the automatic calibration.