PR8111、PR8112_user_manual_eng_20191015H.pdf - 第5页
Introduction 2 Thank you for purchasi ng the HIOKI Mode l PR811 1, PR8112 Pen Recorder. T o obtain max i- mum perfo rmance fro m the inst rument, pleas e read th is manual fi rst, and kee p it handy for future referen ce…

Basic Operation
1
Basic Operation
Unpacking and Preparing for Use
Install recording paper (p. 14)
and pens (p. 16)
Install batteries (p. 17)
(When powering the instru-
ment with batteries)
Check the package contents
(p. 2)
Review operating precau-
tions (p. 5)
"Names and Functions of Parts" (p. 10)
Before using the instrument, be sure to read "Operating Precautions"
(p. 5) carefully.
Pens
Installing, Connecting, and Turning On the Instrument
Turn on the instrument
(p. 19)
Inspect and connect the
instrument (p. 13)
Install the instrument (p. 5)
Connect measurement
cables (p. 20)
(When powering the instrument with mains power)
Connect the included AC adapter (p. 18)
The green LED lights up when using the
AC adapter and when there is sufficient
battery life remaining when using batteries.
Settings
Set measurement conditions
(p. 23)
•
Set the range and position.
• Set the chart speed.
Starting and Stopping Measurement
Lowering the pens and starting recording Stopping recording and raising the pens (p. 25)
(PEN DOWN)
(START) (STOP) (PEN UP)
Finishing Using the Instrument
Turn off the instrument
Introduction
2
Thank you for purchasing the HIOKI Model PR8111, PR8112 Pen Recorder. To obtain maxi-
mum performance from the instrument, please read this manual first, and keep it handy for
future reference.
The PR8111 is a 1-pen model, while the PR8112 is a 2-pen model.
Inspecting the instrument
Package contents
Options
For more information, please contact your Hioki distributor.
Introduction
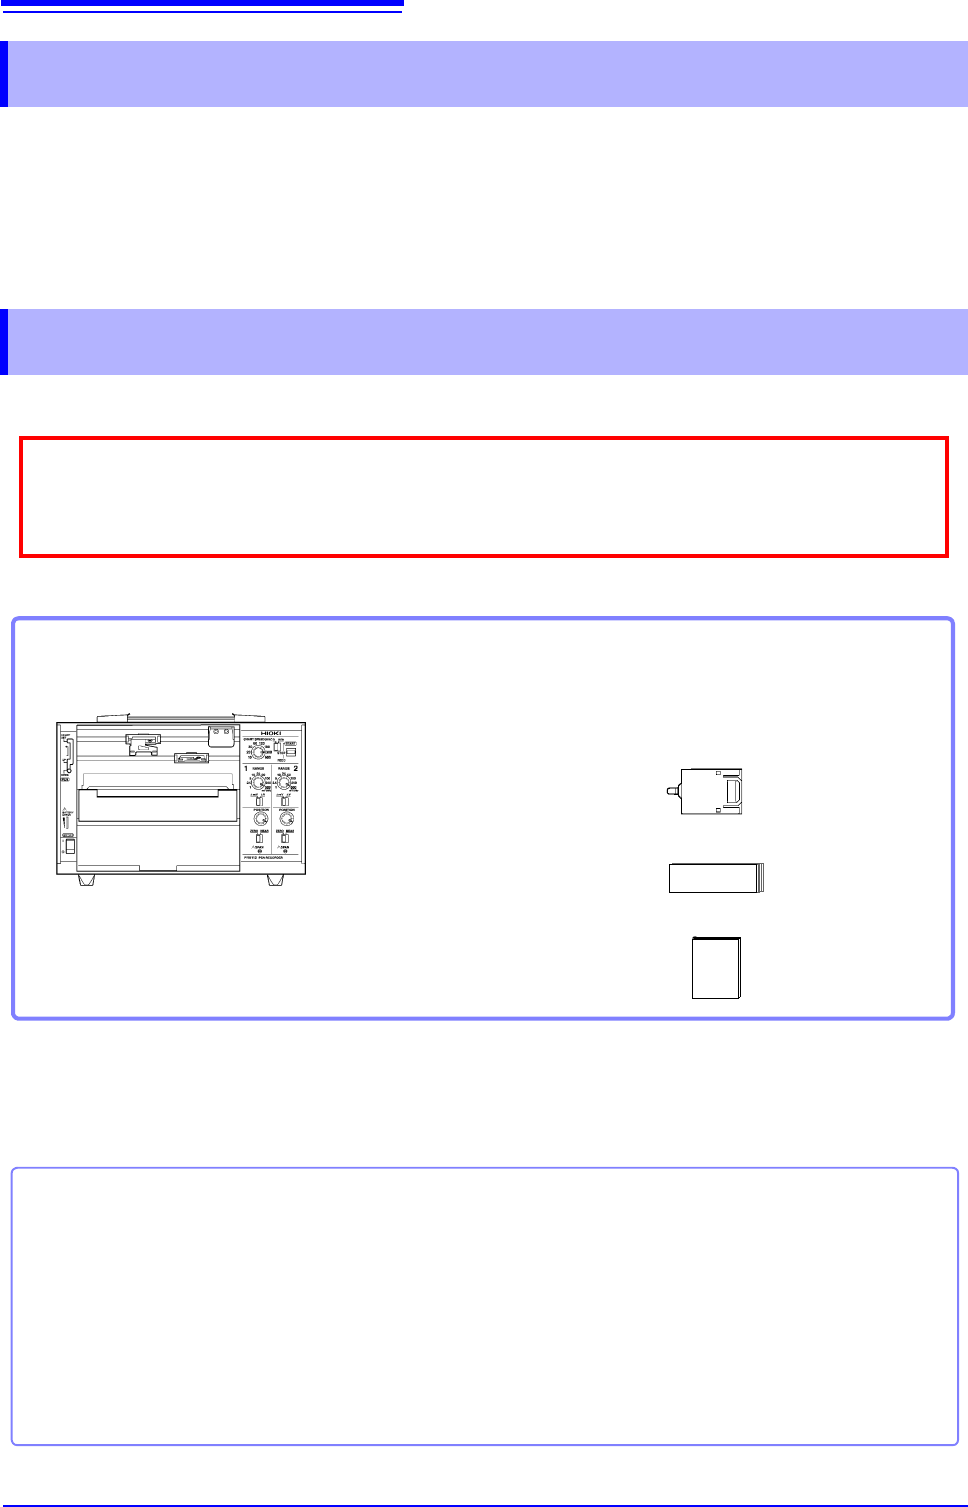
Confirming Package Contents
When you receive the instrument, inspect it carefully to ensure that no damage occurred during ship-
ping. In particular, check the accessories, panel switches, and connectors. If damage is evident, or if it
fails to operate according to the specifications, contact your dealer or Hioki representative.
Confirm that these contents are provided.
Model PR8111 or PR8112............................1
Model 9418-15 AC Adapter.........................1
Included power cord (p. 18)
Drip-proof vinyl cover...................................1
(Example: PR8112)
Model P-1201A (Red), P-1202A (Green)
Felt Pen...............................................1 each
(PR8111: P-1201A [red] only)
Model SE-10Z-2 Recording Paper (fanfold) 1
Instruction Manual (this document)............. 1
Use the original packing materials when transporting the instrument, if possible.
For other precautions related to transporting the instrument, see"Transporting" (p. 33).
Felt Pen
Recording Paper
P-1201A (Red: standard) P-1201B (Red: High-speed) P-1201C (Red: Low-speed)
P-1202A (Green: Standard)
P-1202B
(Green: High-speed)
P-1202C
(Green: Low-speed)
P-1203A (Blue: Standard) P-1203B (Blue: High-speed) P-1203C (Blue: Low-speed)
SE-10Z-2 Recording Paper (fanfold) SE-10 Recording Paper (roll)
Safety Information
3
This manual contains information and warnings essential for safe operation of the instrument
and for maintaining it in safe operating condition. Before using it, be sure to carefully read the
following safety precautions.
The following symbols in this manual indicate the relative importance of cautions and warn-
ings.
Safety Information
This instrument is designed to comply with IEC 61010 Safety Standards, and has
been thoroughly tested for safety prior to shipment. However, mishandling during
use could result in injury or death, as well as damage to the instrument. Using the
instrument in a way not described in this manual may negate the provided safety fea-
tures.
Be certain that you understand the instructions and precautions in the manual before
use. We disclaim any responsibility for accidents or injuries not resulting directly
from instrument defects.
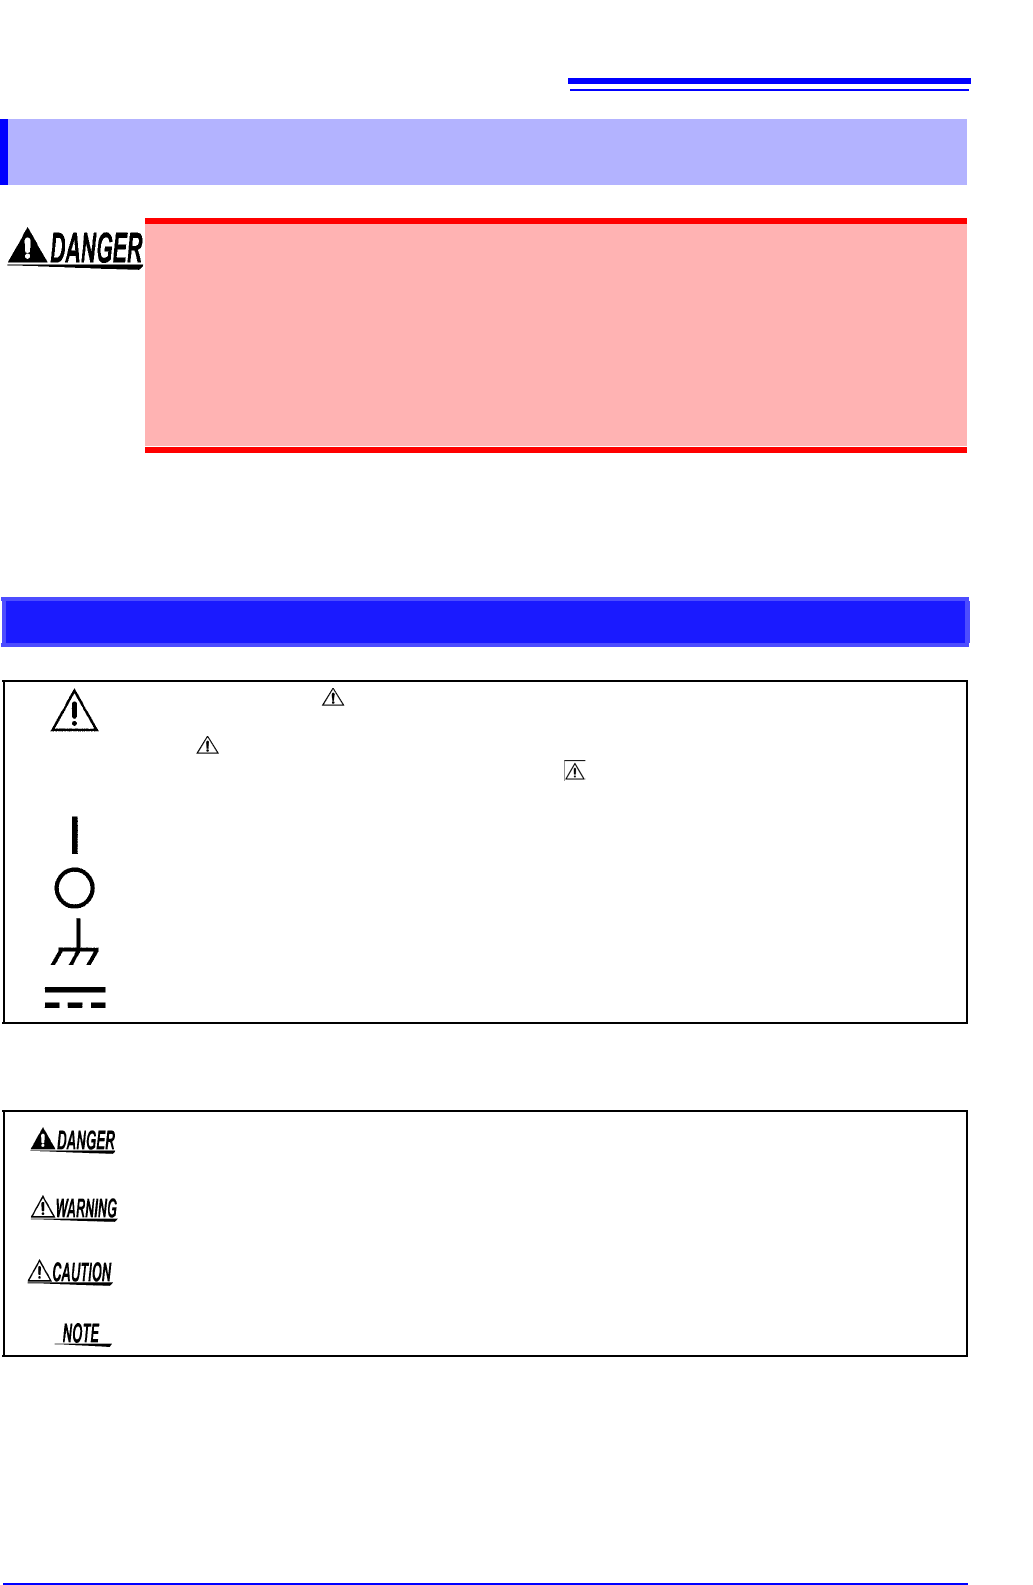
Safety Symbols
In the manual, the symbol indicates particularly important information that the user
should read before using the instrument.
The symbol printed on the instrument indicates that the user should refer to a corre-
sponding topic in the manual (marked with the symbol) before using the relevant func-
tion.
Indicates the ON side of the power switch.
Indicates the OFF side of the power switch.
Indicates a ground terminal connected to the chassis of the system.
Indicates DC (Direct Current).
Indicates that incorrect operation presents an extreme hazard that could result in serious
injury or death to the user.
Indicates that incorrect operation presents a significant hazard that could result in serious
injury or death to the user.
Indicates that incorrect operation presents a possibility of injury to the user or damage to
the instrument.
Indicates advisory items related to performance or correct operation of the instrument.