00196591-04 UM S-Feeder Test Station EN.pdf - 第13页
Installation MTC 2 Installing the Software User Manual SIPLACE S-Feeder Test Sta tion 13 To start the installation of th e S-Feeder test software, clic k on the Install button. Once the software installation has been com…
Installation MTC 2
Installing the Software
12 User Manual SIPLACE S-Feeder Test Station
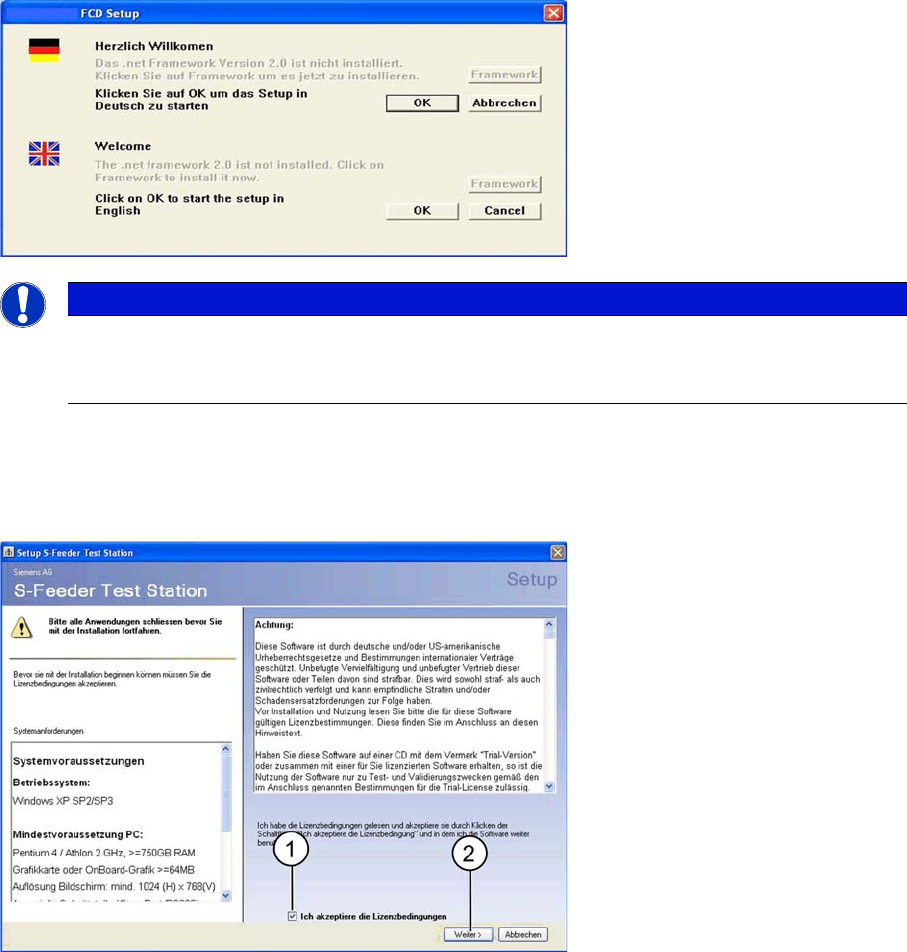
The following dialog box will open.
► Click on the Framework button to install
.
net-Framework on the computer. If
.net-Framework
is al-
ready on the computer, the Framework button will be disabled (grayed out).
► Click on the OK button, to install the
S-Feeder test software
on the computer.
The following dialog box will open.
► (1) Enable the option Licence conditions.
► (2) Click on the Next button.
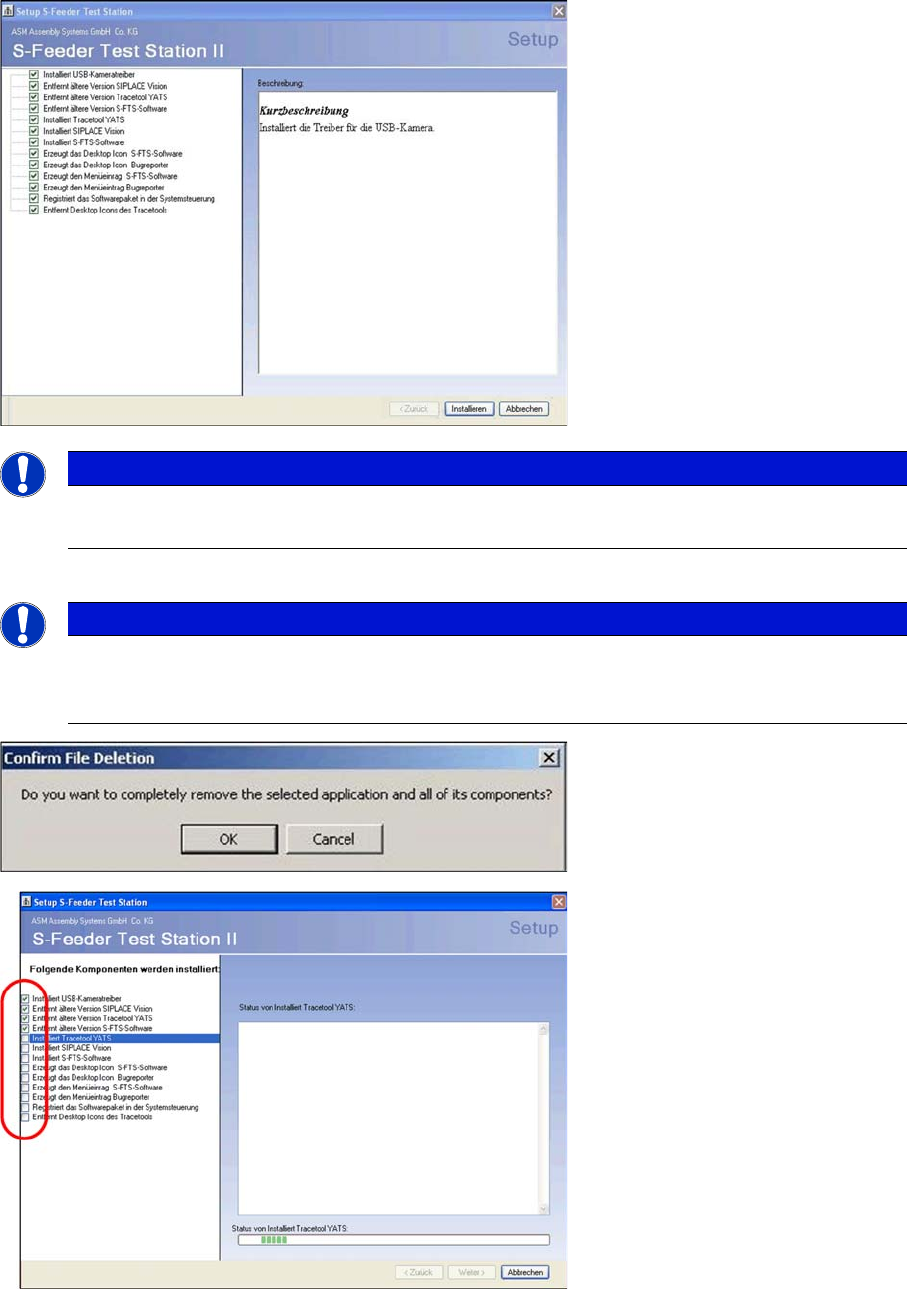
The following dialog box shows the SW packages to be installed.
NOTICE
Language selection
The language selection applies only to the language of the setup procedure and does not affect
the language of the application.
Installation MTC 2
Installing the Software
User Manual SIPLACE S-Feeder Test Station 13
To start the installation of the S-Feeder test software, click on the Install button.
Once the software installation has been completed successfully, the following dialog box will be shown.
NOTICE
Software Options
Since all software options are needed, there is no way to select (check mark remain).
NOTICE
Update / delete software
Confirm the "remove older feedback" by click on "OK" and "Finish". The installation of the SFTS
2.x deletes the previous version automatically.
Installation MTC 2
Initializing the USB Port for the Camera 3.4.1 Connecting to the Power Supply
14 User Manual SIPLACE S-Feeder Test Station
► To finish the setup, click on the OK button.
A barcode scanner can be installed for scanning the serial number of the feeders.
The reports of the S-Feeder Test Station can then be saved under the serial number of the feeder.
You can only use barcode scanners that offer a keyboard emulation, e. g. Wired USB BC Scanner
[00386212-xx].
3.3
3.3 Initializing the USB Port for the Camera
Initializing the USB Port for the Camera
3.4
3.4 Connecting the S-Feeder Checking Device
Connecting the S-Feeder Checking Device
First install the
S-Feeder test software
supplied with the device.
To set up the checking device, follow the steps below:
▪ Connecting to the Power Supply
▪ Connect the serial cable
▪ Connect the camera
For a description of the individual setup steps, refer to the following sections.
3.4.1
3.4.1 Connecting to the Power Supply
Connecting to the Power Supply
The checking device does not have its own power supply. The power is supplied via an external power
pack. The checking device is then supplied with +30 volt.
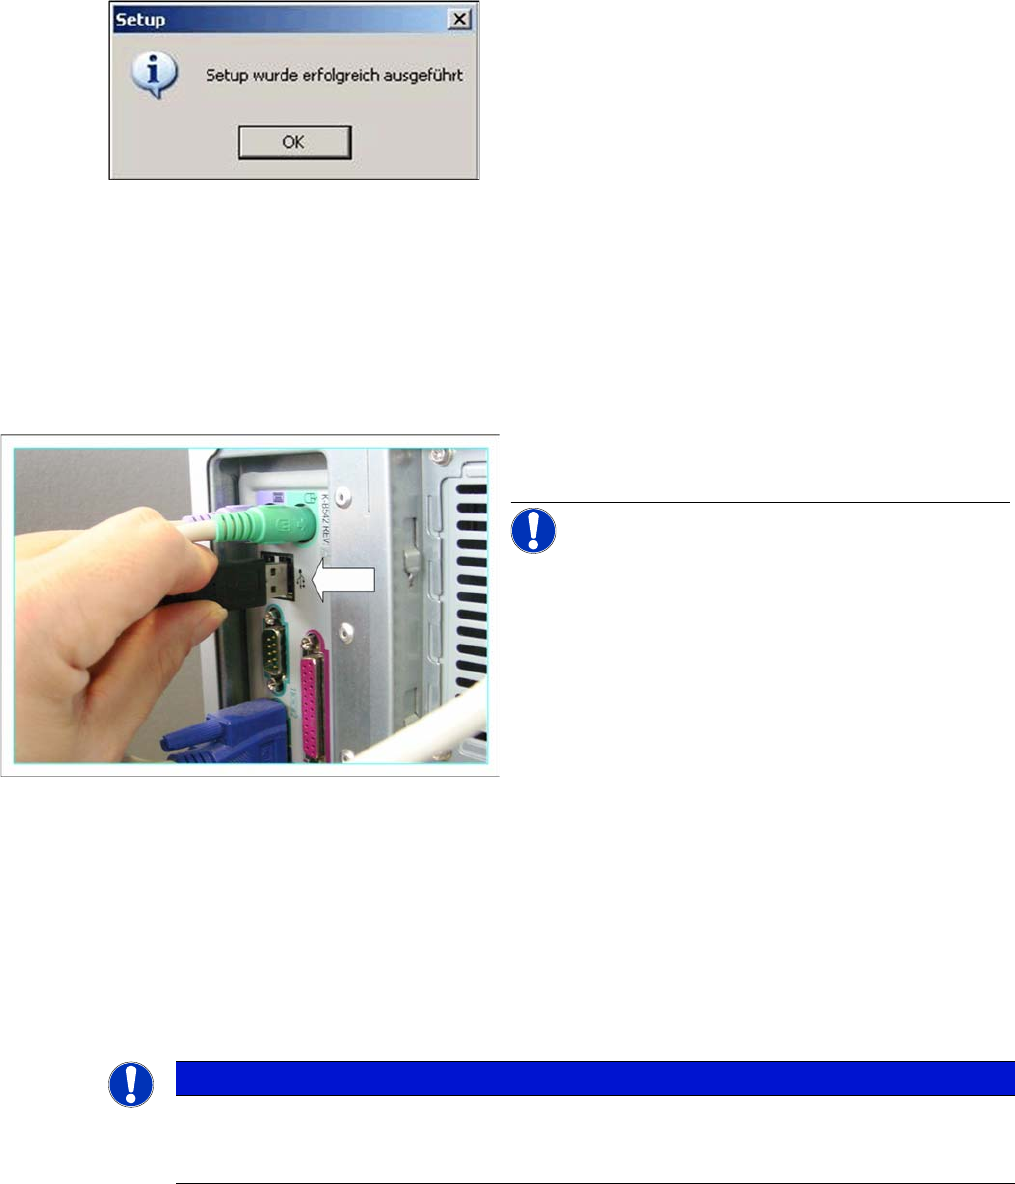
► Connect the USB camera cable of the testing device
to a USB 2.0 port on your PC.
NOTICE! Where possible, use a connection on
the back of the PC, as this generally allows a faster and
more reliable image transmission.
NOTICE
Packaging
Keep the box and packaging materials. You will need these later on for transporting the check-
ing device.