00196591-04 UM S-Feeder Test Station EN.pdf - 第18页
Installation MTC 2 Update 3.6.1 Settin g up the Calibration Standard 18 User Manual SIPLACE S-Feeder Test Station ► Make s ure that the S-Feeder C hecking Device is correctly connec ted to the power supply and that the p…
Installation MTC 2
3.4.4 Switching the Checking Device ON/OFF Calibrating the Camera Position
User Manual SIPLACE S-Feeder Test Station 17
When you first start the
S-Feeder test software
, this checks the performance capacity of the USB port to
which the camera was connected and saves the max. achievable image transfer speed. This takes
roughly 20 seconds.
Now calibrate the camera position of the
S-Feeder Checking Device
(see "3.6 Calibrating the Camera
Position" [ ➙ 17]).
3.6
3.6 Calibrating the Camera Position
Calibrating the Camera Position
It is essential to calibrate the camera position of the
S-Feeder Checking Device
:
▪ If the
S-Feeder Checking Device
is connected to your PC for the first time.
When you start the
S-Feeder test software
you will see a corresponding message on your screen.
▪ If the
S-Feeder Checking Device
has been transported.
▪ If there are strong temperature fluctuations (> 5°C)
▪ Recommended: once a month.
If you want to view the date of the last calibration:
Open the Help menu with the command Info About S-Feeder Test station … and you will see an in-
formation window which shows the date of the last calibration plus other data.
To calibrate the camera position, use the calibration standard supplied, item no. 03073729-01.
► Set the calibration standard to the receiving surface of the
S-Feeder Checking Device
(see "3.6.1
Setting up the Calibration Standard" [ ➙ 18] ).
► To start calibration, open the Tools menu and click on Calibrate.
calibration will be performed automatically and takes approx. 20 seconds.
► Once calibration of the camera position has been completed, remove the calibration standard from
the location surface of the
S-Feeder Checking Device
(see "3.6.2 Removing the Calibration Stand-
ard" [ ➙ 18] ).
What to do if calibration fails
If calibration of the camera position fails:
► Check the calibration standard.
Make sure that the reference plate on the top of the calibration standard is not dirty.
► Clean the location surface of the
S-Feeder Checking Device
and the underside of the calibration
standard. Remove any foreign bodies.
NOTICE
Adjusting the Pickup position
If you want to use the S-Feeder Checking Device to set the pickup position, observe the follow-
ing information:
Calibration should always be performed at the temperature at which you then want to test the
feeder modules. Tolerance: +- 5° C
To assimilate the temperatures, leave the S-Feeder Checking Device and the calibration stand-
ard unpacked at the installation site for 30 minutes before performing calibration.
To make sure that the calibration standard is in perfect condition, it should be checked every 2
years or if there is apparent damage. Send the calibration standard to the manufacturer for this
inspection.
Installation MTC 2
Update 3.6.1 Setting up the Calibration Standard
18 User Manual SIPLACE S-Feeder Test Station
► Make sure that the S-Feeder Checking Device is correctly connected to the power supply and that
the power pack is switched on.Make sure that the
S-Feeder Checking Device
is correctly connected
to the power supply and that the power pack is switched on.
► Restart the calibration.
If calibration of the camera position fails again, this probably indicates that the camera tower is damaged.
Send the
S-Feeder Checking Device
and the calibration standard back to the manufacturer for repairs.
3.6.1
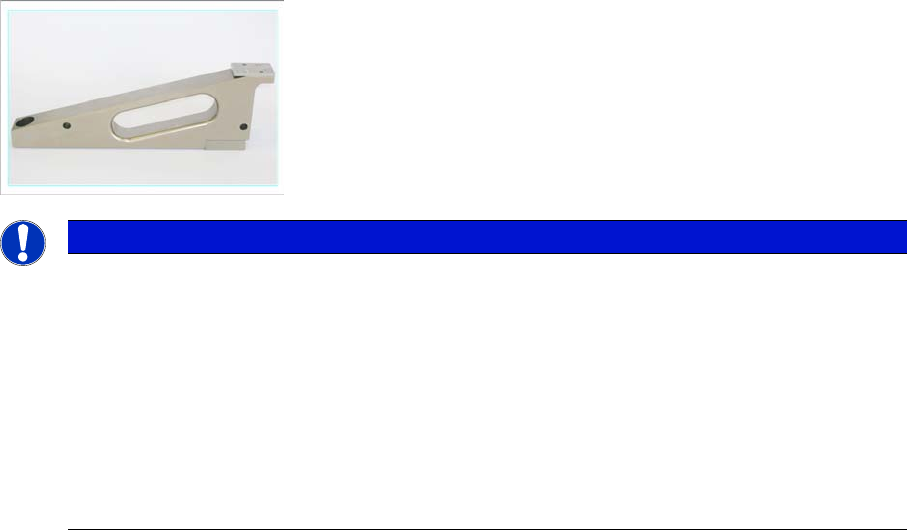
3.6.1 Setting up the Calibration Standard
Setting up the Calibration Standard
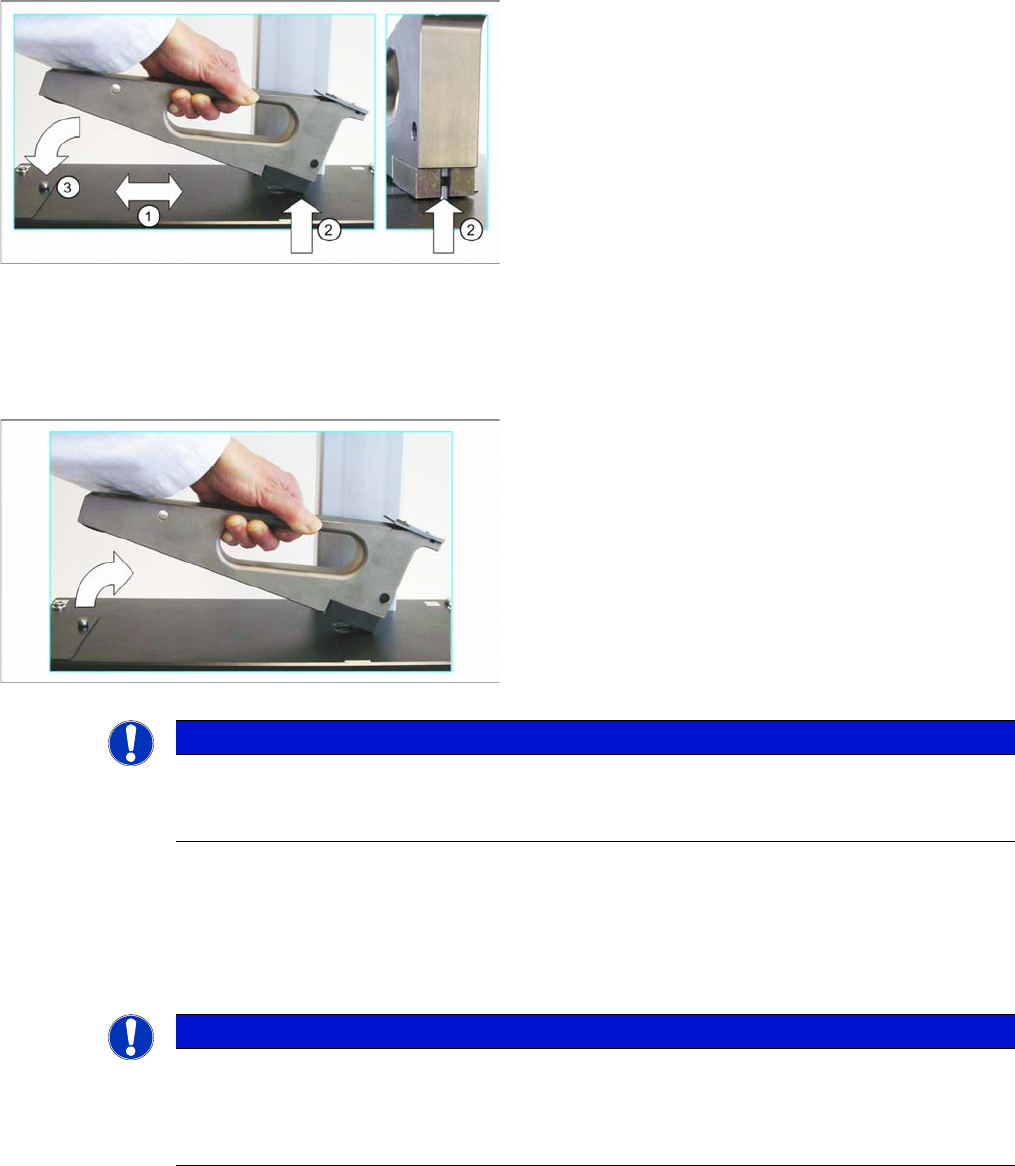
3.6.2
3.6.2 Removing the Calibration Standard
Removing the Calibration Standard
3.7
3.7 Update
Update
For an update to version 2.x please proceed as described in chapter 3.2. The installation will remove the
previous version automatically. The installation of the SFTS 2.x deletes the previous version automati-
cally.
► Clean the location surface (1) of the checking device
and the underside of the calibration standard with a
clean, lint-free cloth and remove any foreign bodies.
► Position the calibration standard from the left onto the
location surface, with the front side first and ensure
that it engages at the centering pin (2).
Make sure that the calibration standard does not hit
the camera.
► Lower the back part of the calibration standard down
onto the location surface of the
S-Feeder Checking
Device
.
Make sure that the calibration standard engages with
the calotte (3).
► First lift the back of the calibration standard off the lo-
cation surface of the
S-Feeder Checking Device
.
► Now lift the calibration standard up to the left and off
the location surface.
Make sure that the calibration standard does not hit
the camera.
NOTICE
Calibration standard
After use, place the calibration standard back in the protective sleeve provided so that it is not
damaged.
NOTICE
Update
During the installation the USB camera must be unplugged.
Following the installation the SFT must be calibrated. Please ensure to have the calibration
standard available.
Installation MTC 2
3.6.2 Removing the Calibration Standard Software uninstall
User Manual SIPLACE S-Feeder Test Station 19
3.8
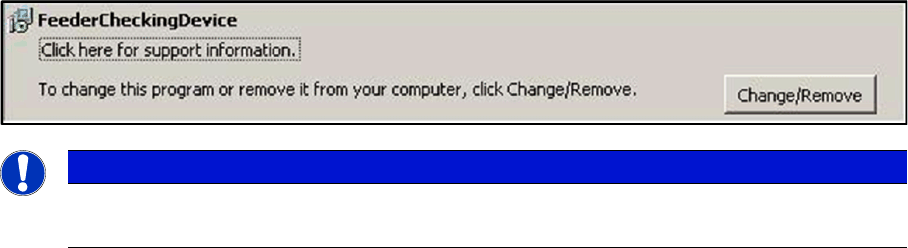
3.8 Software uninstall
Software uninstall
Open the Control Panel in the Start \ Settings \ Control Panal \ ad or remove programs:
Here you can uninstall the software.
NOTICE
Update
While updating to the new software version, the old version is automatically removed.