YesAX V3.1.2 - Software User Manual.pdf - 第100页
10 -6 General Inspection Methodolog y The Setup button launches the Template Color Check Parameters dialog. The Sync Chk Color button updates the state of the Check Color checkbox to all the alternate templates. The Sync…
General Inspection Methodology 10-5
If Manual Verify is checked the part is reviewed regardless of the test result. That means the
mark will always appear in the review list.
Review Zoom selects the preferred zoom level for reviewing.
The Search Margin indicates a margin around the template’s original position that the software
will search for a match. If Check Pos. is checked, the software will also verify the position of the
mark after it has been found. Position Tol. X and Position Tol. Y set the position tolerance of
the mark inspection. The Anchor button launches the Anchor Setup dialog. Any marking can be
used to anchor other inspection boxes. Refer to section 14.4 for details on using anchors. The
Mark as Defective button manually forces the inspection state to be set to Fail.
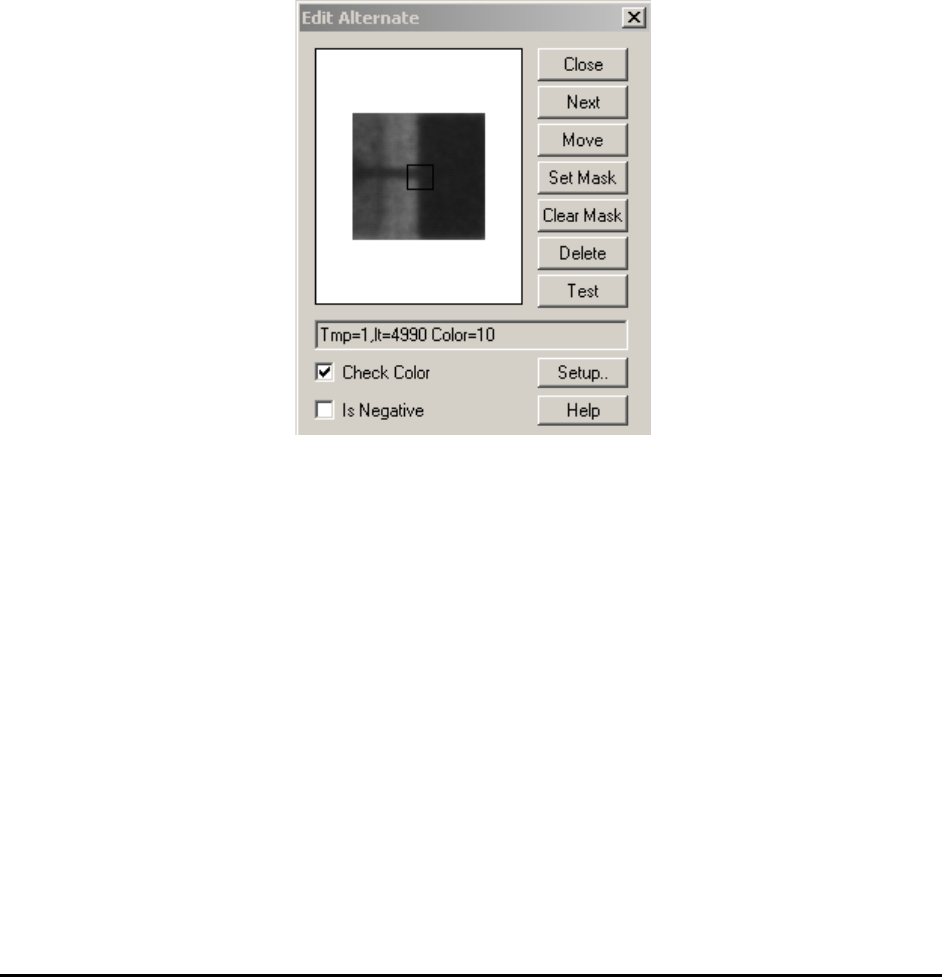
10.2.2 Edit Alternate
Select Edit Alternate from the Mark pop-up menu to open the Edit Alternate dialog.
The Next button displays the next template in the list.
The Set Mask button starts the process that allows the user to create a “Don’t Care” mask on the
template.
The Clear Mask button clears the “Don’t Care” mask off the template.
The Delete button deletes the current template from the list.
The Test button conducts a pattern matching test using the current template on the current image.
The template matching function is performed in gray scale. The Check Color checkbox enables
or disables the color check function for the center of the template.
The Is Negative checkbox is for making the template a negative template. A negative template is
a template of a defect. During inspection it must score lower than any positive templates for the
inspection to pass, regardless of what the Pass Score is set to. It is used to detect defective parts
which look very close to the good parts.
10-6 General Inspection Methodology
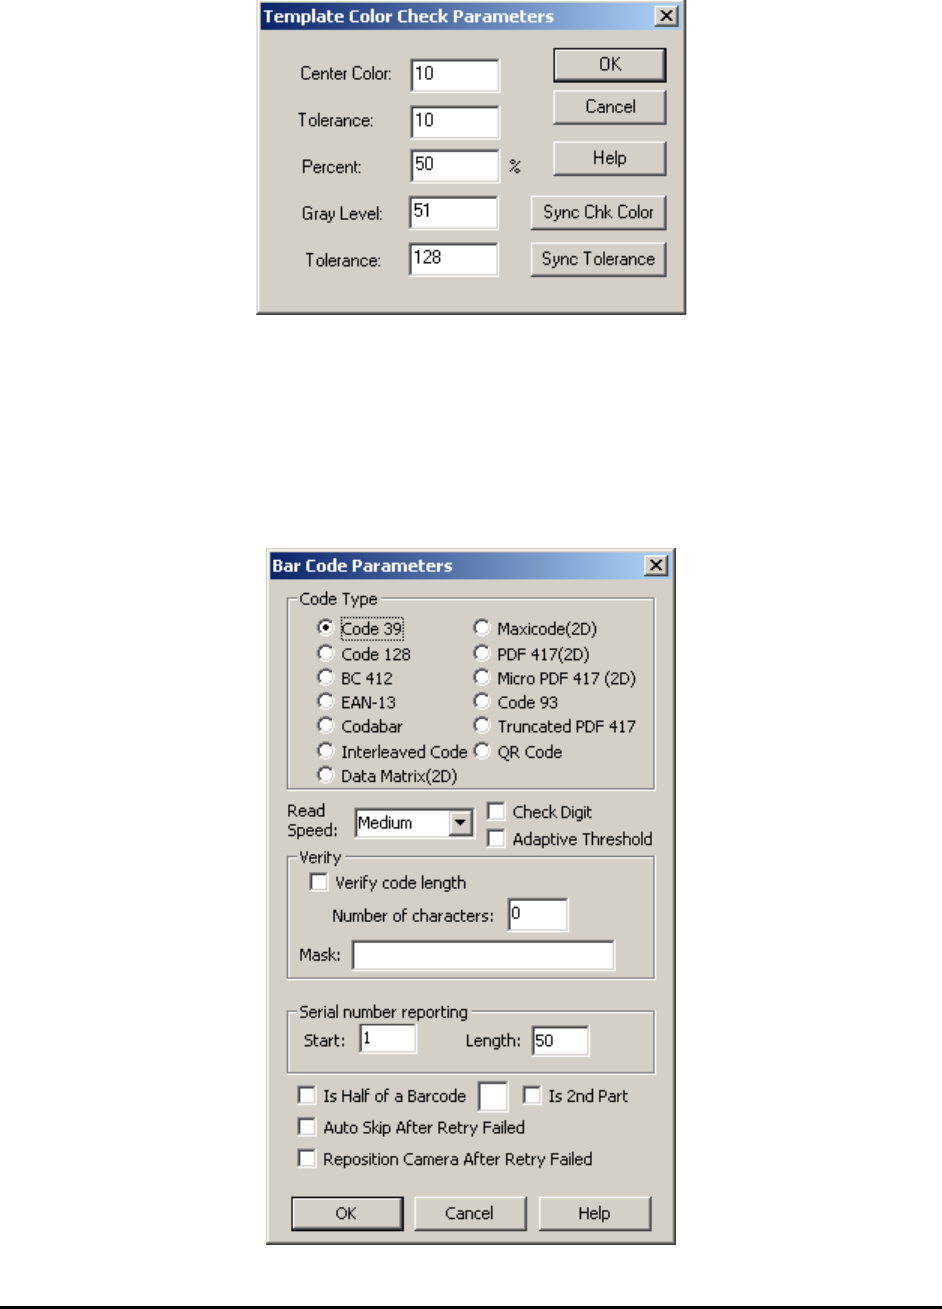
The Setup button launches the Template Color Check Parameters dialog.
The Sync Chk Color button updates the state of the Check Color checkbox to all the alternate
templates. The Sync Tolerance button updates the tolerances (center color and tolerance, percent,
and gray level and tolerance) of all the alternate templates to that of the current template.
10.2.3 Bar Code Parameters
Available only when Bar Code is selected as the decision algorithm menu item.
Select Bar Code Params.. from the Mark pop-up menu to open the Bar Code Parameters dialog.
General Inspection Methodology 10-7
User needs to select Top camera in Edit Mark Parameters dialog to be able to check barcode.
Barcode inspection is for reading the board’s serial number from a barcode. Train a special part
and name it “BARCODE” (set its RefID to BARCODE). Then add a mark inspection box for the
part and select Bar Code as the decision algorithm.
In the Bar Code Parameters dialog the Code Type group selects the type of barcode to read.
In the Verify group you can enable/disable the code length verification and also set the code
length to verify. Code types such as Code 39 do not have a checksum mechanism, thus incorrect
parameter setup could result in a wrong data string being read. The verify code length is a self
verifying mechanism provided that the length of the serial number is known in advance. In
addition to verifying the length, it is also possible to supply a Mask string to verify the content of
the code. For example, if the code must start with AF follow by 4 digits, then a mask of
“AF????” can be used to verify the content.
The Is Half of a Barcode checkbox is for reading barcodes larger than the field of view of the
camera. See 10.2.3.2 Barcode Stitching.
The Is 2
nd
Part checkbox is for reading serial numbers composed from two separate barcodes. In
these cases, two separate Mark inspection boxes should be trained; one on each barcode. On the
second barcode box, the Is 2
nd
Part checkbox should be checked. The software will concatenate
the string from two barcodes to form the board’s or block’s serial number.
In other instances, the data string in the barcode contains more than the board serial number. For
example, in a 10 digit barcode the first 6 characters may represent the board’s assembly number
and the last 4 characters represent the board’s serial number. In this case, we can set the Serial
number reporting start parameter to 7 and length to 4 to extract just the board serial number
from the barcode data string.
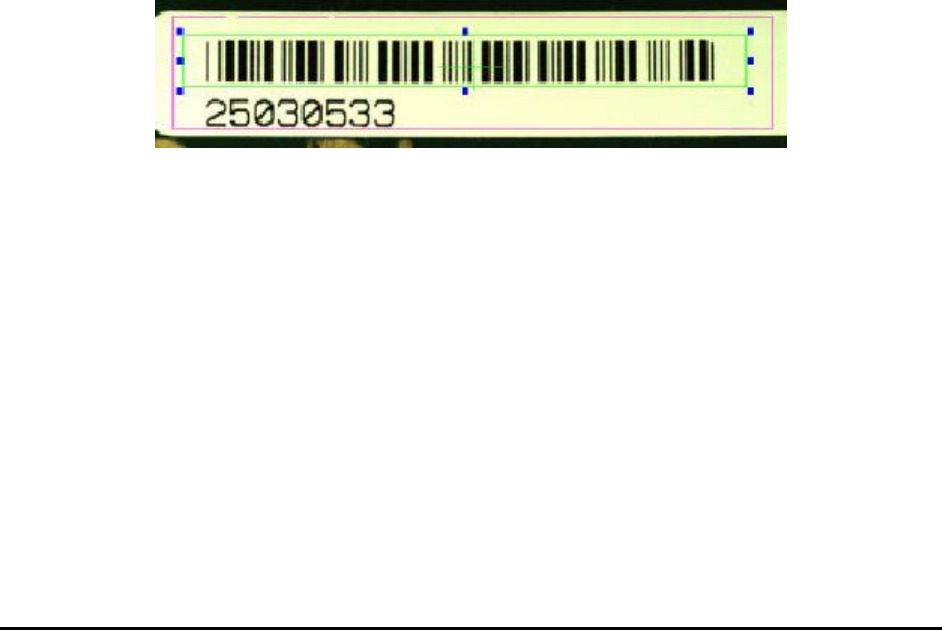
In setting up the region of interest for barcode reading it is important to leave several bar spaces
in the beginning and at the end of the barcode as shown above. The barcode algorithm needs
those white areas in the image to determine the start of the barcode. Also, in cases where the
contrast of the barcode is not high (e.g. when the background is not white) the user may need to
use a binarize preprocess for the barcode reading to function correctly. Lastly, barcode is rotation
sensitive. A barcode oriented horizontally as above needs to have a part rotation of 0 degree. A
vertically oriented barcode should have a part rotation of 90 or 270 degrees.
The Auto Skip After Retry Failed checkbox, if checked, would create the barcode result in a
specific format if the retry of barcode reading still fails. The result string will begin with
“@AutoSkip” followed by the current date and time information and end with another “@”.