YesAX V3.1.2 - Software User Manual.pdf - 第260页
在线预览 YesAX V3.1.2 - Software User Manual.pdf PDF 文档。

Hard Disk Crash Recovery 24-1
24 - Hard Disk Crash Recovery
If you’ve used computers long enough, you may have experienced the disastrous situation of a
hard disk crash. A situation when the computer could not boot up at all and you lost all your data
on it. Computer viruses can cause a hard disk to die, as well as improper installation of a
software program such as computer games. And of course any hard disk is susceptible to
physical damage as well.
You should prepare for the worst case scenario. Nordson YESTECH’s machines are “imaged”
using the Disk Image Utility from PowerQuest Corporation before it leaves the factory. The
disk images are stored on the computer’s hard disk in a Backup partition. The disk image (*.pqi)
is split into 640 MB chunks to allow backup to CD-Rs. Copy those files to other media for safe
keeping.
There are two floppy disks labeled “Hard Disk Recovery” which are shipped with each system.
The floppy can be used to boot up the system and restore the hard disk data in an event of a hard
disk crash. This should be considered a last resort when other recovery methods have failed [e.g.
Windows XP’s recovery console]. The program on the floppy disk also allows you to make
backup disk images of the current state of the computer.
Calibration and Verification 25-1
25 - Calibration and Verification
The software provides a comprehensive set of guided calibration procedures. Each procedure is
prompted by a dialog message that gives the instructions for the adjustment and lists the current
and the target values.
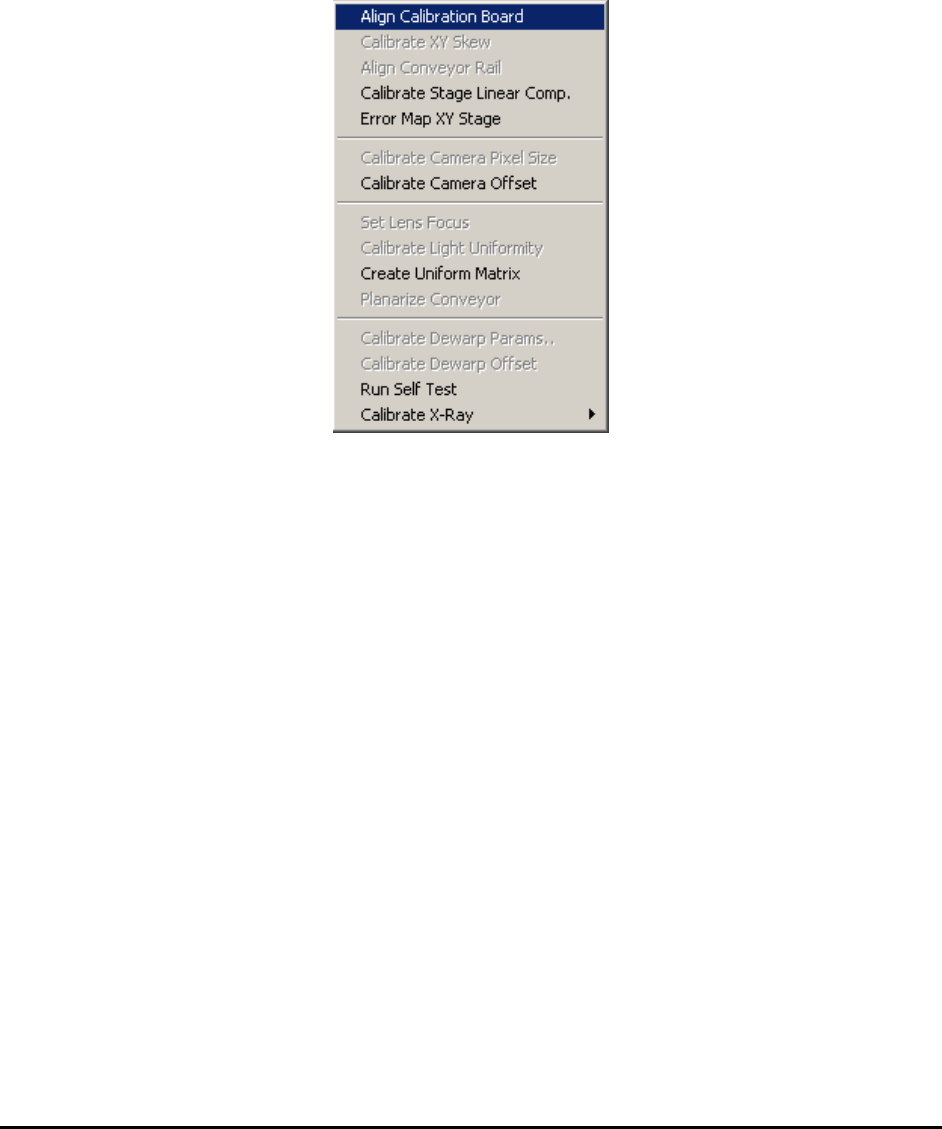
All the calibration procedures are launched from the Calibrate menu in the Builder mode.
The specialized calibration board (P/N 10876) is required for all calibrations and verifications.
The board must be properly aligned before any calibration begins.
25.1 Align Calibration Board
The Align Calibration Board is the procedure that guides the user through aligning the board in
the system. Upon starting the procedure the software opens the conveyor to the width of the
calibration board (approximately 559 mm wide). You may need to do some minor adjustments (1
or 2 mm) to the conveyor width for the calibration board to fit in. After the conveyor is opened to
the correct width, place the calibration board on the conveyor from the left opening and manually
push the board towards the center of the machine. Open the front door of the machine, reach in
with your hand and pull the calibration board further to the right so that it is over the hard stops.
The right edge of the calibration board should align approximately with the right limit sensor of
the X axis.
25.2 Calibrate XY Skew
This calibration adjusts the perpendicularity of the XY stage. The calibration involves removing
the top and side cover and the use of a special adjustment jig. This is a onetime adjustment. The
procedure is performed in the factory as part of the standard calibration procedure.
25.3 Align Conveyor Rail
This Align Conveyor Rail feature aligns the conveyor rail with the X axis. The software moves
between two points along the X axis, one on the left and the other on the right.