00193790-01.pdf - 第89页
Installation and Getting Started with CACCIA 2 English Issue 07/2004 2.6 CACCIA Installation 23 → The installa tion proc ess wil l begin a nd progr ess will b e show n on the screen . Fig. 2 - 16 I nstalling CACCIA - CAC…
2 English Installation and Getting StartedwithCACCIA
2.6 CACCIA Installation Issue 07/2004
22
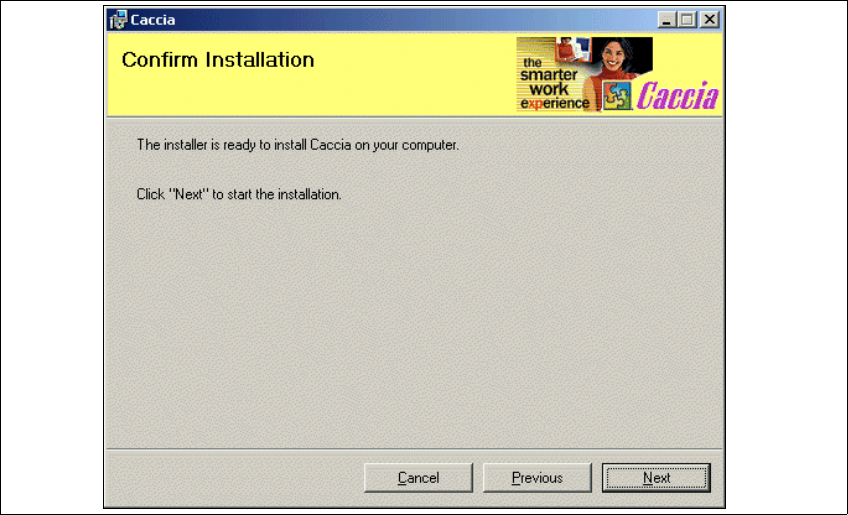
→ To confirm the chosen target folder, click on Next in the Select Installation Folder dialog win-
dow. Your chosen target folder will be confirmed.
Fig. 2 - 15 Installing CACCIA - Confirm Installation
Installation and Getting Started with CACCIA 2 English
Issue 07/2004 2.6 CACCIA Installation
23
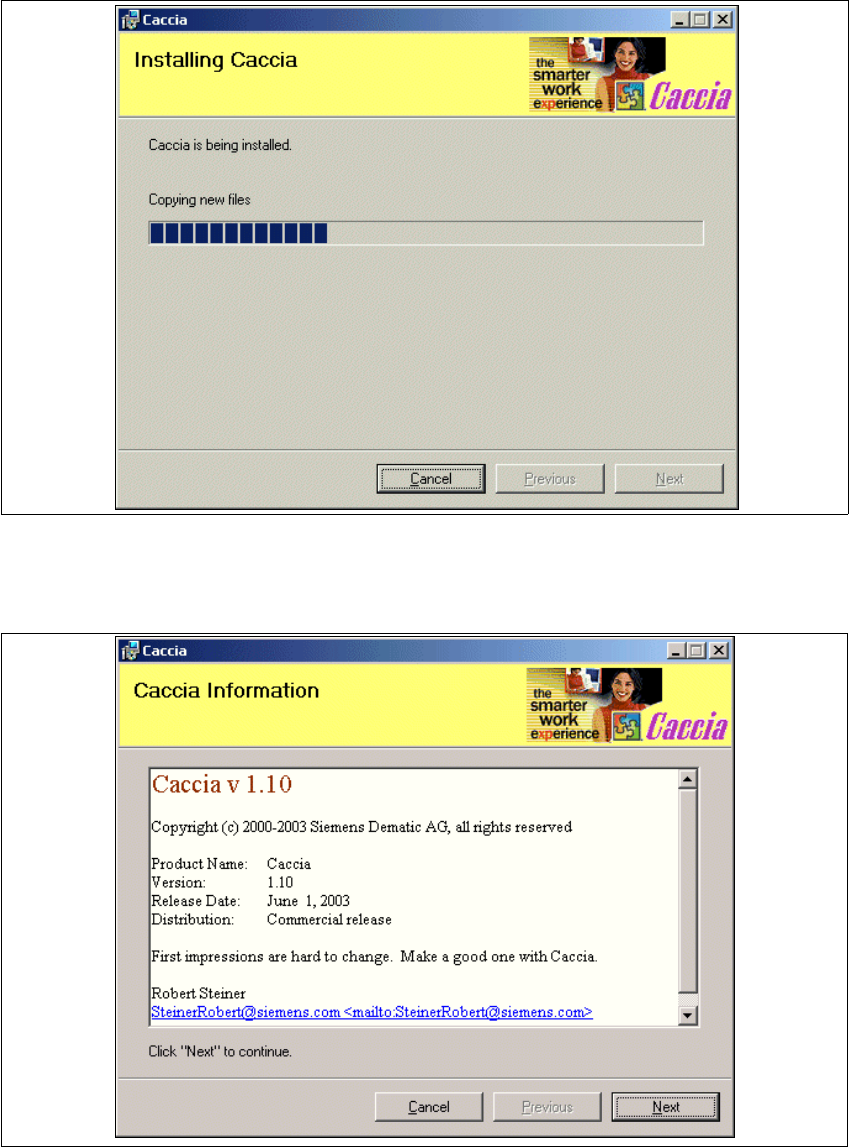
→ The installation process will begin and progress will be shown on the screen.
Fig. 2 - 16 Installing CACCIA - CACCIA Installation
→ The following information window will appear once the installation process has finished.
Fig. 2 - 17 Installing CACCIA - CACCIA Information
2 English Installation and Getting StartedwithCACCIA
2.6 CACCIA Installation Issue 07/2004
24
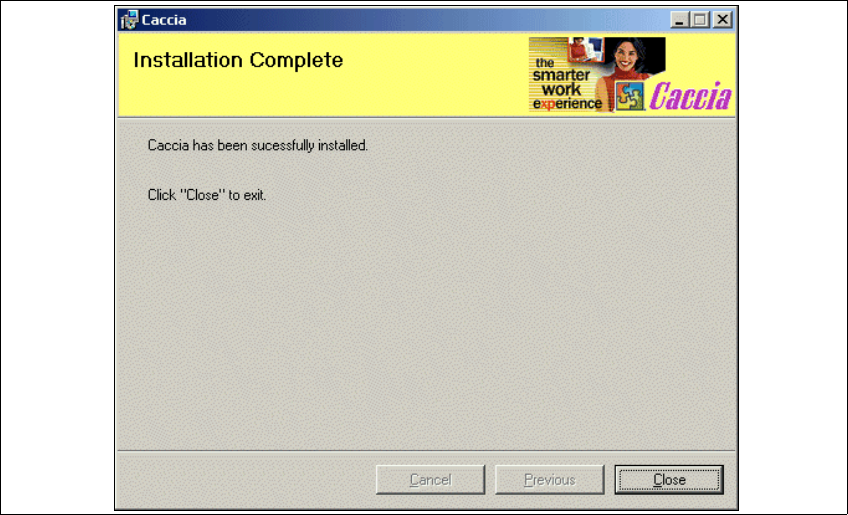
→ Click on Next to continue. The installation process has been completed.
Fig. 2 - 18 Installing CACCIA - Installation Complete
→ Click on Close.
After installing CACCIA, you need to complete the following steps. Make sure that you perform
the steps in the order specified.
1. Installation of driver for the relevant CAN card (see Page 25)
2. Installation of SIPLACE function via the Toolbox scripts (see page 25)