00196478-08_MM_SX12DX12_en.pdf - 第45页
Major Maintenance 5.2.2 Performing Maintenance Ta sks Maintenance Tasks for Base Ma chine Maintenance Manual SIPLACE SX1/SX2/DX1/DX2 45 Safety switch on bumper Monitoring the Reject Bins ► Remove the component reject bin…
Major Maintenance
Maintenance Tasks for Base Machine 5.2.2 Performing Maintenance Tasks
44 Maintenance Manual SIPLACE SX1/SX2/DX1/DX2
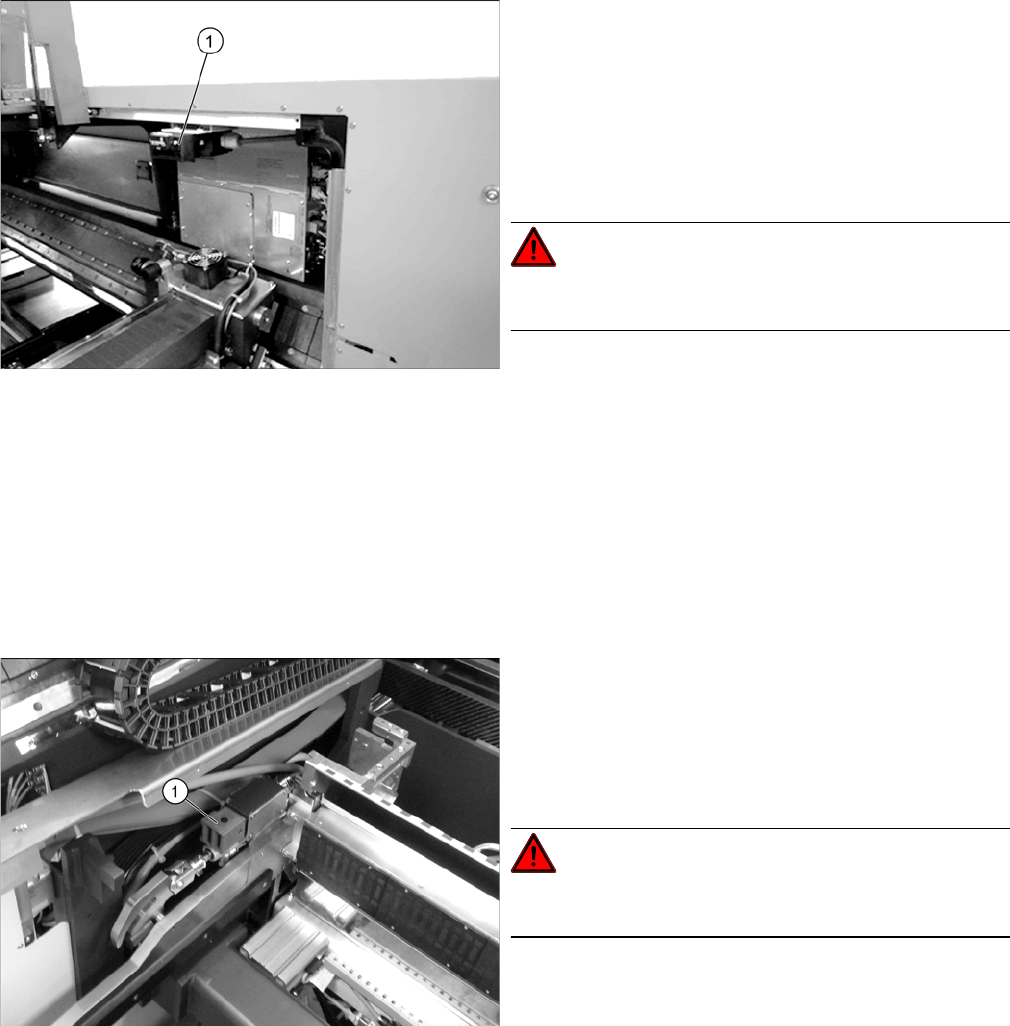
Cover switch
Safety Switch for the Component Trolley
► Open a protective cover. The other protective cover
must be closed.
► The control must switch off immediately. A message
should appear in the station software and you should
hear compressed air emerging.
If this is not the case, have the safety circuit checked
and any damaged components replaced by author-
ized personnel or the SIPLACE Service team.
DANGER!
Do not operate the machine while the safety circuit is de-
fective.
► Check the cover switch for damage. If there is any
damage, have the cover switch replaced by author-
ized personnel or the SIPLACE Service team.
► Check if the actuator moves cleanly and effortlessly
into the switching unit (1). If this is not the case, align
the actuator and cover switch with respect to one an-
other.
► Repeat these steps for all cover switches.
Check the safety switch (1) for the component trolley:
► Remove the component trolley. A message should
immediately appear on the control panel.
If this is not the case, have the safety circuit checked
and any damaged components replaced by author-
ized personnel or the SIPLACE Service team.
DANGER!
Do not operate the machine while the safety circuit is de-
fective.
► Repeat the procedure for all locations.
Major Maintenance
5.2.2 Performing Maintenance Tasks Maintenance Tasks for Base Machine
Maintenance Manual SIPLACE SX1/SX2/DX1/DX2 45
Safety switch on bumper
Monitoring the Reject Bins
► Remove the component reject bin (2). A message should immediately appear on the control panel.
► Reinsert the component reject bin.
► Repeat the procedure for all reject bins.
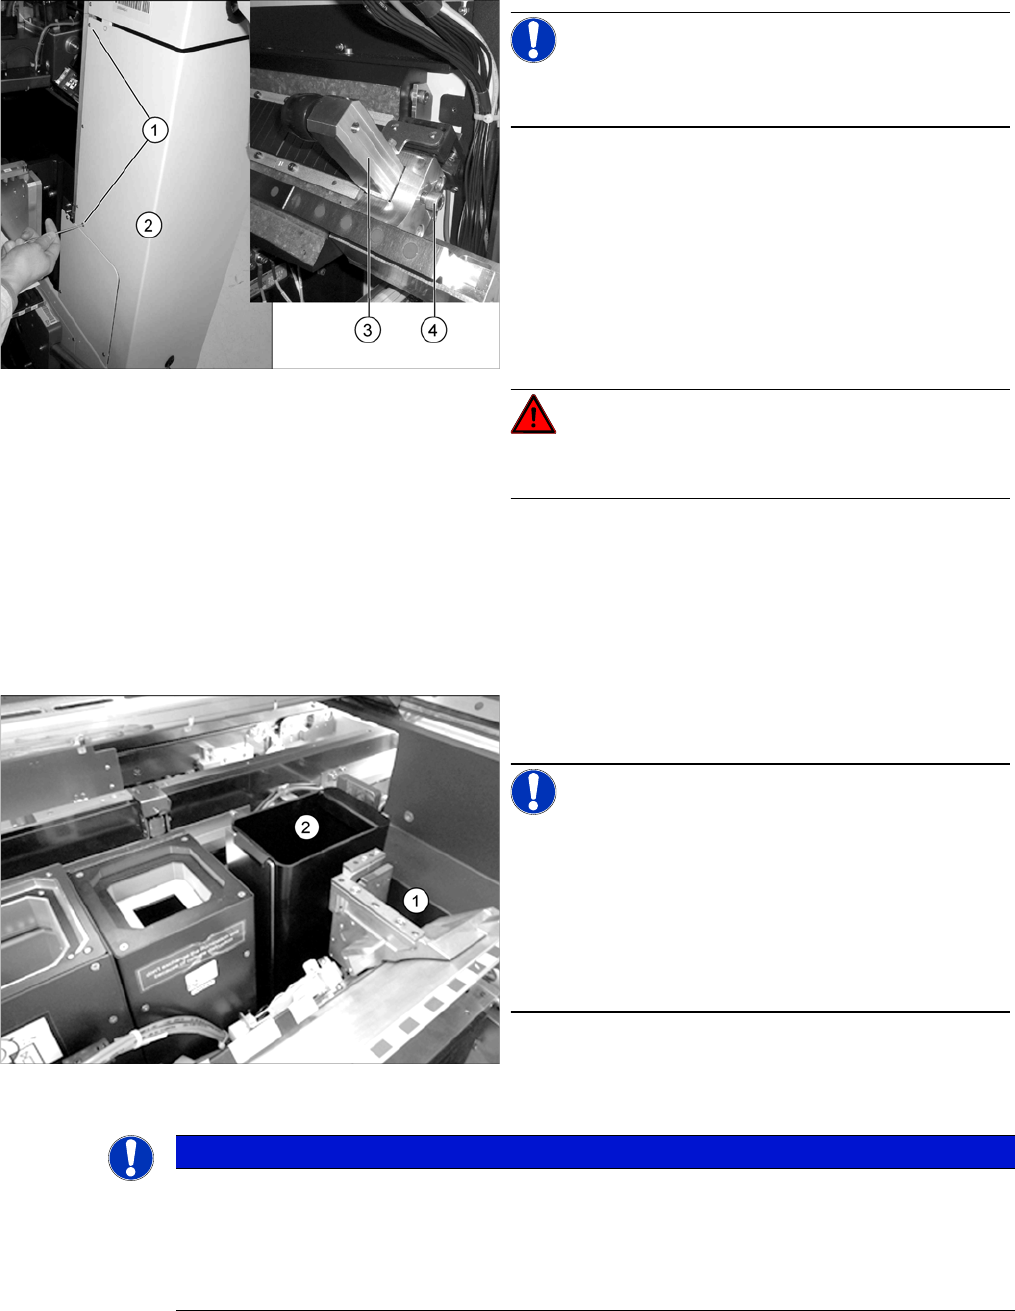
NOTICE!
Only the bumpers in sectors 2 and 4 are fitted with safety
switches.
► Check the safety switch on the bumper in sector 2:
Loosen the two screws (1) fastening the cover (2) and
swing this to one side.
Loose the screw (4) fastening the bumper (3) and re-
move the bumper. A message should immediately
appear on the control panel.
If this is not the case, have the safety circuit checked
and any damaged components replaced by author-
ized personnel or the SIPLACE Service team.
DANGER!
Do not operate the machine while the safety circuit is de-
fective.
► Refit the bumper and close the cover, fixing it into
place with the two fastening screws.
► Repeat this procedure for the bumper in sector 4.
► Remove the nozzle reject bin (1). A message should
immediately appear on the control panel.
NOTICE!
Monitoring the nozzle reject bin is optional.
If no message appears, check whether this option is in-
stalled on your system.
If the option is installed and no message appears, have
the safety circuit checked and, if required, any damaged
components replaced by authorized personnel or the
SIPLACE Service team.
► Reinsert the nozzle reject bin.
NOTICE
Monitoring the component reject bin is optional.
If no message appears, check whether this option is installed on your system.
If the option is installed and no message appears, have the safety circuit checked and, if re-
quired, any damaged components replaced by authorized personnel or the SIPLACE Service
team.
Major Maintenance
Maintenance Tasks for Base Machine 5.2.2 Performing Maintenance Tasks
46 Maintenance Manual SIPLACE SX1/SX2/DX1/DX2
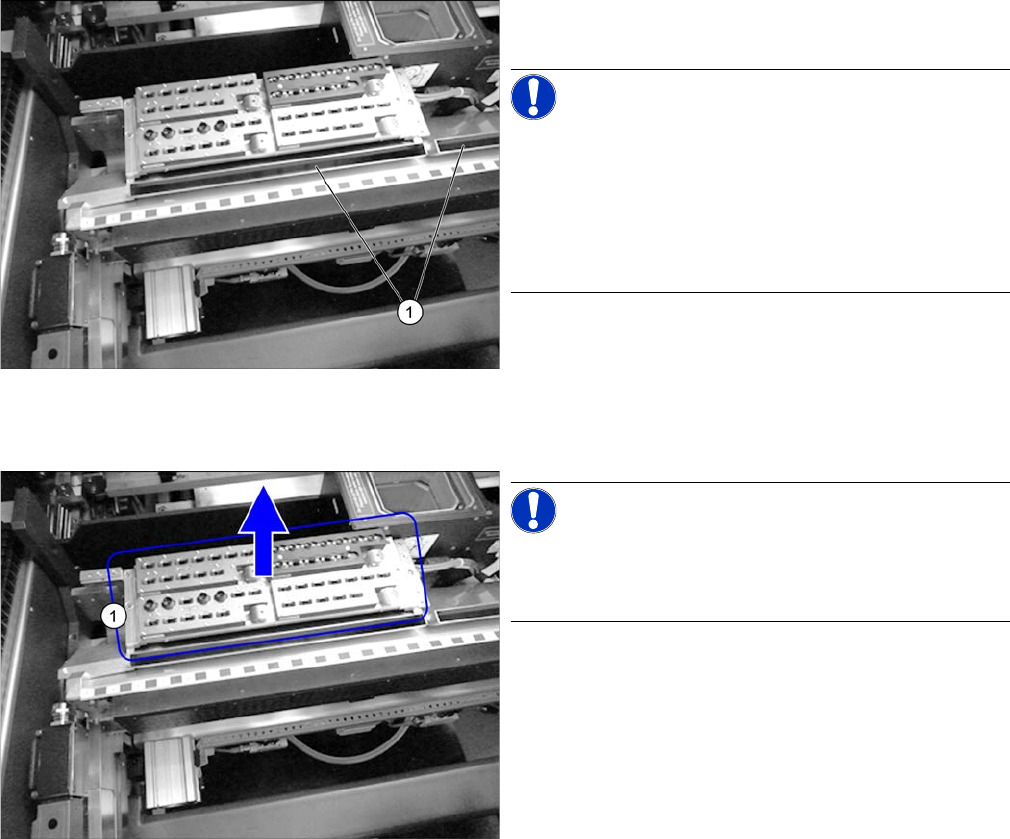
Monitoring the Reject Ducts
Conveyor - Monitoring the Nozzle Magazines
Monitoring the Nozzle Magazines
► Remove the reject duct (1). A message should imme-
diately appear on the control panel.
NOTICE!
Monitoring the component reject duct is optional.
If no message appears, check whether this option is in-
stalled on your system.
If the option is installed on your system and no message
appears, please contact your local SIPLACE Service
team.
► Fit the reject duct back into place.
► Repeat the procedure for all reject ducts.
NOTICE!
Twin magazines are permanently fixed and cannot be re-
moved. For this reason, this check is not applicable for
Twin magazines.
► Remove the nozzle magazines.
► Close the covers and press the Start button.
⇨ Depending on the station software, the station must
display all removed nozzle magazines.