52339001系统-2.pdf - 第13页
Page 11 Installing eComStation fr om a Disk Image 52339001 Rev . C This document supports eComStation 2.x and higher and IM-UPS 6.0 and higher. 5. Verify the revised desktop, as the basic desktop configuration is now com…
Page 10
52339001 Rev. C Installing eComStation from a Disk Image
This document supports eComStation 2.x and higher and IM-UPS 6.0 and higher.
3. Type Ctrl+F; a Find dialog displays.
4. Type reserv in the Find dialog.
5. Press Enter or select Find. The editor will find a particular line in the
“config.sys” file that needs to be changed.
6. Press the Esc key to dismiss the Find dialog.
7. Press the Home key to move the cursor to the start of the line in the
file.
8. Type the letters rem followed by a space.
9. Select Save from the File menu.
10. Select Exit from the File menu. The Command Prompt Window
displays again.
11. Type Exit, and press Enter to close this function.
13. Delete Unused Desktop Widgets
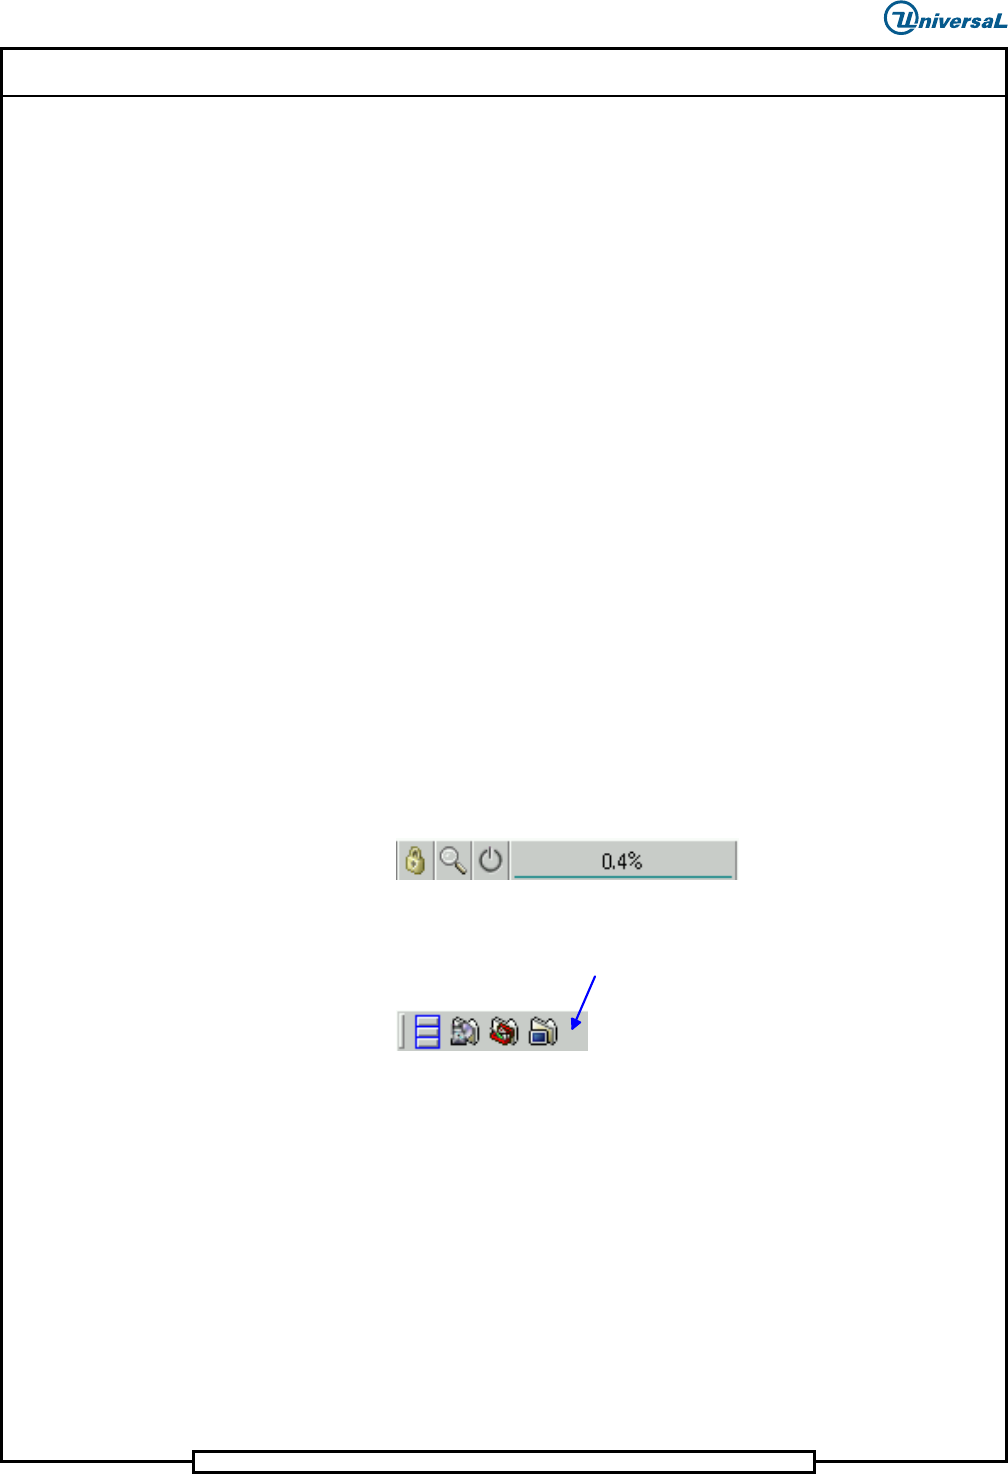
The next task is to remove all the “widgets” from the bottom of the screen.
1. Right-click on each of the following widgets, and select Delete
Widget.
2. Right-click on the empty space in the right side of the bar of these
widgets:
3. Select Delete Widget.
4. Select Yes to confirm.
Page 11
Installing eComStation from a Disk Image 52339001 Rev. C
This document supports eComStation 2.x and higher and IM-UPS 6.0 and higher.
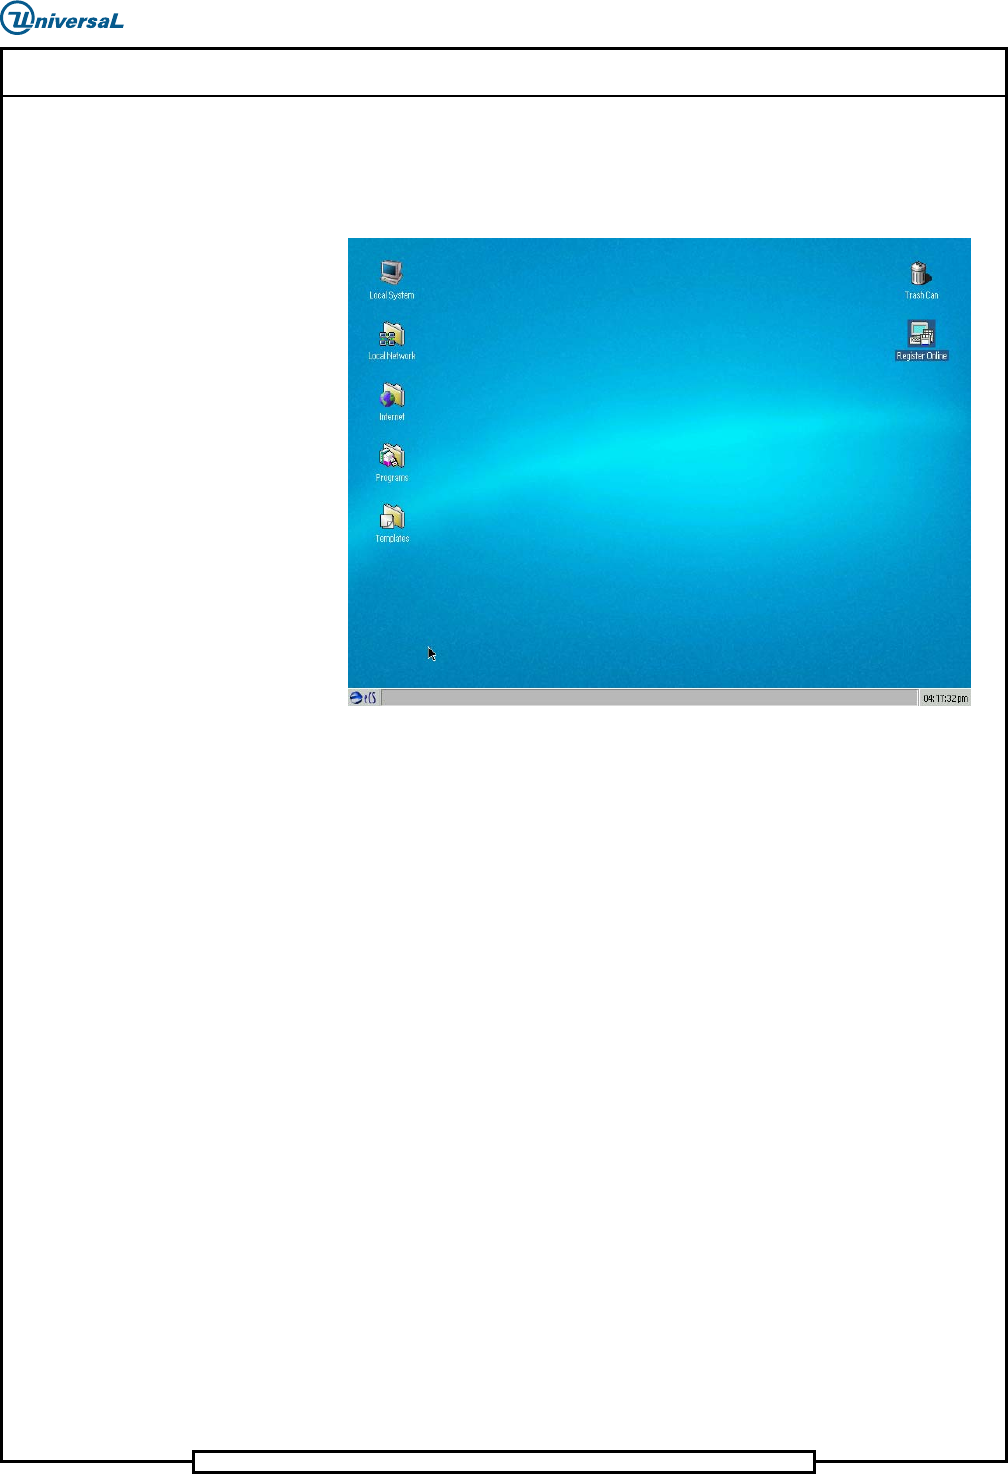
5. Verify the revised desktop, as the basic desktop configuration is now
complete.
The desktop should look like the following:
14. Set Up the Toolbar
The next task is to set up the Toolbar to start automatically.
1. Double-click Programs.
2. Double-click Utilities.
3. Right-click on the Toolbar icon.
4. Select Copy from the pop-up menu that displays.
5. Select the Desktop tab.
6. Select the + sign next to Local System to expand that node of the tree.
7. Select the Startup node of the tree.
8. Select Copy. The Copy dialog will operate, then will automatically be
dismissed.
9. Select the round X in the upper right to close the Utilities window.
10. Select the round X in the upper right to close the Programs window.

Page 12
52339001 Rev. C Installing eComStation from a Disk Image
This document supports eComStation 2.x and higher and IM-UPS 6.0 and higher.
15. Configure TCP/IP Settings
The next task is to set up TCP/IP.
1. Select the eCS button in the lower left of the screen.
2. Navigate to the TCP/IP Configuration menu item. The TCP/IP
Configuration Notebook will now be displayed, with LAN interface 0
pre-selected.
3. Ensure there is an X mark in the Enable Interface check box.
4. Place an X mark in the Use previous DHCP Configuration on
reboot check box.
5. Select LAN interface 1 in the list at the left.
a. Place an X mark in the Enable Interface check box.
b. Ensure the option Manually, Using is selected.
c. Select the IP Address field, and type 192.168.0.2.
d. Select the Subnet Mask field, and type 255.255.255.0.
6. Select the Advanced 1 tab (at the bottom).
7. Select the Broadcast Address field, and type 192.168.0.2.
8. Select the Host Names tab (at the top). The left-hand list will show
<NO ENTRIES>.
a. Select Add below the left-hand list.
b. Type 159.48.128.1 in the pop-up that displays, and select
OK.
c. Select Add below the left-hand list again.
d. Type 159.48.128.2 in the pop-up that displays, and select
OK.
9. After performing the preceding steps, verify that the left-hand list
displays the following:
159.48.128.1
159.48.128.2
10. Select the Autostart tab (at the top).
a. Select ftpd in the list at the left.
b. Place an X in Autostart Service in the right-hand pane.